
If you haven’t installed iRedMail email server and would like to host websites only without the email server, you need to install PHP on Ubuntu with Nginx and MariaDB manually. The Aforementioned three components come as default with the iRedMail installation. It’s advisable to install PHP before Nginx webserver to pick some configurations from the PHP.
1. Before you install PHP on Ubuntu, update your server by running the below command on PuTTY SSH client or any Linux terminal as below. Always, you need to hit Enter key to proceed.
root@iRedMail-doesnt-exist:~# apt updateOnce completed, will see the result as follows, it will take only few seconds to be done.

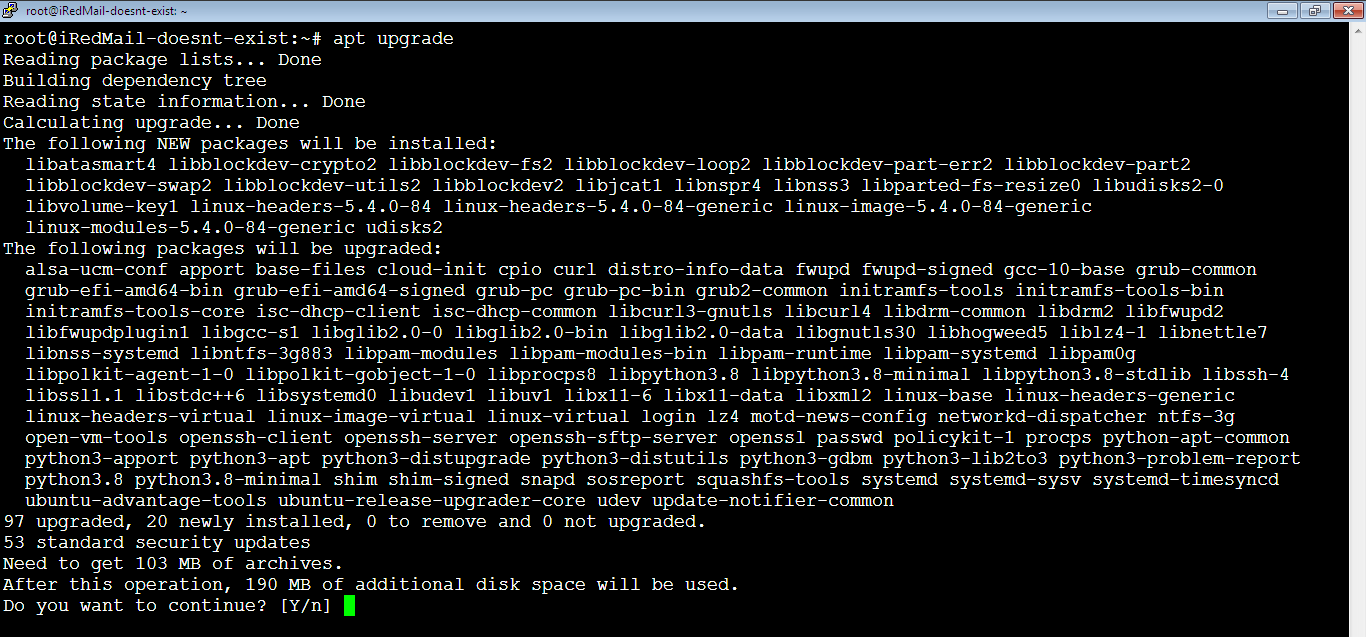
2. Upgrade the packages on your server by running the below command.
root@iRedMail-doesnt-exist:~# apt upgradeIf there are packages to upgrade, you will need to confirm as seen, type: Y (or: y), then hit Enter key.
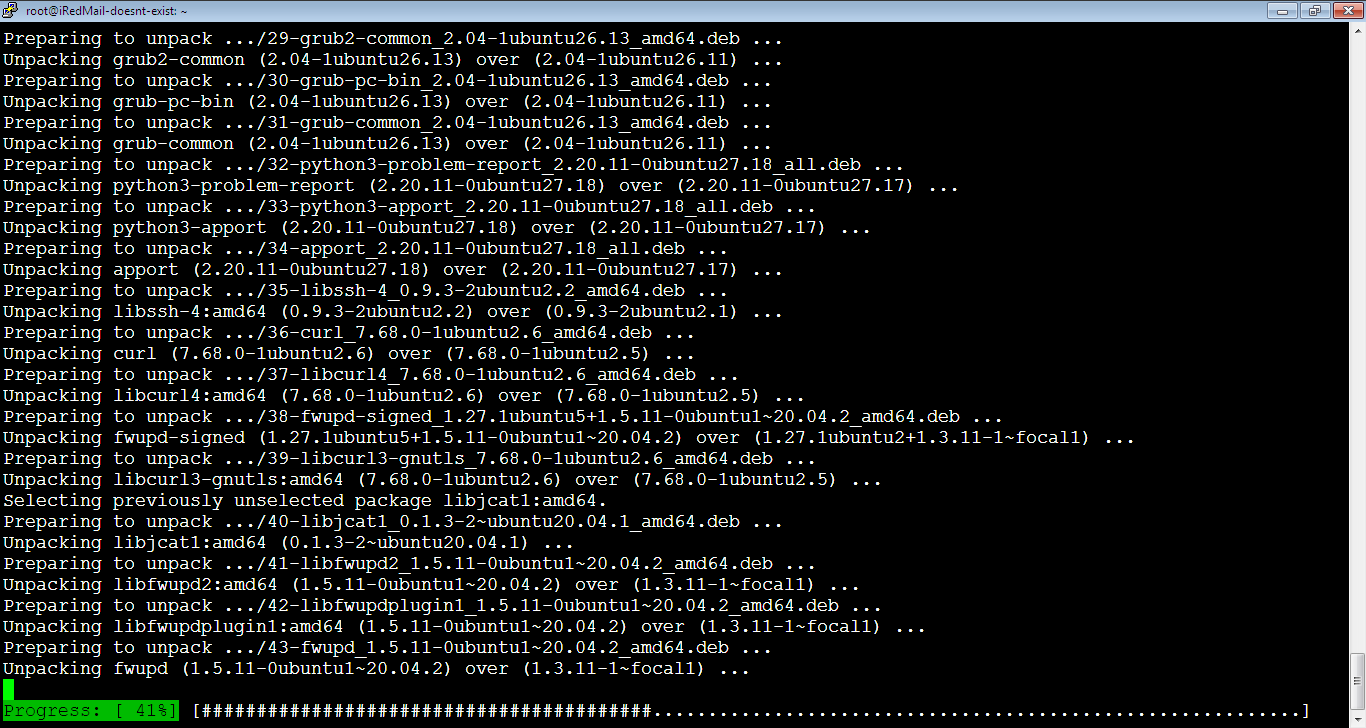
It might take few minutes and you may see a progress like below:
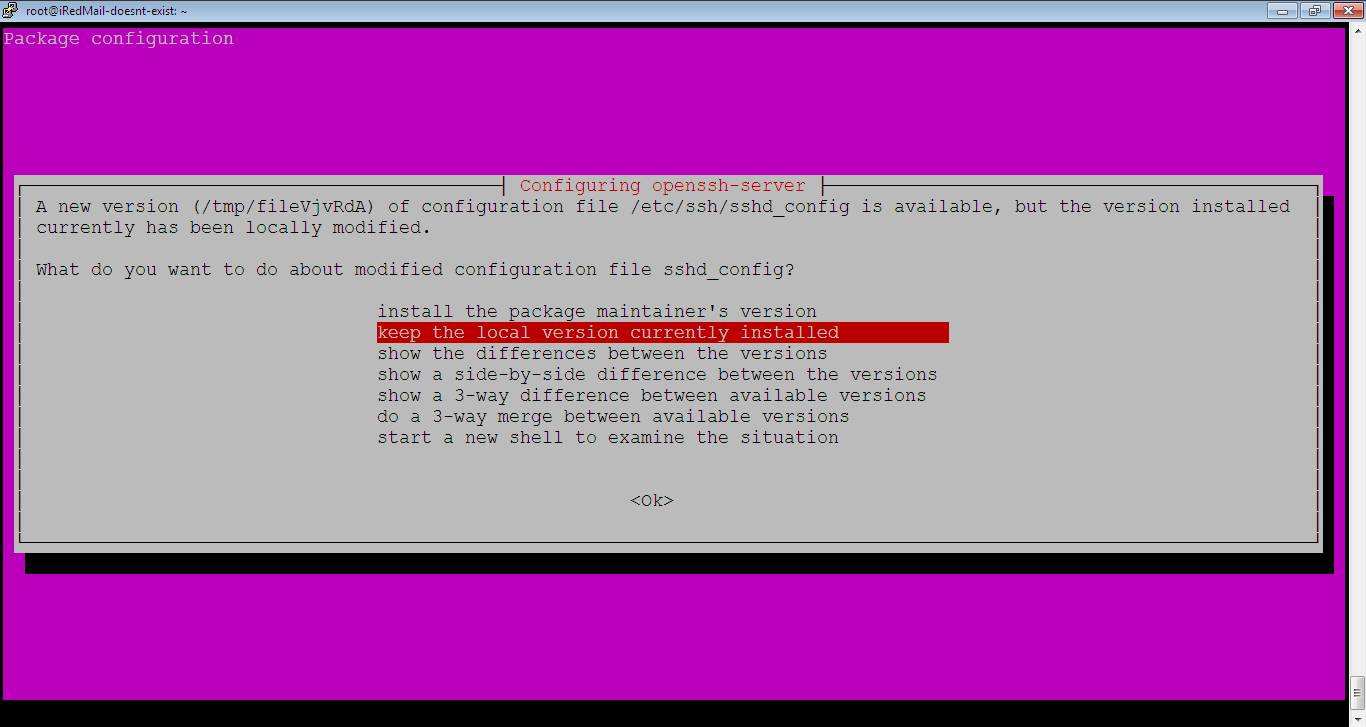
Sometimes during the upgrade process apt upgrade command, you get popups like the one below about updating the packages configuration, don’t change anything, just hit Enter key and keep it as default. Do this for any similar popup.
And here is it when the upgrade process is complete.

If your server has no packages to upgrade, you don’t need to do action as seen below:

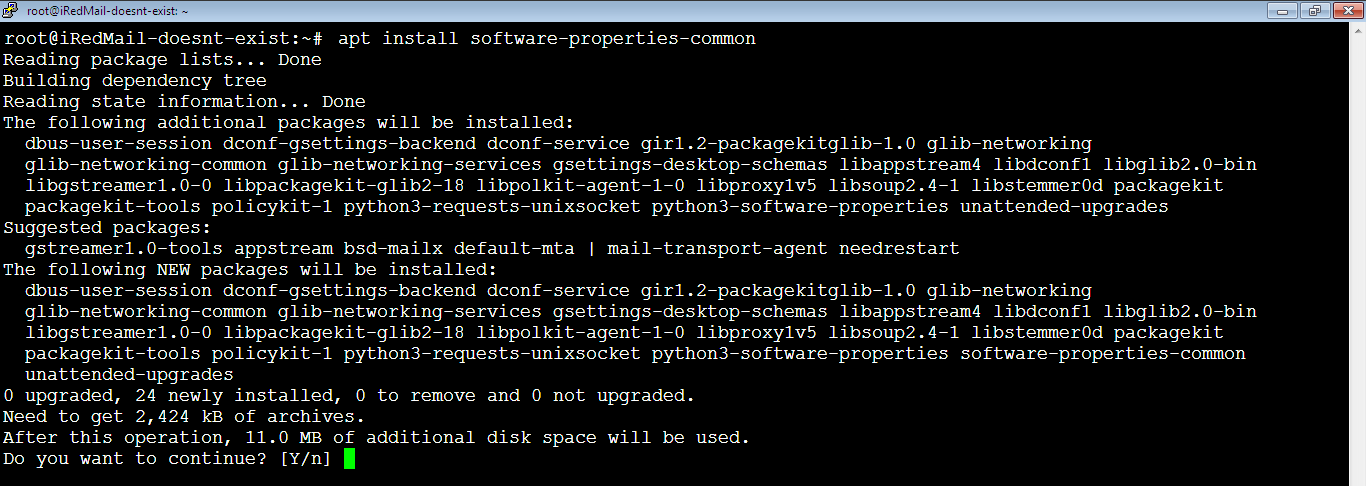
3. Install the Software Properties Common package by running the command:
root@iRedMail-doesnt-exist:~# apt install software-properties-commonYou should confirm the installation as per the prompt below, type: Y (or y) then hit Enter key. You will see a progress, you need to wait few seconds until it’s complete.
In case the package already exists by default, you will see something like this and don’t need to do any further action.

4. Add the APT repository for the PHP. This step will allow the PHP version to be upgraded automatically when you upgrade the packages on your server (when running: apt upgrade).
root@iRedMail-doesnt-exist:~# add-apt-repository ppa:ondrej/phpUbuntu prompt will ask you to confirm the installation, press (hit) Enter key.
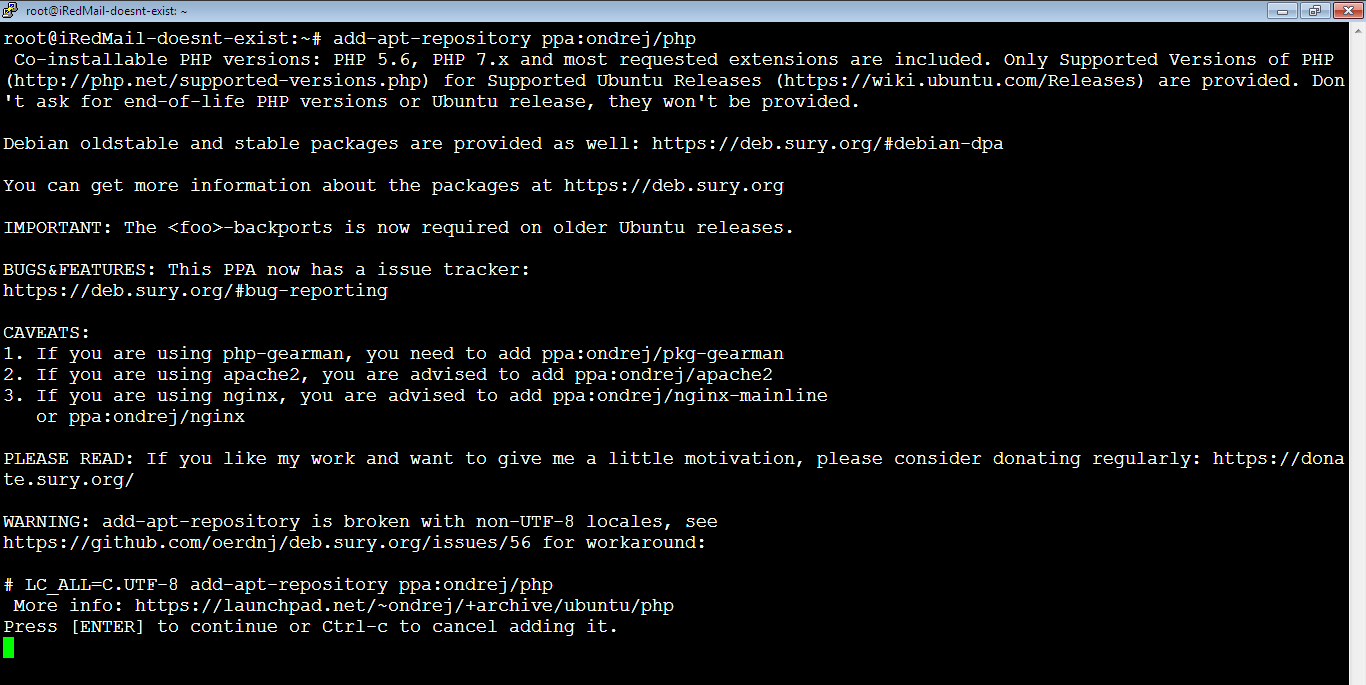
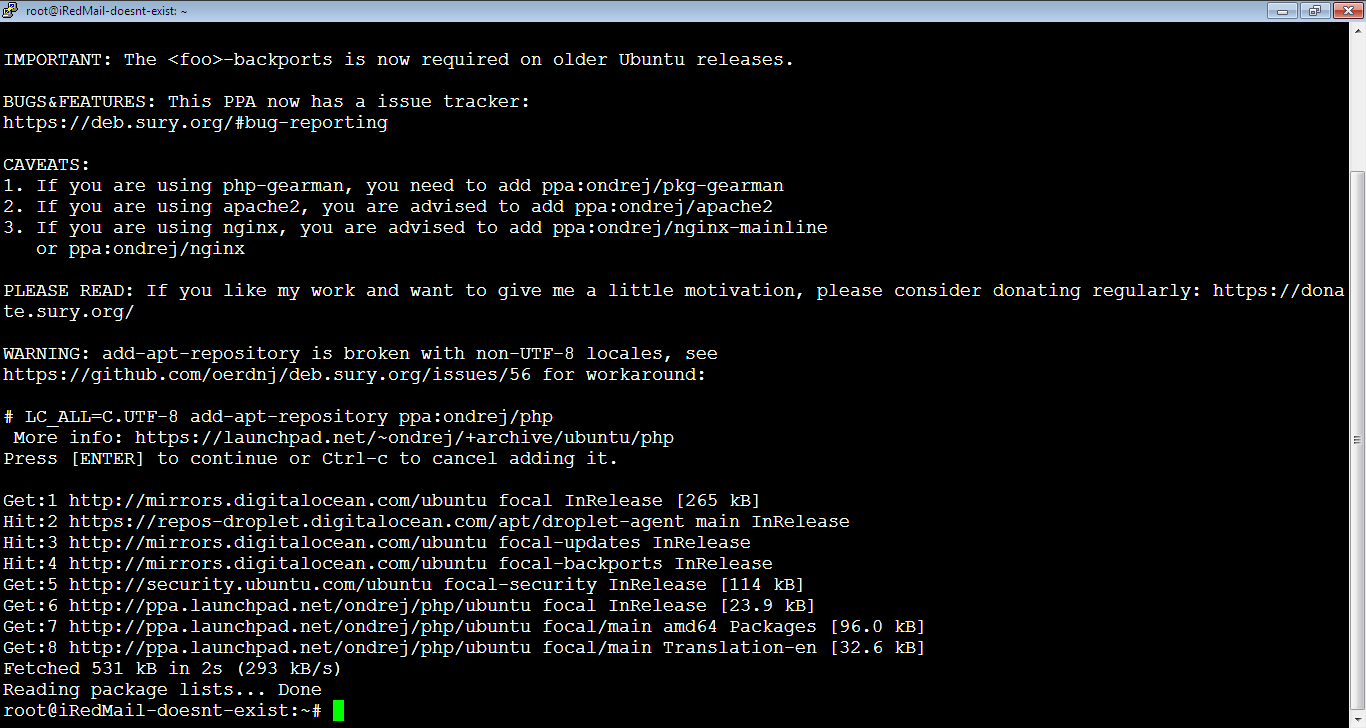
Few seconds following the confirmation, it will be done as seen below.
5. Update your server again by running the below commands:
root@iRedMail-doesnt-exist:~# apt updateroot@iRedMail-doesnt-exist:~# apt upgradeFind Latest PHP Release
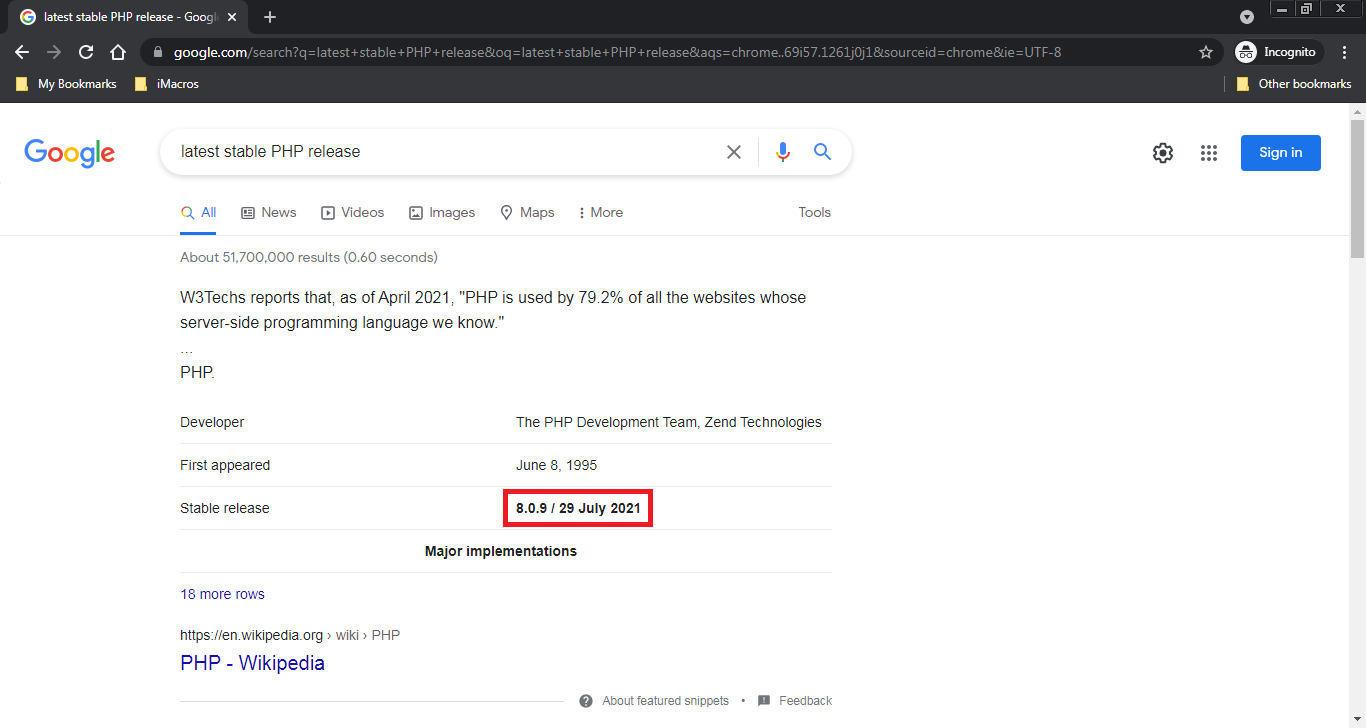
6. Now, it’s the time to install the latest stable PHP release which is PHP 8.0, to know that, search on google or any search engine and write: “latest stable PHP release“, here’s the result until the time of writing this article:
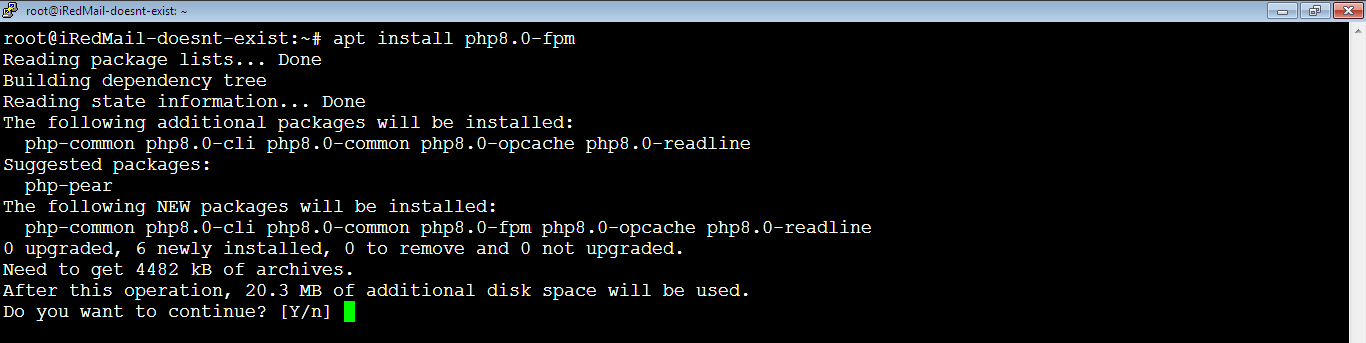
Now, run the below command to install the latest stable PHP release:
root@iRedMail-doesnt-exist:~# apt install php8.0-fpmNotice that we didn’t run the command: apt install php8.0, because it installs the Apache server too and in our tutorial we will use Nginx server as it provides better performance.
Type: Y (or y) to confirm and continue.
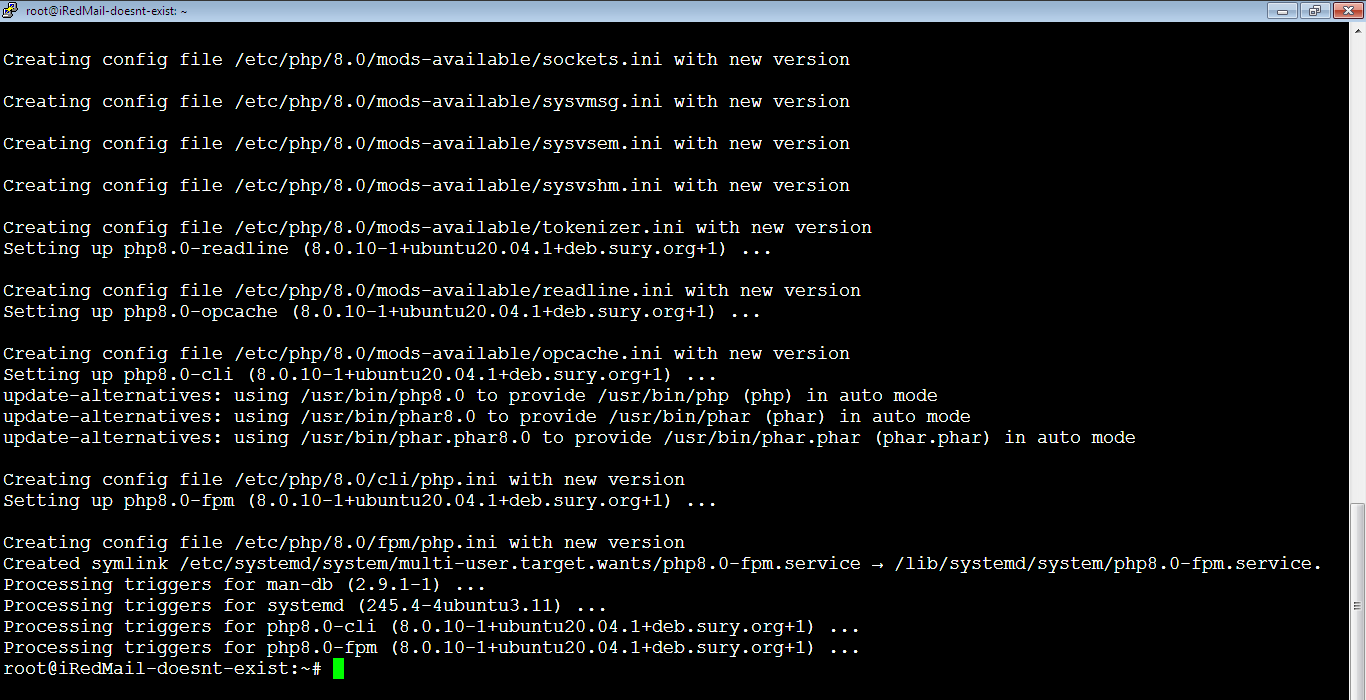
You will see the progress as follows.
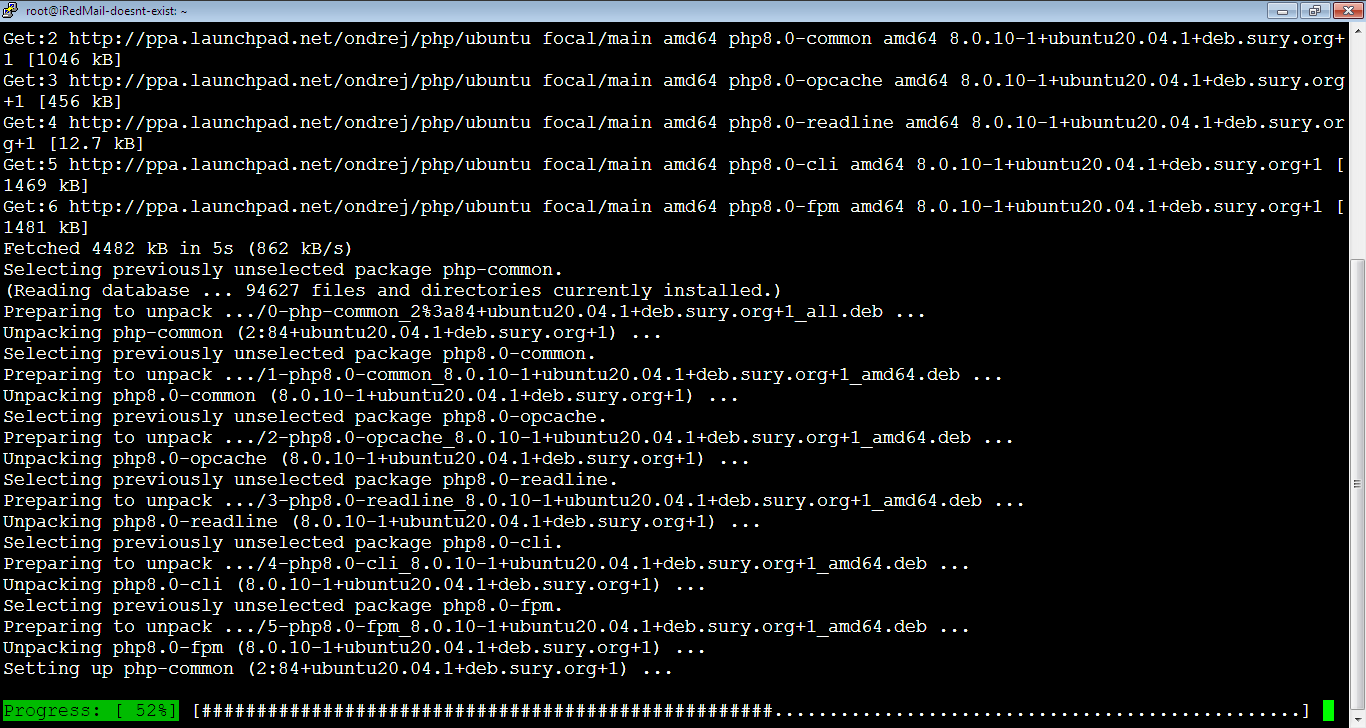
It will take few seconds to finish the installation as seen below.
7. To make sure that we’ve installed the latest version of PHP, run the below command:
root@iRedMail-doesnt-exist:~# php -vYou can see the latest version (until writing this article) below. Once you upgrade your server by running apt upgrade, this version will be upgraded too.

Improve the performance of PHP
Go php.ini file:
root@iRedMail-doesnt-exist:~# nano /etc/php/8.0/fpm/php.iniAnd make sure the below variables have the corresponding values.
max_execution_time = 60
memory_limit = 256M
post_max_size = 64M
upload_max_filesize = 64M
max_input_vars = 5000
You must restart php-fpm service for the changes to take effect by running the below command:
root@iRedMail-doesnt-exist:~# service php8.0-fpm restartRemove the Repository
Once you finish the installation, remove the repository we added by running the command below. Notice that after removing it, when you run apt-upgrade, it will not offer you to upgrade to a higher PHP veresion. So this way you can upgrade the PHP manually whenever you want.
root@iRedMail-doesnt-exist:~# add-apt-repository ppa:ondrej/php --removeYou need to hit Enter key to proceed.
The next step is to Install Nginx on Ubuntu.