MariaDB is a high performance community-developed database engine that’s commonly used by big systems. we will install the latest version of MariaDB on Ubuntu 20.04
1. Before you in Install MariaDB on Ubuntu, update and upgrade the repositories by the below two commands:
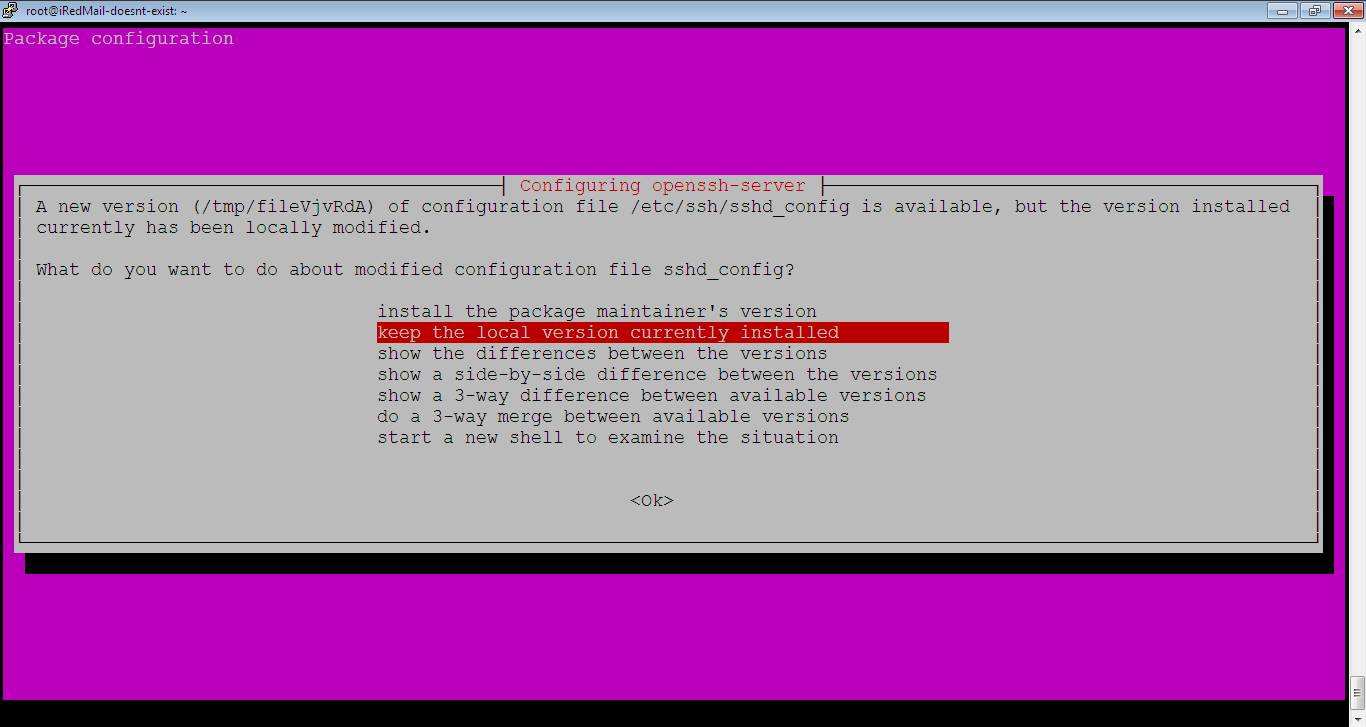
root@iRedMail-doesnt-exist:~# apt updateroot@iRedMail-doesnt-exist:~# apt upgradeSometimes during the upgrade process apt upgrade command, you get popups like the one below about updating the packages configuration, don’t change anything, just hit Enter key and keep it as default. Do this for any similar popup.
2. Install the software-properties-common package, we already installed it before installing the PHP, so you don’t need to do anything if you already installed the PHP.
root@iRedMail-doesnt-exist:~# apt install software-properties-common3. Import MariaDB gpg key by running the command:
root@iRedMail-doesnt-exist:~# apt-key adv --fetch-keys 'https://mariadb.org/mariadb_release_signing_key.asc'
4. Add the APT repository for MariaDB. Until writing this article, 10.5 is the latest. This step will allow the MariaDB version to be upgraded automatically when you upgrade the packages on your server (when running: apt upgrade).
root@iRedMail-doesnt-exist:~# add-apt-repository 'deb [arch=amd64] http://mariadb.mirror.globo.tech/repo/10.5/ubuntu focal main'For Ubuntu 22.04 LTS, the latest stable version on June 4, 2023 is: 10.11, so run this command:
root@iRedMail-doesnt-exist:~# add-apt-repository 'deb [arch=amd64] http://mariadb.mirror.globo.tech/repo/10.11/ubuntu jammy main'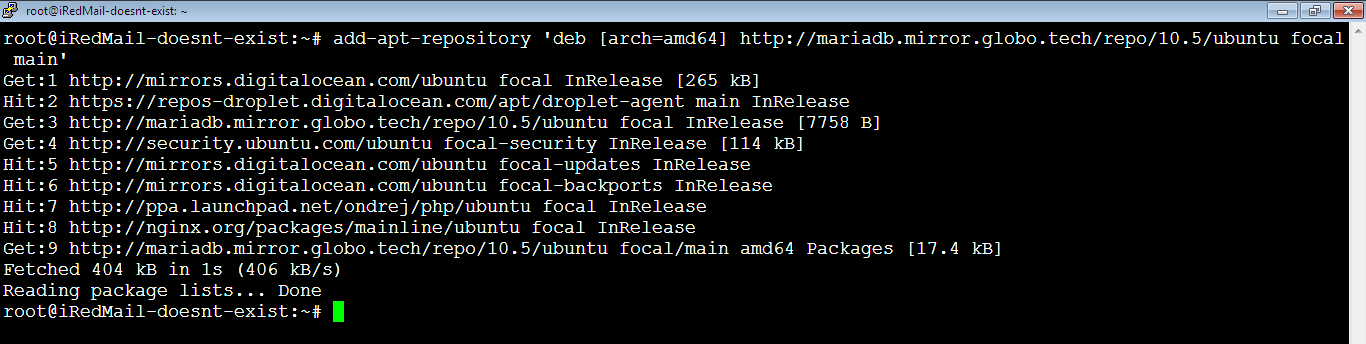
To remove the repository we’ve just added, run the below command, you can use this command in case you added wrong repository.
root@iRedMail-doesnt-exist:~# add-apt-repository -r 'deb [arch=amd64] http://mariadb.mirror.globo.tech/repo/10.5/ubuntu focal main'Or enter the file which contains the repositories by running the command and delete it from there:
root@iRedMail-doesnt-exist:~# nano /etc/apt/sources.list5. Update the APT repository:
root@iRedMail-doesnt-exist:~# apt update6. Now, let’s install the MariaDB server, by running the command:
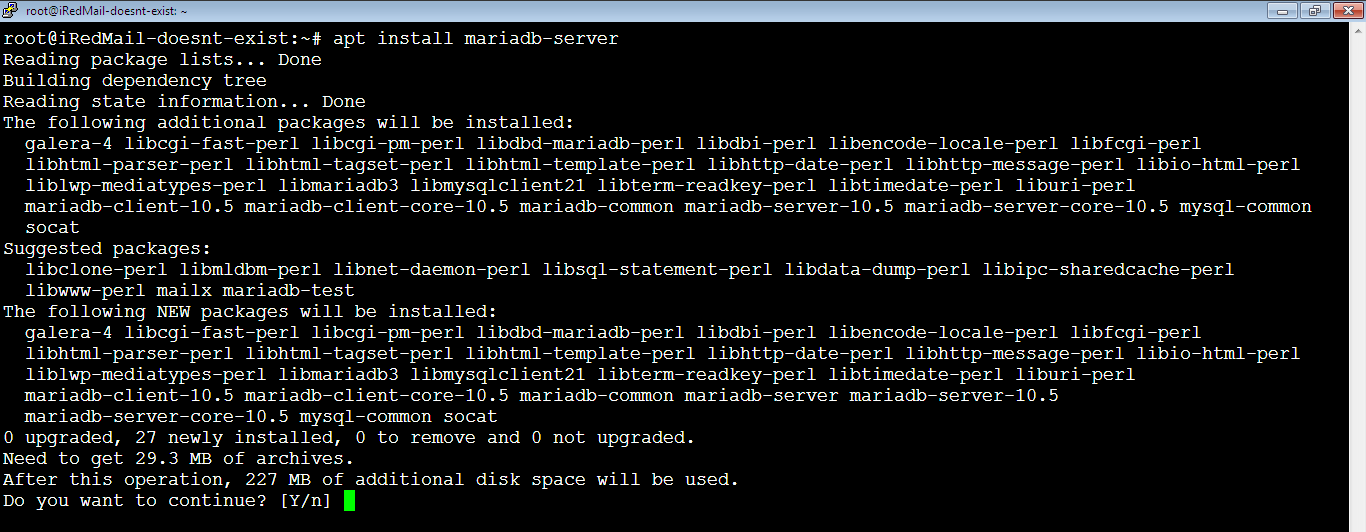
root@iRedMail-doesnt-exist:~# apt install mariadb-serverYou will be asked to confirm the installation, type: y (or: Y) then hit Enter key. If you don’t want to proceed with the installation, type: n, then hit Enter key.
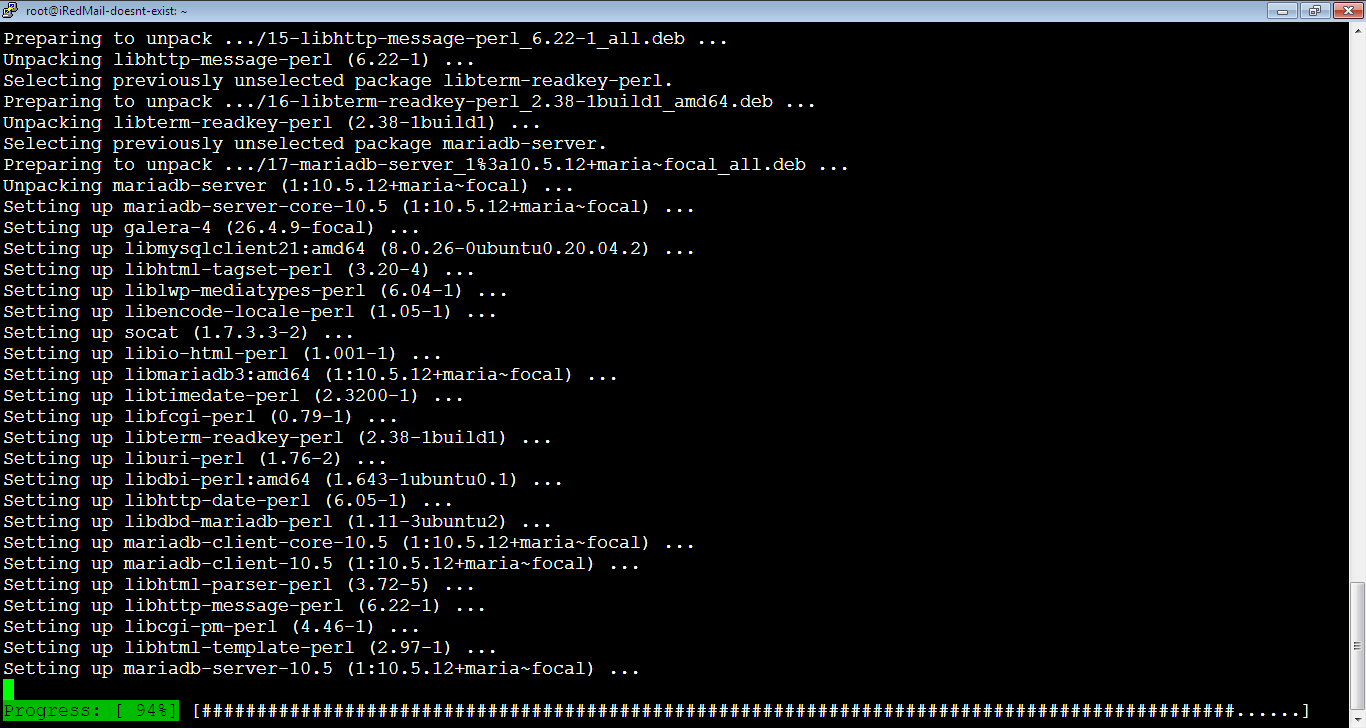
You will see the below progress:
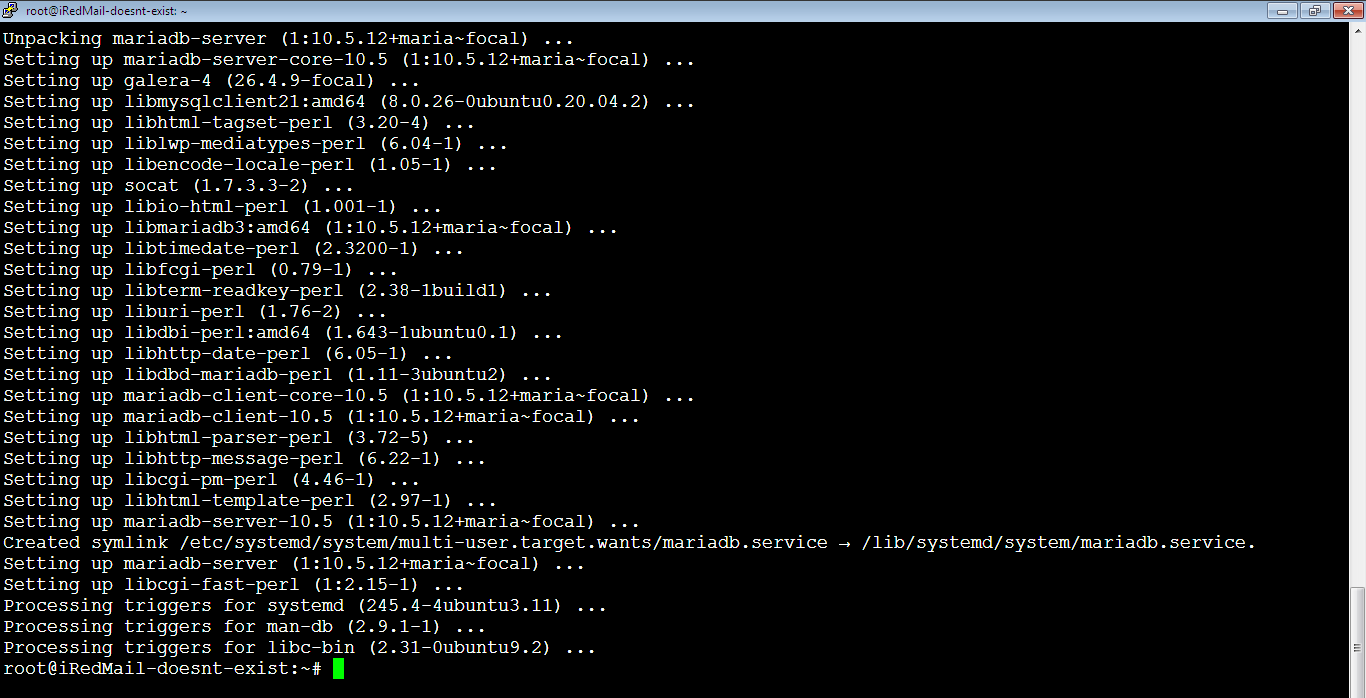
And here once it’s done:
7. Let’s now check the version installed of MariaDB, run any of the following commands, they are same.
root@iRedMail-doesnt-exist:~# mariadb -Vroot@iRedMail-doesnt-exist:~# mysql -V
Assign Password to Root User
8. Let’s add password to root user, first login to MySQL console by running:
root@iRedMail-doesnt-exist:~# mysql
Run the below MySQL command to assign password to root user. We will assign the password: abcdefgh as an example, you should assign so strong password.
ALTER USER 'root'@'localhost' IDENTIFIED BY 'abcdefgh';
Note that if you want to clean the MariaDB console, just press Ctrl + L.
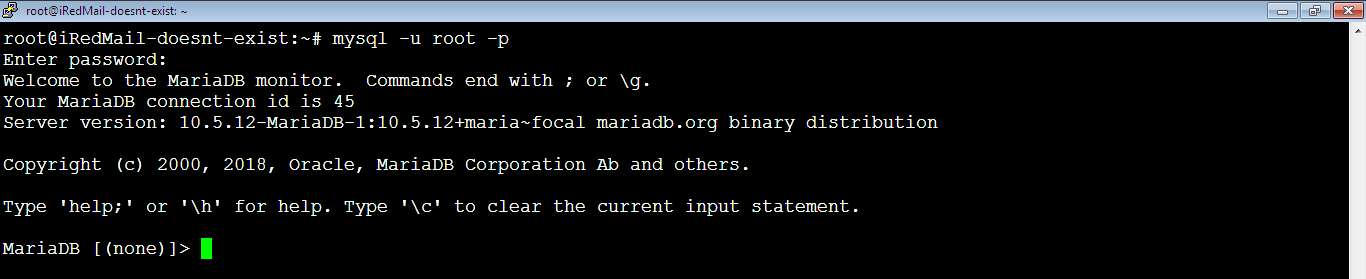
9. Quit MariaDB Console by pressing: Ctrl + c, or type: quit or exit. Now your next login to MariaDB console again needs password not like before, run the below command to login:
root@iRedMail-doesnt-exist:~# mysql -u root -pEnter the root password to login as you see below.
Use CNF File to Login to MariaDB on Ubuntu Without a Password
10. If you want to login to MySQL console without entering the root password everytime, we need to create CNF file in the base directory of your server and add the password there, so next time you login to MySQL console by just typing: mysql as before when we had no password.
To proceed, open CNF file by running the below command:
root@iRedMail-doesnt-exist:~# nano .my.cnfAdd the user and the password inside the file as below, use a strong password please.
[client]
user=root
password="abcdefgh"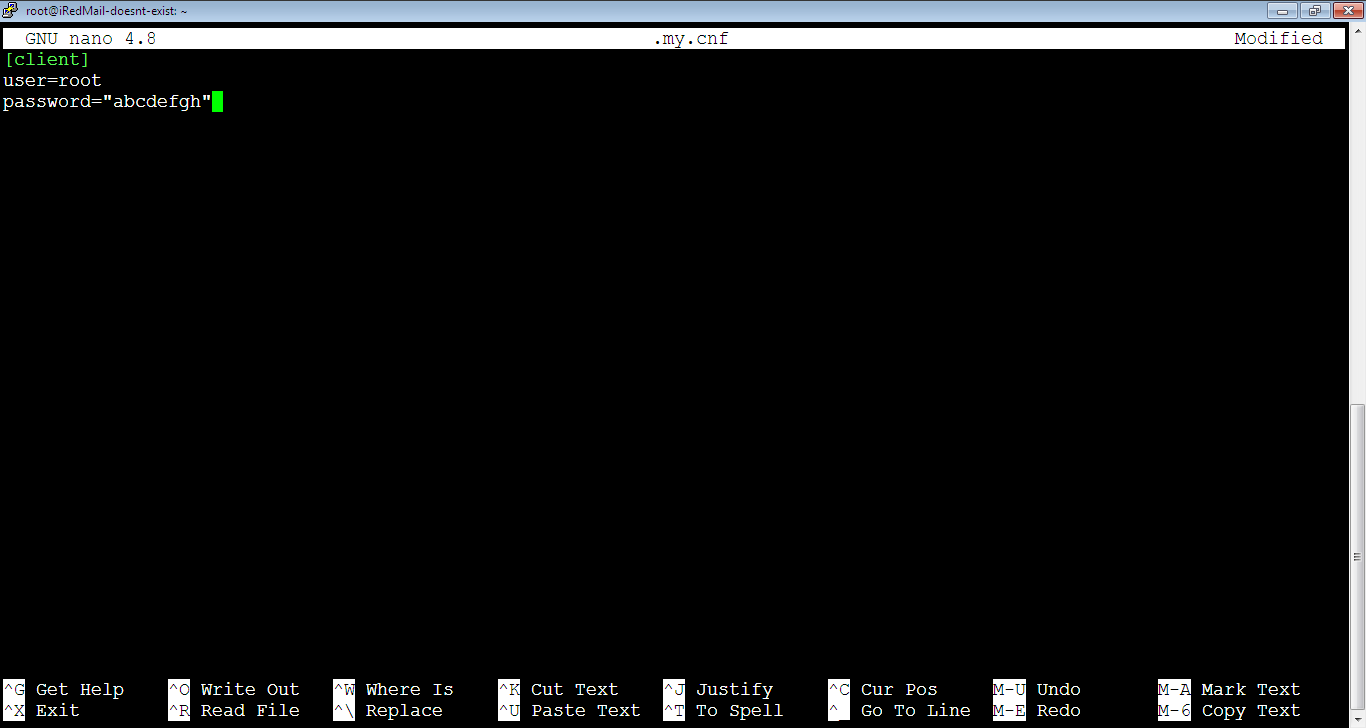
Close and save the file and now try to login to MySQL console via the command:
root@iRedMail-doesnt-exist:~# mysqlSuper! Now you can access MySQL console easily and you don’t need to run the command: mysql -u root -p nor to type the password every time you login to your MySQL console.
If you want to remove MariaDB completely with all related databases, just run the below command and when you aget a prompt, choose yes to delete everything:
root@iRedMail-doesnt-exist:~# apt purge mariadb-*Check and Update Innodb Buffer Pool Size
If the innodb_buffer_pool_size is small, your database might keeps crashing every few days. I’ve had this problem before and I tried couple of solutions before realising that the innodb_buffer_pool_size variable is the reason. To see the current value, run the below command. The default value is 128 MB which is too low. The unit in MySQL is in Bytes.
MariaDB [(none)]> SHOW VARIABLES LIKE '%innodb_buffer_pool_size%';MariaDB [(none)]> SHOW VARIABLES LIKE '%innodb_buffer_pool_size%';
+-------------------------+------------+
| Variable_name | Value |
+-------------------------+------------+
| innodb_buffer_pool_size | 134217728 |
+-------------------------+------------+
1 row in set (0.005 sec)
The pool size is 134217728 which equals 128 MB (134217728 bytes / 1024 KB/ 1024 MB). To change the pool size, run the below command. For me, I made the pool size equals half the size of the total RAM size. If your server has 8 GB RAM, make the pool size 4 GB. To convert 4 GB to Bytes, multiply by 1024 three times. So we get:
4 * 1024 * 1024 * 1024 = 4294967296Now, let’s set the pool size:
MariaDB [(none)]> SET GLOBAL innodb_buffer_pool_size=402653184;As I remember, I didn’t restart MariaDB after this change, but you can make it for the changes to take effect.
Check your database server after this change, you shouldn’t see any stoppage for the database as below, it’s active for 2 months and 20 days.
root@mail:~# service mariadb status
● mariadb.service - MariaDB 10.6.12 database server
     Loaded: loaded (/lib/systemd/system/mariadb.service; enabled; vendor preset: enabled)
    Drop-In: /etc/systemd/system/mariadb.service.d
             └─override.conf
     Active: active (running) since Fri 2024-04-05 20:07:02 +03; 2 months 20 days ago
       Docs: man:mariadbd(8)
             https://mariadb.com/kb/en/library/systemd/
    Process: 622083 ExecStartPre=/usr/bin/install -m 755 -o mysql -g root -d /var/run/mysqld (code=exited, status=0/SUCCESS)
    Process: 622085 ExecStartPre=/bin/sh -c systemctl unset-environment _WSREP_START_POSITION (code=exited, status=0/SUCCESS)
    Process: 622087 ExecStartPre=/bin/sh -c [ ! -e /usr/bin/galera_recovery ] && VAR= ||   VAR=`cd /usr/bin/..; /usr/bin/galera_recovery`; [ $? -eq 0 ]   && systemctl set-environment _WSRE>
    Process: 622187 ExecStartPost=/bin/sh -c systemctl unset-environment _WSREP_START_POSITION (code=exited, status=0/SUCCESS)
    Process: 622189 ExecStartPost=/etc/mysql/debian-start (code=exited, status=0/SUCCESS)
   Main PID: 622168 (mariadbd)
     Status: "Taking your SQL requests now..."
      Tasks: 44 (limit: 9439)
     Memory: 699.4M
        CPU: 9h 37min 21.582s
     CGroup: /system.slice/mariadb.service
             └─622168 /usr/sbin/mariadbd

Notice: journal has been rotated since unit was started, output may be incomplete.
Our next step is to create new MySQL database for the new WordPress website that we will start.