
Nginx is a high performance webserver because it uses an event‑driven processing approach. That is why, it is faster than other webservers. We will Install Nginx on Ubuntu 20.04 LTS server.
In case you already installed iRedMail on your server, you don’t need to install Nginx on Ubuntu separately as it’s included in iRedMail installation.
- c. Connect Nginx to PHP (7 steps)
a. Download and Install Nginx
1. Before we install Nginx on Ubuntu server, we need to create a repository source file for Nginx by running the command below on PuTTY SSH client or any Linux terminal to open a new file:
root@iRedMail-doesnt-exist:~# nano /etc/apt/sources.list.d/nginx.listThen, add the following two lines in the file if you use Ubuntu 20.04 LTS.
deb [arch=amd64] http://nginx.org/packages/mainline/ubuntu/ focal nginx
deb-src http://nginx.org/packages/mainline/ubuntu/ focal nginx
If you use Ubuntu 22.04 LTS, add the below two lines:
deb [arch=amd64] http://nginx.org/packages/mainline/ubuntu/ jammy nginx
deb-src http://nginx.org/packages/mainline/ubuntu/ jammy nginx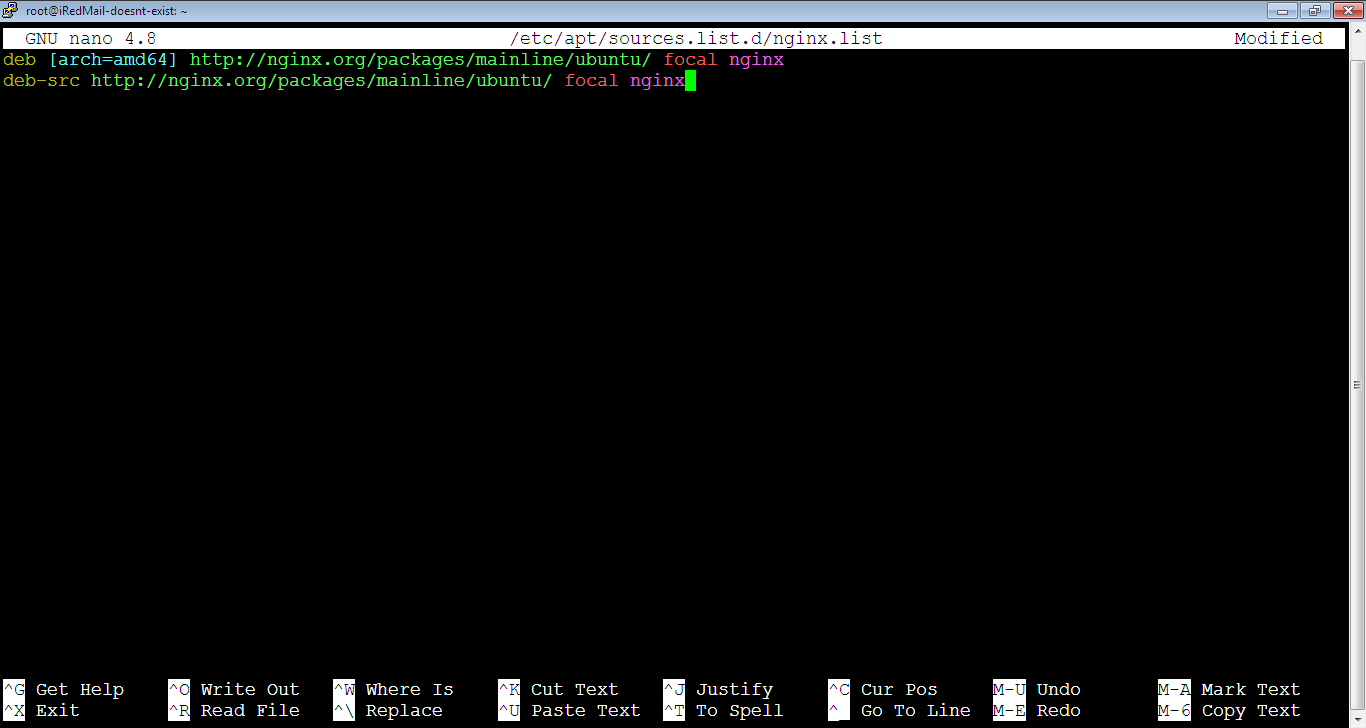
After that, close and save the file.
2. Download Nginx public key by running the following command:
root@iRedMail-doesnt-exist:~# wget http://nginx.org/keys/nginx_signing.key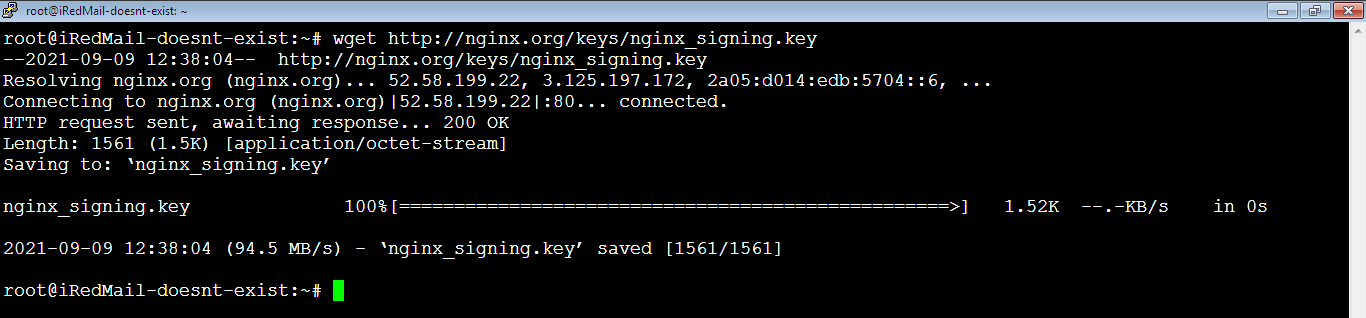
3. Add Nginx public key by running the below command:
root@iRedMail-doesnt-exist:~# apt-key add nginx_signing.key
4. Once the repository is added to your Ubuntu system, run the following command to update repository info.
root@iRedMail-doesnt-exist:~# apt update5. [Not required if it’s fresh installation] In case you have already installed Nginx from the default Ubuntu software repository, you need to remove it by running the command:
root@iRedMail-doesnt-exist:~# apt remove nginx nginx-common nginx-full nginx-coreThen, backup the main Nginx configuration file /etc/nginx/nginx.conf because it will be replaced with a new nginx.conf file when we later install the latest version of Nginx.
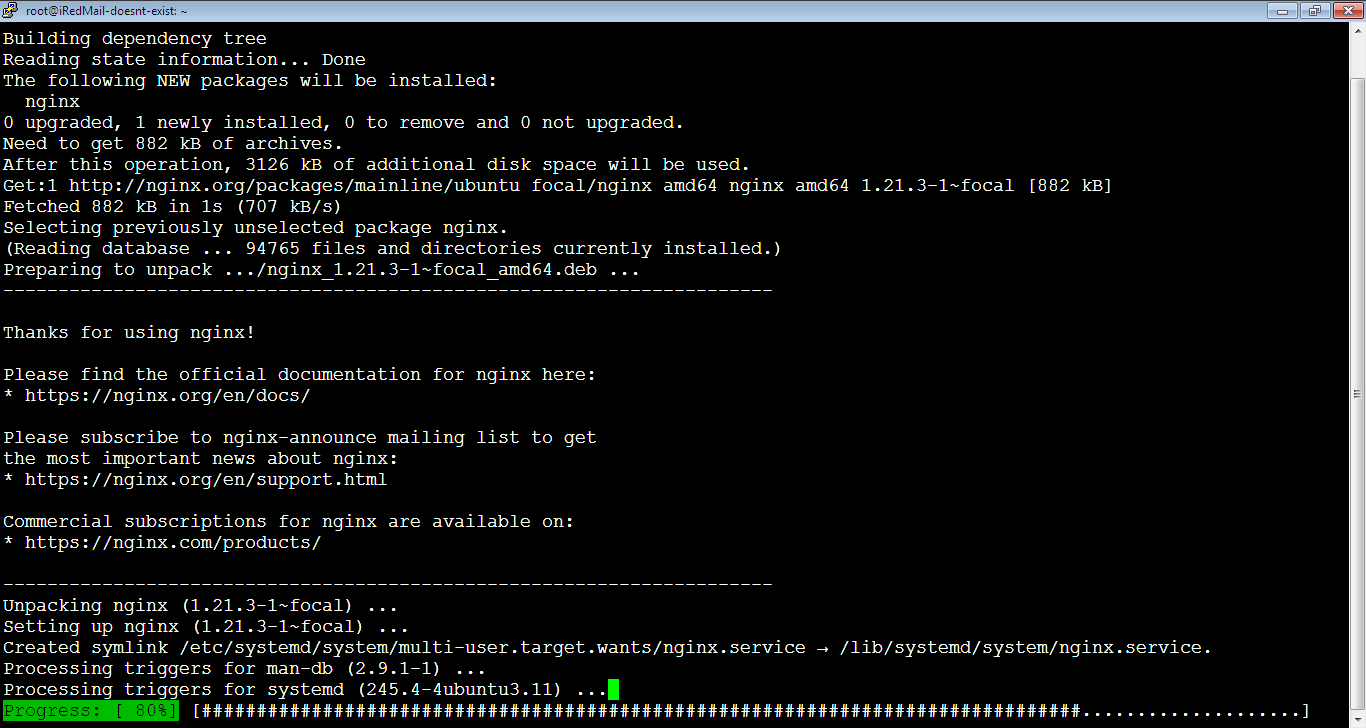
root@iRedMail-doesnt-exist:~# cp /etc/nginx/nginx.conf /etc/nginx/nginx.conf.backup6. Let’s install Nginx on Ubuntu now by running the following command:
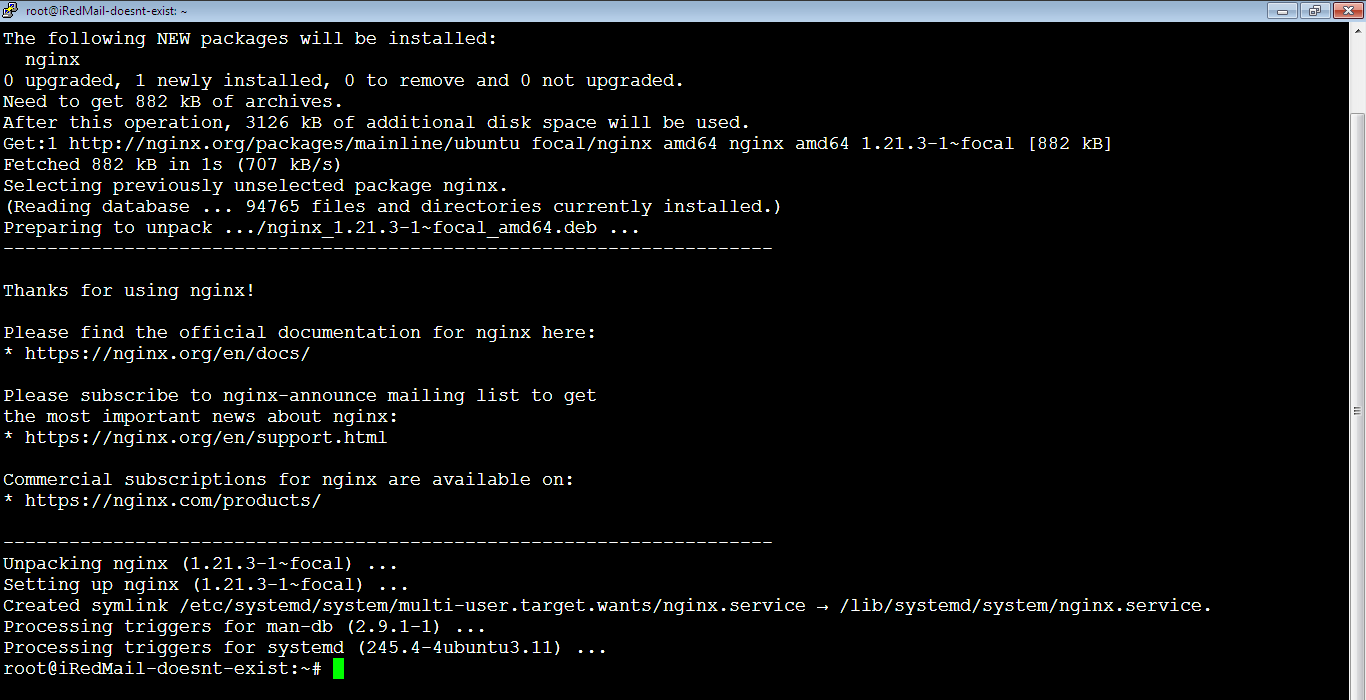
root@iRedMail-doesnt-exist:~# apt install nginxYou will see a progress like below.
And here when the installation is complete:
Test Nginx Configuration
Once Nginx is installed, test Nginx configuration by running the below command:
root@iRedMail-doesnt-exist:~# nginx -t
7. As you see above, the test is successful. So, let’s start Nginx by running the command below:
root@iRedMail-doesnt-exist:~# service nginx start
In case the above command hangs, use this command to start Nginx:
root@iRedMail-doesnt-exist:~# systemctl start nginxAnd in case the above command doesn’t work too, just reboot your server by running the below command then try again, it should work.
root@iRedMail-doesnt-exist:~# rebootLet’s check the version of Nginx by running the following command:
root@iRedMail-doesnt-exist:~# nginx -v
You can check Nginx status by running the command.
root@iRedMail-doesnt-exist:~# service nginx status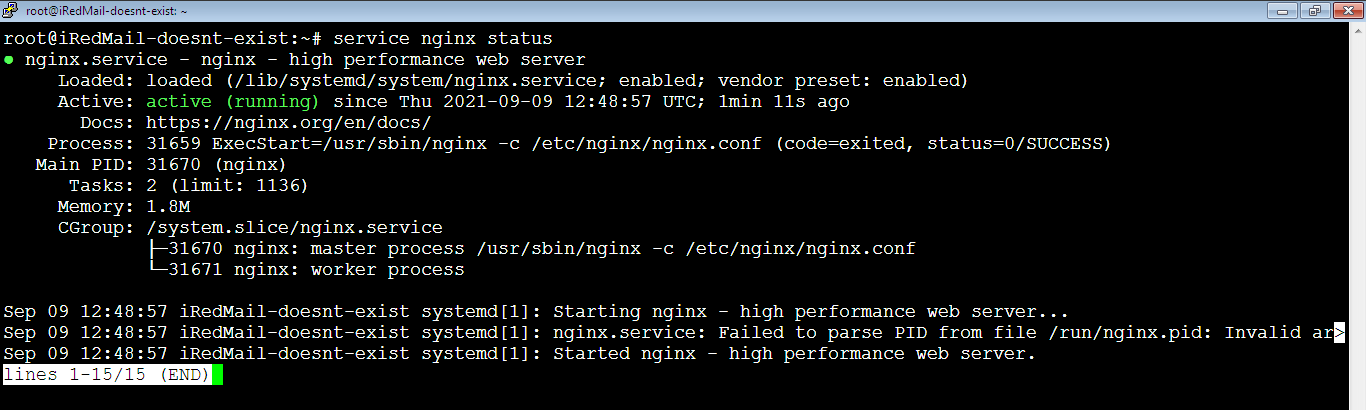
To exit, press: Ctrl + c then hit Enter key.
If your Nginx doesn’t start at boot time automatically, enable autostart by running the below command:
root@iRedMail-doesnt-exist:~# systemctl enable nginxb. Configure Nginx
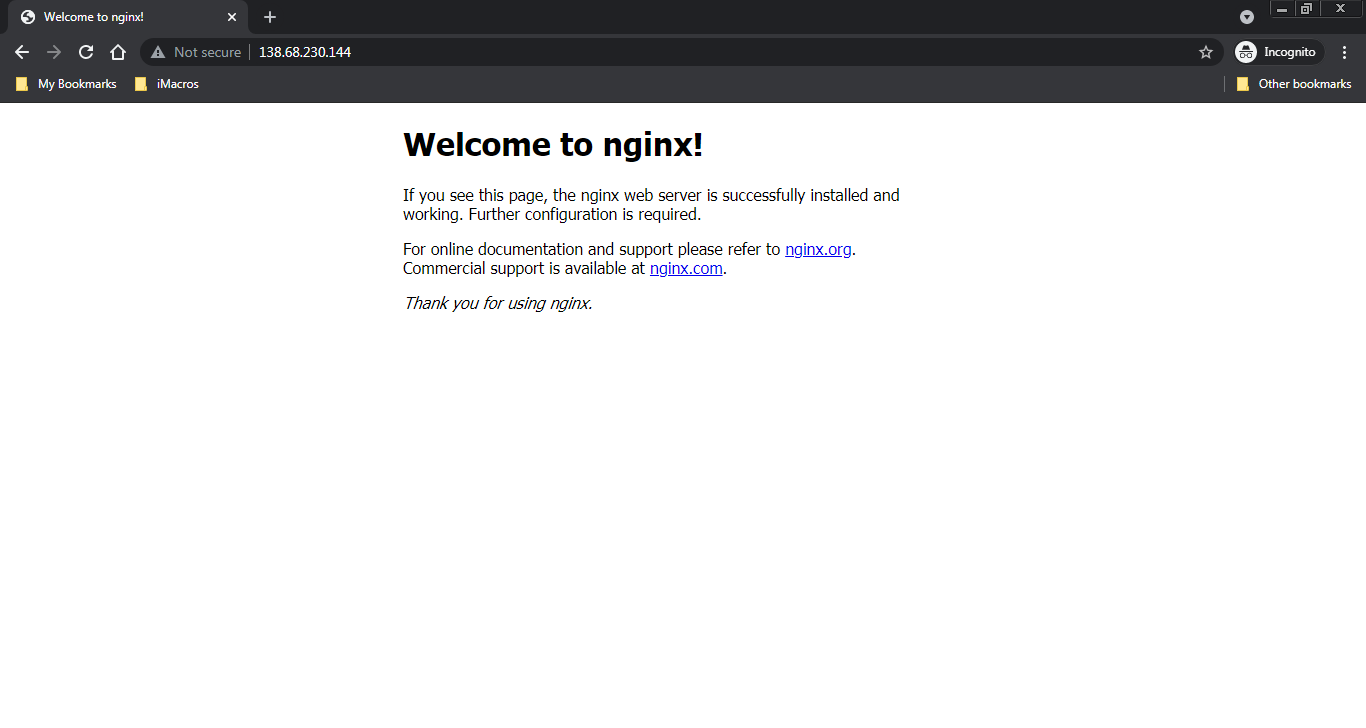
1. First, let’s check Nginx on web to see if it works, check the IP address of your server on the browser as below, you should see welcome page which is an HTML page:
2. Let’s change the Document Root directory of Nginx where the you will place the directories of your websites. The default document root directory is: /usr/share/nginx/html, we will change it to: /var/www/html, but first we need to create the directories www and html. Run the command below to create the www directory:
root@iRedMail-doesnt-exist:~# mkdir /var/wwwAnd this command to create the html directory inside it:
root@iRedMail-doesnt-exist:~# mkdir /var/www/htmlOpen default.conf File
Now, open the default configuration file by running the below command:
root@iRedMail-doesnt-exist:~# nano /etc/nginx/conf.d/default.conf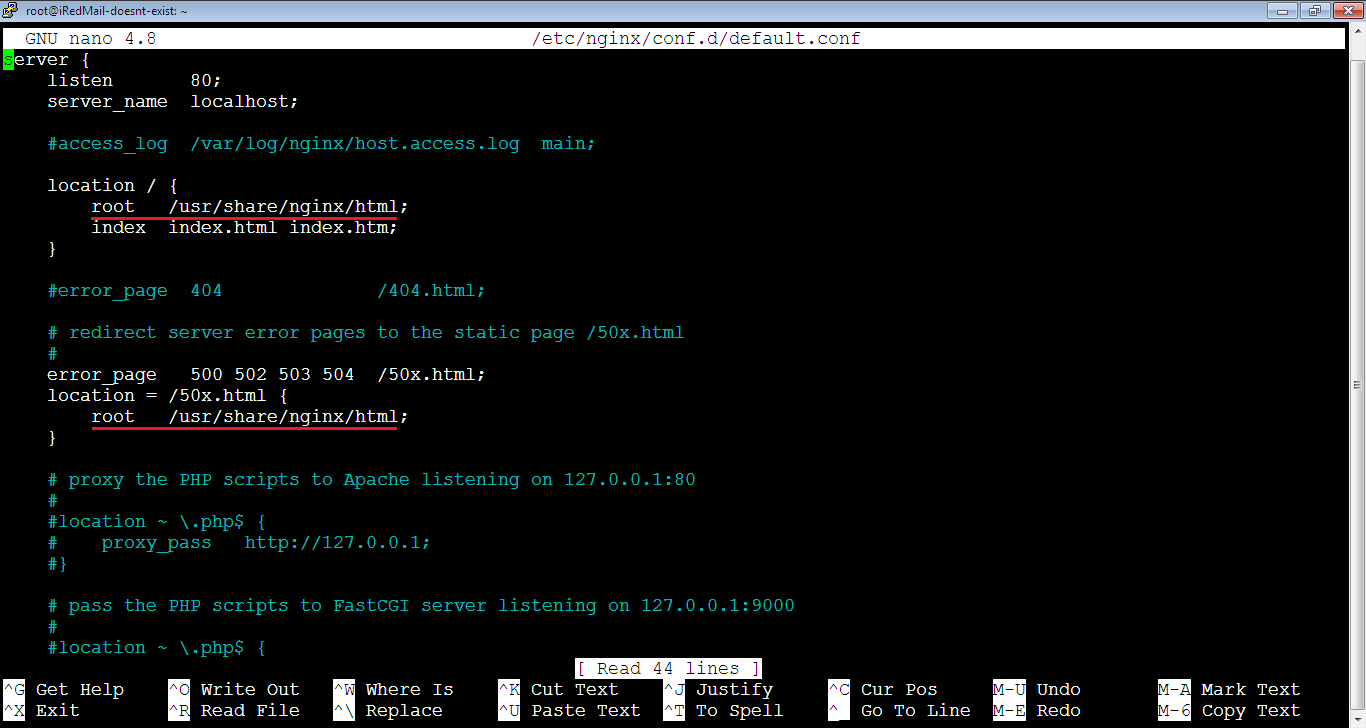
Notice the current document root: /usr/share/nginx/html. We need to comment the two lines for the current document root by adding hash symbol (#) in front of them like this:
#root /usr/share/nginx/html;And add below each commented line, the below line for the new directory:
root /var/www/html;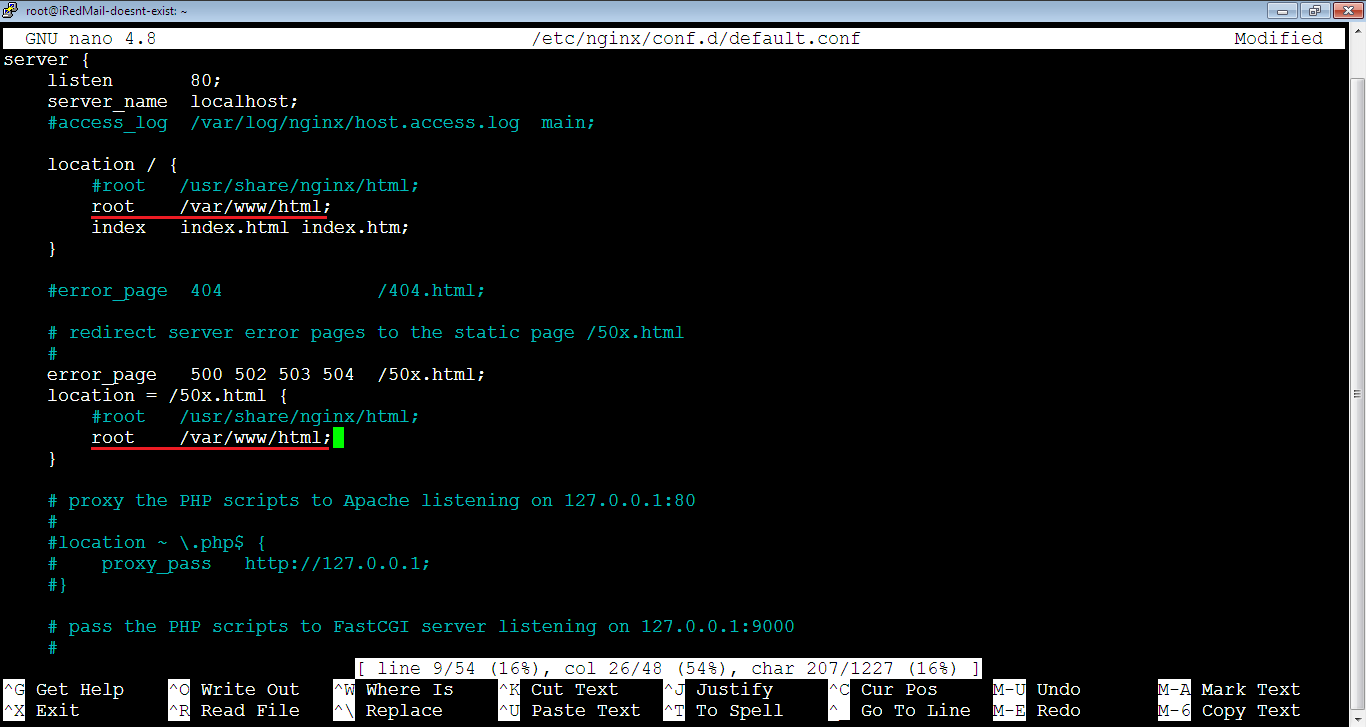
Your file should look like above. Close and save the file.
3. When you install Nginx independently, site-available and site-enabled directories won’t be created, so we need to create them manually and include them in the /etc/nginx/nginx.conf file. Let’s create them by running the below commands:
root@iRedMail-doesnt-exist:~# mkdir /etc/nginx/sites-availableroot@iRedMail-doesnt-exist:~# mkdir /etc/nginx/sites-enabledOpen nginx.conf File
Now, open nginx.conf file by running the command:
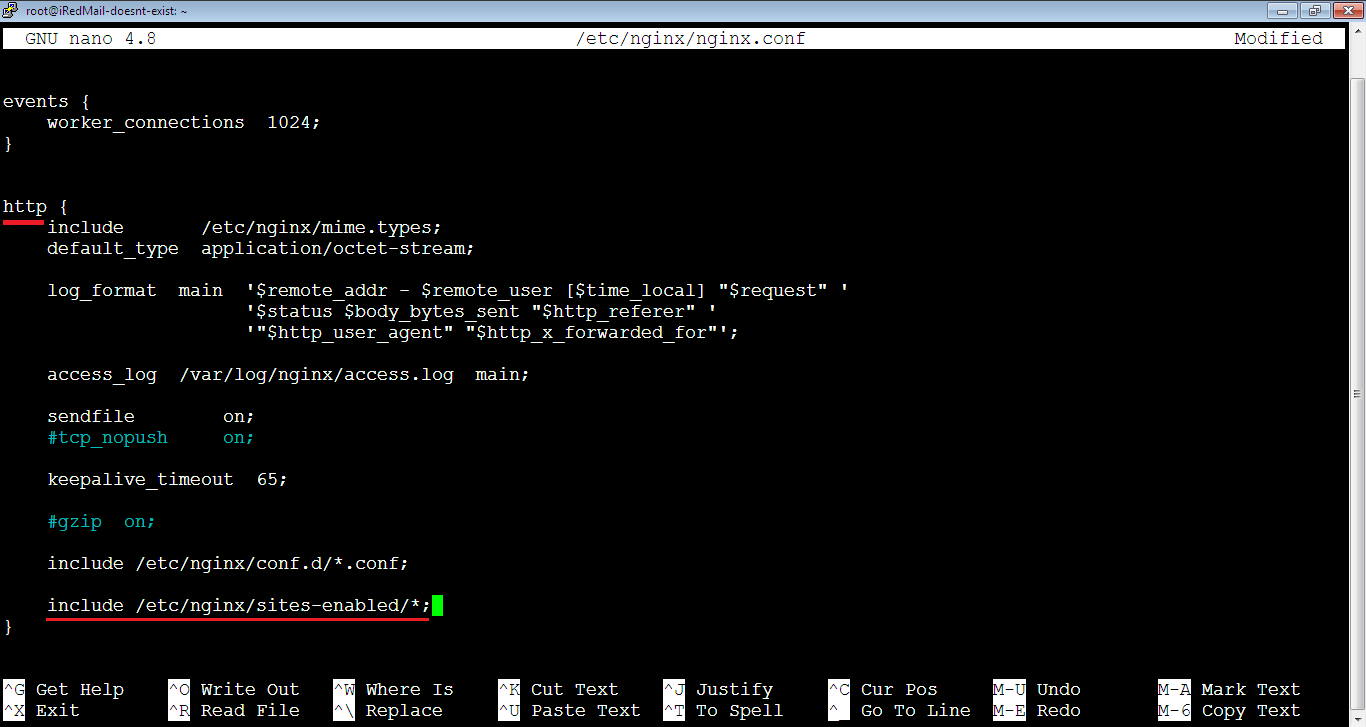
root@iRedMail-doesnt-exist:~# nano /etc/nginx/nginx.confEdit the http block and add this line:
include /etc/nginx/sites-enabled/*;It should look like below:
Close and save the file, then test Nginx configuration by running the command:
root@iRedMail-doesnt-exist:~# nginx -tIt should be okay, now restart nginx for the changes to take effect:
root@iRedMail-doesnt-exist:~# service nginx restartc. Connect Nginx to PHP
Before running any PHP program on Nginx webserver, we need to connect Nginx to PHP properly as below:
1. Let index.php be the first index file to be looked for when sending request to Nginx. So, open the default configuration file by running the command:
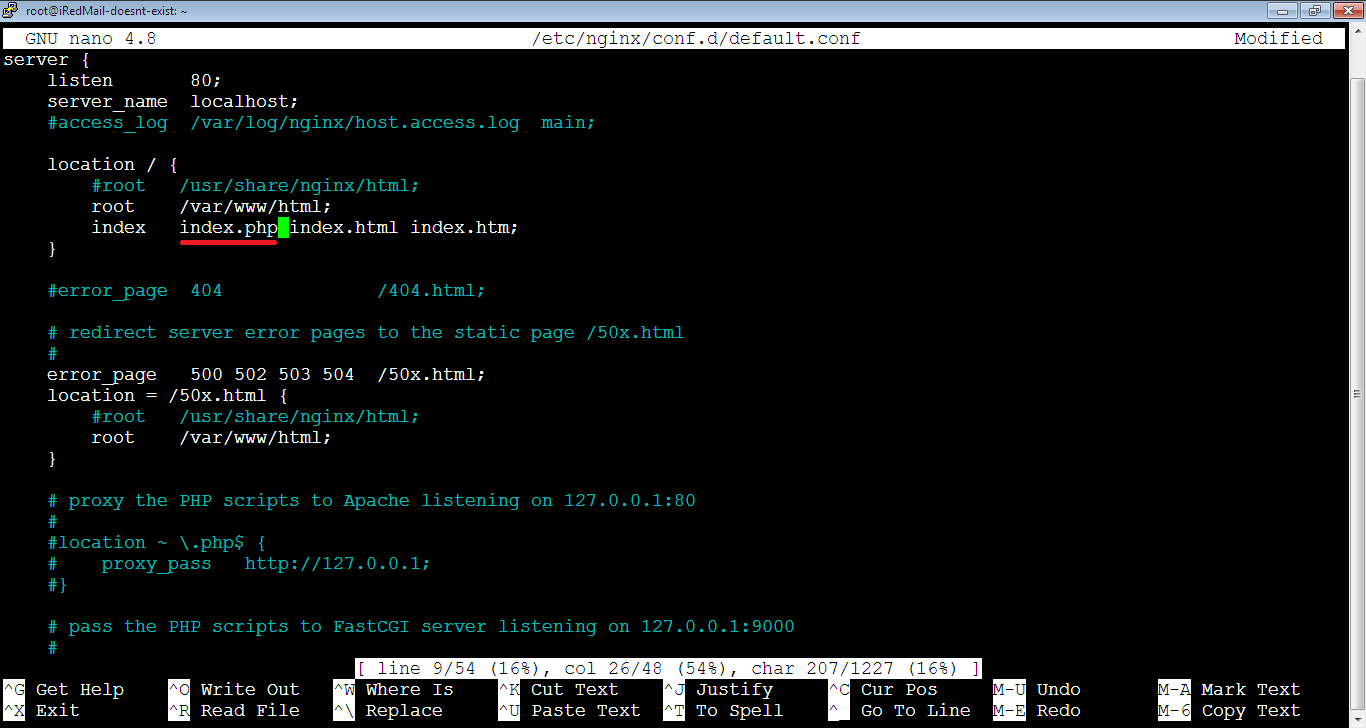
root@iRedMail-doesnt-exist:~# nano /etc/nginx/conf.d/default.confThen, add index.php inside the location / block after index as below in bold text:
location / {
        #root   /usr/share/nginx/html;
        root    /var/www/html;
        index   index.php index.html index.htm;
    }
2. Copy the file: 50x.html inside the directory: /usr/share/nginx/html to the new directory by running the following command:
root@iRedMail-doesnt-exist:~# cp /usr/share/nginx/html/50x.html /var/www/htmlThis step is important to avoid getting error when missing this file as it’s included in default configuration file and we already changed the default directory for it there.
Open www.conf File
3. Open www.conf file to see which socket is listening to the traffic, run the below command to open it:
root@iRedMail-doesnt-exist:~# nano /etc/php/8.0/fpm/pool.d/www.confThen, locate the line that starts with: listen =, which is below:
listen = /run/php/php8.0-fpm.sock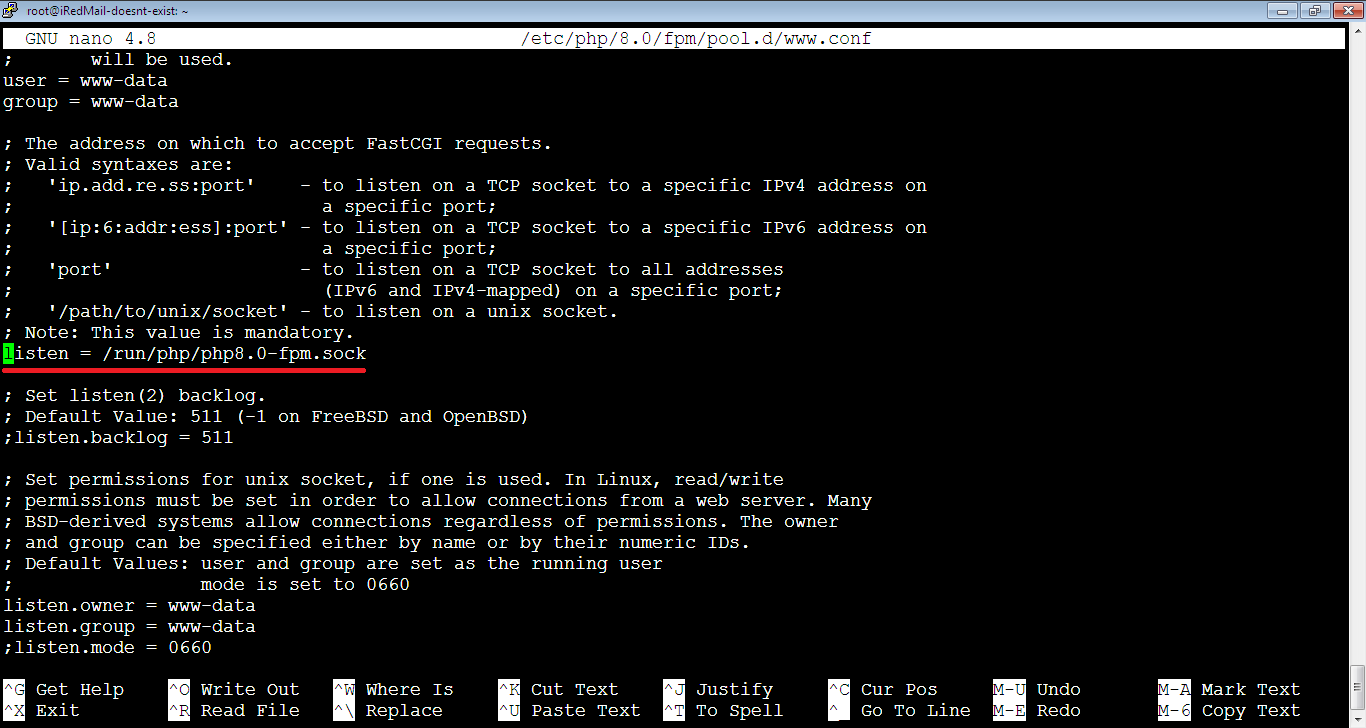
After that, save this line somewhere then close the file. You can check the running FPM by running the command:
root@iRedMail-doesnt-exist:~# ps aux | grep 'php-fpm'But as we installed php8.0-fpm, we’ve no much options to choose from.
4. Open the default.conf file:
root@iRedMail-doesnt-exist:~# nano /etc/nginx/conf.d/default.confThen, locate the below block:
#location ~ \.php$ {
#    root           html;
#    fastcgi_pass   127.0.0.1:9000;
#    fastcgi_index  index.php;
#    fastcgi_param  SCRIPT_FILENAME  /scripts$fastcgi_script_name;
#    include        fastcgi_params;
#}
After that, add the following code below it. Note that we’ve just changed the values of fastcgi_pass and fast_cgi_param as seen in bold red.
location ~ \.php$ {
    root           html;
    fastcgi_pass   unix:/var/run/php/php8.0-fpm.sock;
    fastcgi_index  index.php;
    fastcgi_param  SCRIPT_FILENAME  /var/www/html$fastcgi_script_name;
    include        fastcgi_params;
}
Your file should look like below:

5. Check Nginx configuration then restart it:
root@iRedMail-doesnt-exist:~# nginx -troot@iRedMail-doesnt-exist:~# service nginx restartAdd Nginx to www-data Group
6. Add Nginx to www-data group as the webserver is owned by www-data on Linux by running the command:
root@iRedMail-doesnt-exist:~# adduser nginx www-dataAlso, you can use this command they work same!
root@iRedMail-doesnt-exist:~# usermod -a -G www-data nginxIn order to remove Nginx from the www-data group, run the command below:
root@iRedMail-doesnt-exist:~# deluser nginx www-dataTest PHP
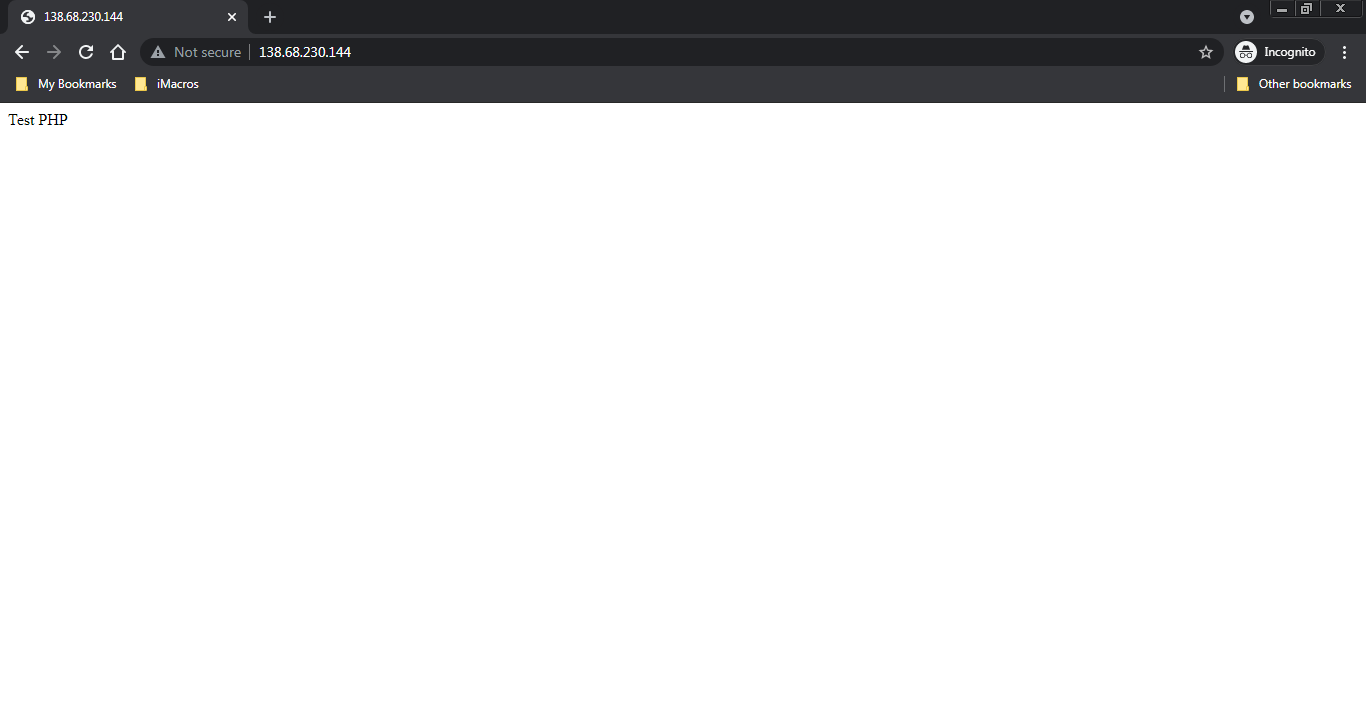
7. Let’s test the PHP by creating PHP file inside the document root directory and to see if it executes the PHP. So, open a php file by running the command below:
root@iRedMail-doesnt-exist:~# nano /var/www/html/index.phpThen, add the simple PHP code inside it:
<?php echo "Test PHP" ?>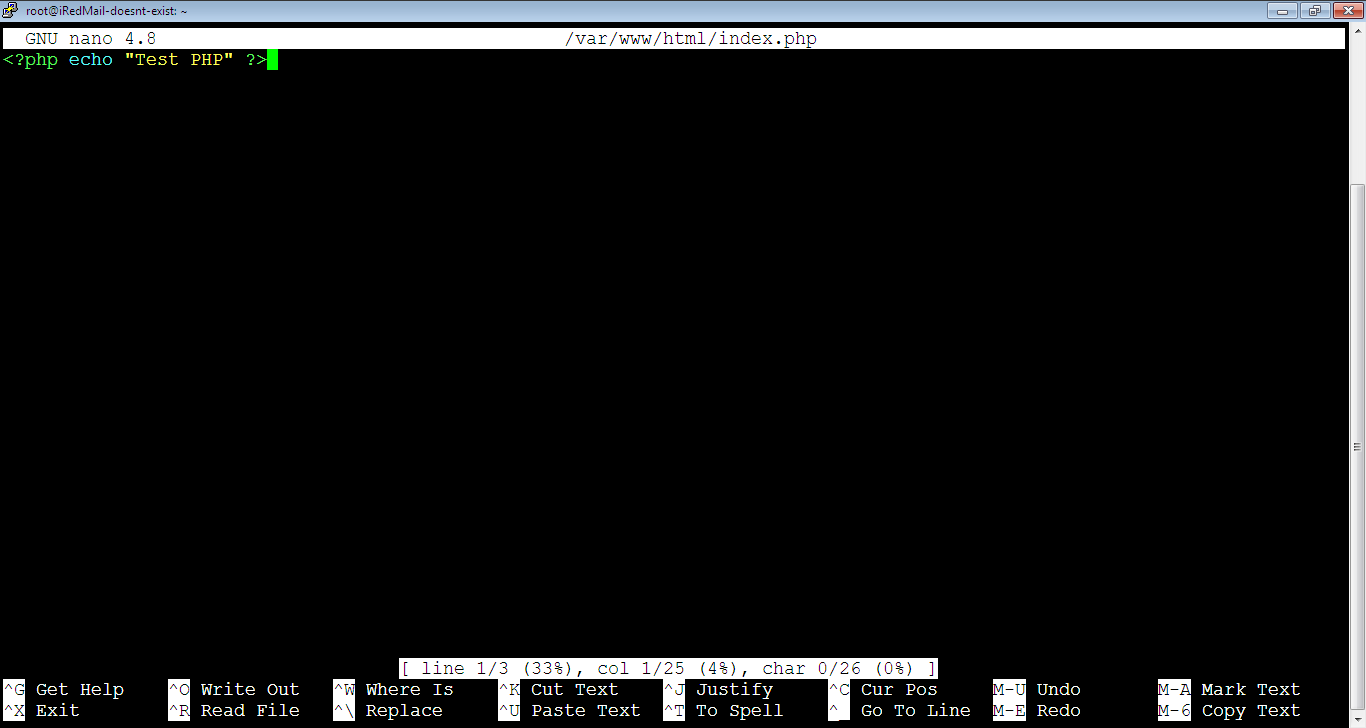
After that, close and save the file and restart Nginx for the changes to take effect:
root@iRedMail-doesnt-exist:~# service nginx restartNow, test the IP address from the browser, you should get the output of the PHP file as below:
If you don’t restart Nginx, you will get an error.
Check Nginx Error Log
In case you have any error, you can check the Nginx error log by running the below command:
root@iRedMail-doesnt-exist:~# tail -100 /var/log/nginx/error.logChange the ownership of the directory /var/www/html to www-data by running the command:
root@iRedMail-doesnt-exist:~# chown -Rf www-data:www-data /var/www/htmlIncrease Cleint Max Body Upload Size
If you’re using Nginx that’s pre-configured from iRedMail, the client max body upload size can be edited from the below file:
root@mail:~# nano /etc/nginx/conf-enabled/client_max_body_size.confChange it to 100 MB instead of 12 MB (the default value) like below:
client_max_body_size 100m;
You can read more about it here: https://docs.iredmail.org/change.mail.attachment.size.html
If you’re not using iRedMail, you can edit it simply by going to this file:
root@mail:~# nano /etc/nginx/nginx.confOr check if the file has a date like below:
root@mail:~# nano /etc/nginx/nginx.conf.2023.03.25.20.40.17Inside the http block at the end.
You must restart Nginx server for the changes to take effect by running:
root@mail:~# service nginx restartEverything is perfect! In the next article, we will show you how to install the latest stable release of MariaDB.