
Once we install TLS certificate for the email server, the security warning will disappear when we access the web-based panels.
- a. Install Certbot and Obtain TLS Certificate (3 steps)
- b. Nginx TLS Configuration (2 steps)
- c. Postfix TLS configuration (2 steps)
- d. Dovecot TLS Configuration (2 steps)
- e. Verify the Installation (2 steps)
- f. Renew TLS Certificate (2 steps)
a. Install Certbot and Obtain TLS Certificate
1. Before installing TLS certificate, install software-properties-common if not installed, by running the command on PuTTY SSH client or any Linux terminal:
root@mail:~# apt install software-properties-common
As you see, it’s already there which means it got installed during the installation of iRedMail.
2. Then, install Certbot by running the below command:
root@mail:~# apt install certbot python3-certbot-nginx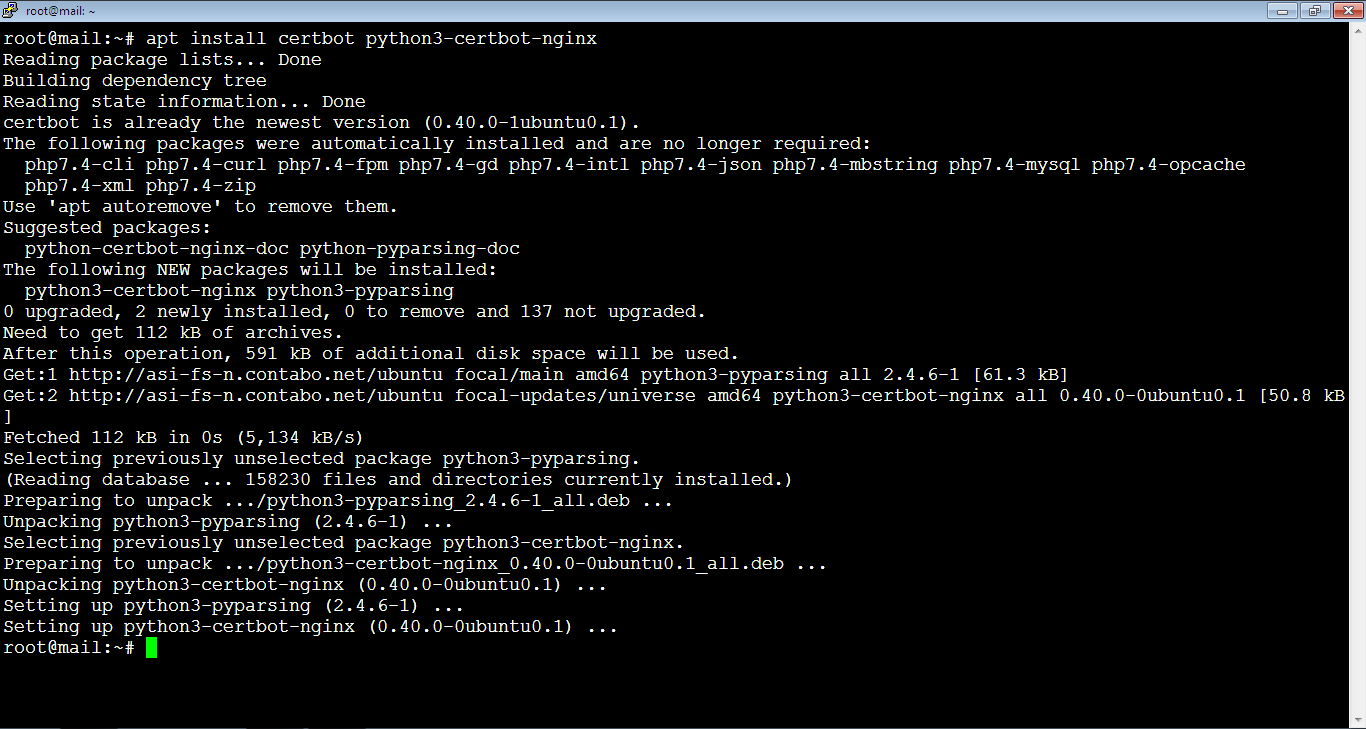
Sometimes you get a prompt to confirm the installation by typing: y, or: Y.
3. Request the certificate by running the below command. You need to replace the email address and the domain in red with your own email address and your domain. For this purpose, you can use any email address instead of: postmaster@vpsprof.com.
root@mail:~# certbot certonly --webroot --agree-tos --email postmaster@vpsprof.com -d mail.vpsprof.com -w /var/www/html/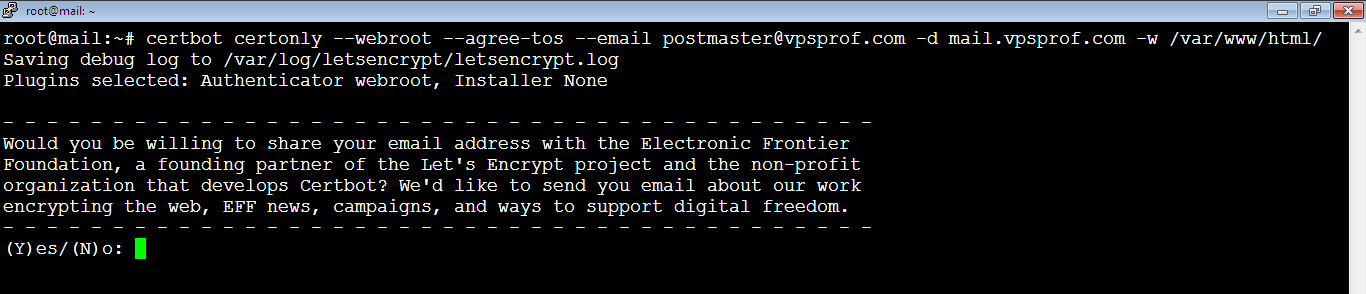
You will be asked to share your email address with the Electronic Frontier Foundation to receive updates about their wok and news. It’s up to you, we will not share the email, so we will type: N, or: n, then hit Enter key. If you would like to share your email, type: Y, or y then hit Enter key.
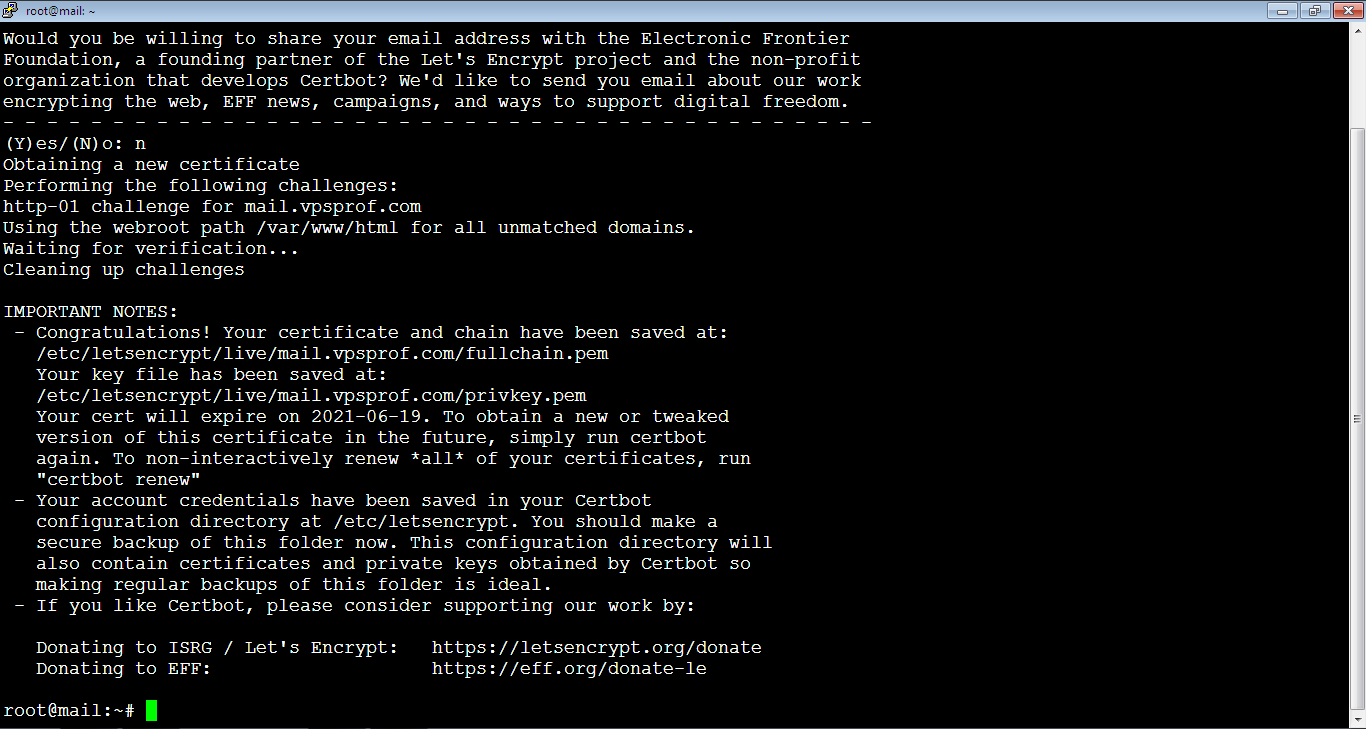
And here it’s done successfully! The certificate has been saved in the directory: /etc/letsencrypt/live/mail.vpsprof.com. If you fail to obtain the TLS certificate, it might be because your DNS records are not propagated, it takes up to 48 hours to propagate.
b. Nginx TLS Configuration
1. You need to edit Nginx SSL template file in order to configure Nginx web server to use the generated certificate. Open it by running the below command then hit Enter key.
root@mail:~# nano /etc/nginx/templates/ssl.tmplAfter that, find the below lines, the file is small so you can find them easily. In case the file is big, just press: Ctrl+w to search for any text inside the file. After that, type the text you want to search for. Then, hit Enter key. We’re explaining this with screen shots later on this article.
ssl_certificate /etc/ssl/certs/iRedMail.crt;
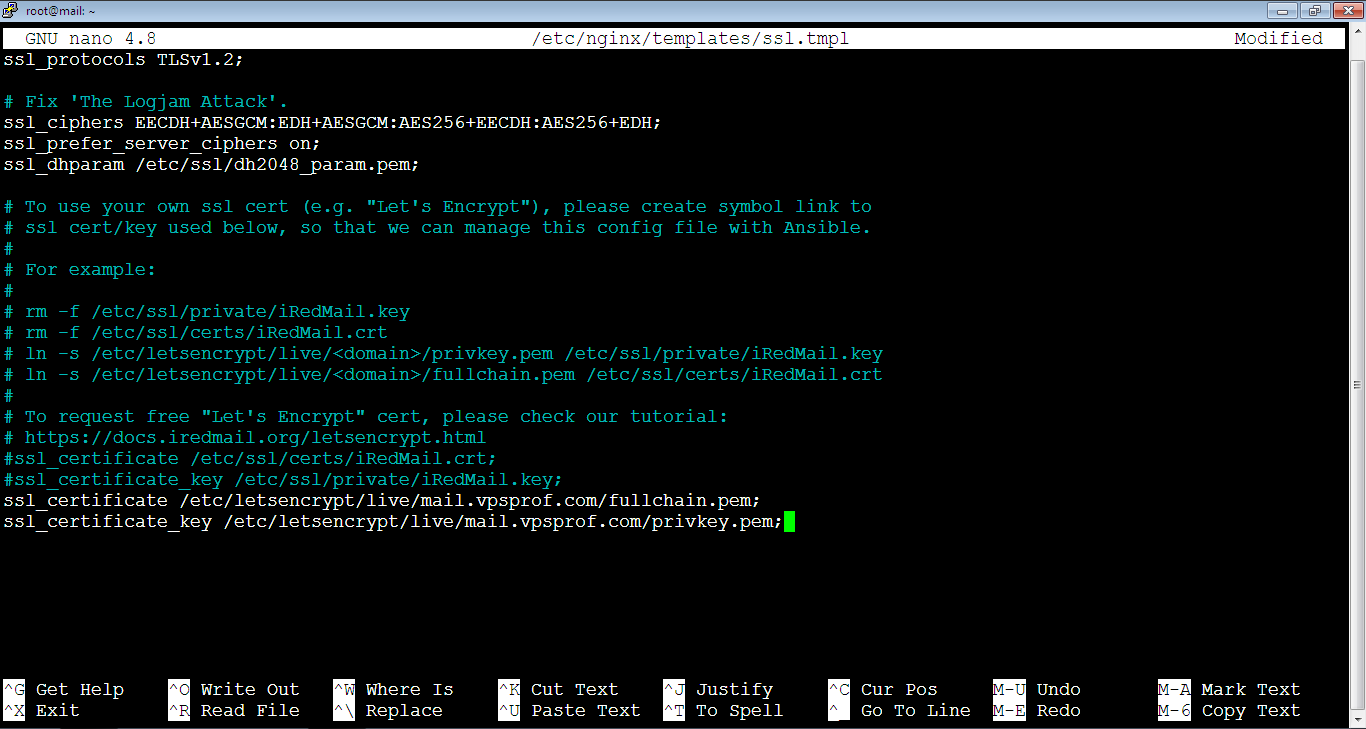
ssl_certificate_key /etc/ssl/private/iRedMail.key;Comment them by adding a hash symbol (#) at the beginning of each line then add the following lines below them. Don’t forget to replace vpsprof.com domain in red with your own domain.
ssl_certificate /etc/letsencrypt/live/mail.vpsprof.com/fullchain.pem;
ssl_certificate_key /etc/letsencrypt/live/mail.vpsprof.com/privkey.pem;
After editing the file, it should look like below. Close the file and save the changes as we explained before: Ctrl+x, after that: Y (or: y), then hit Enter key.
2. We need to reload Nginx server. But, before we do that, we should make sure that the configuration has no errors. In case you reload the server with errors, it will stop working. That’s why you need to be careful and always test the configuration before loading Nginx server. To test the configuration, run the below command:
root@mail:~# nginx -t
As you see, the configuration has no syntax errors, so we can reload it now safely by running the command:
root@mail:~# service nginx reload
Nginx will not show any notification after the reload process. To make sure it’s running, run the command:
root@mail:~# service nginx status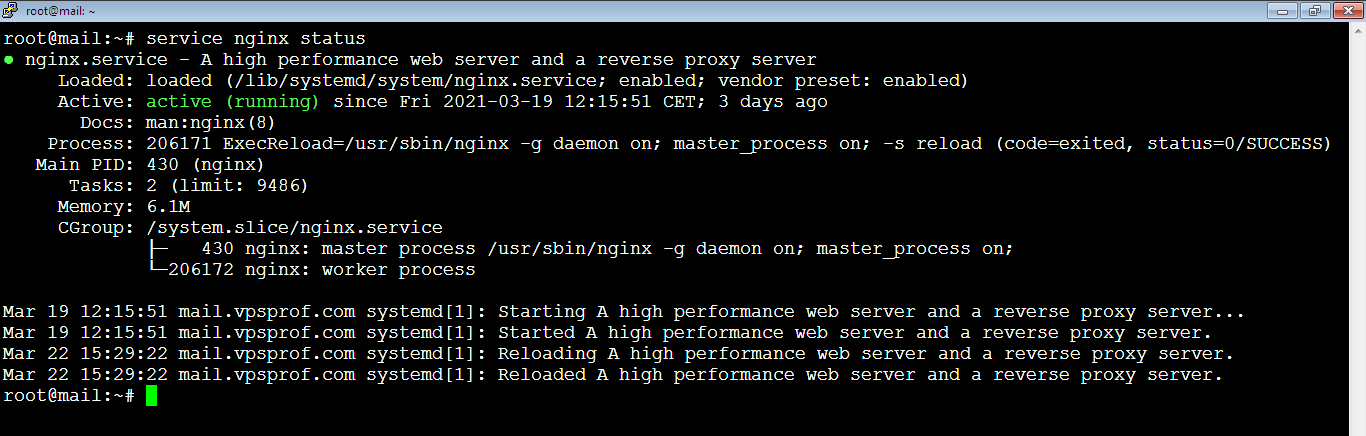
As you see, it’s active (running).
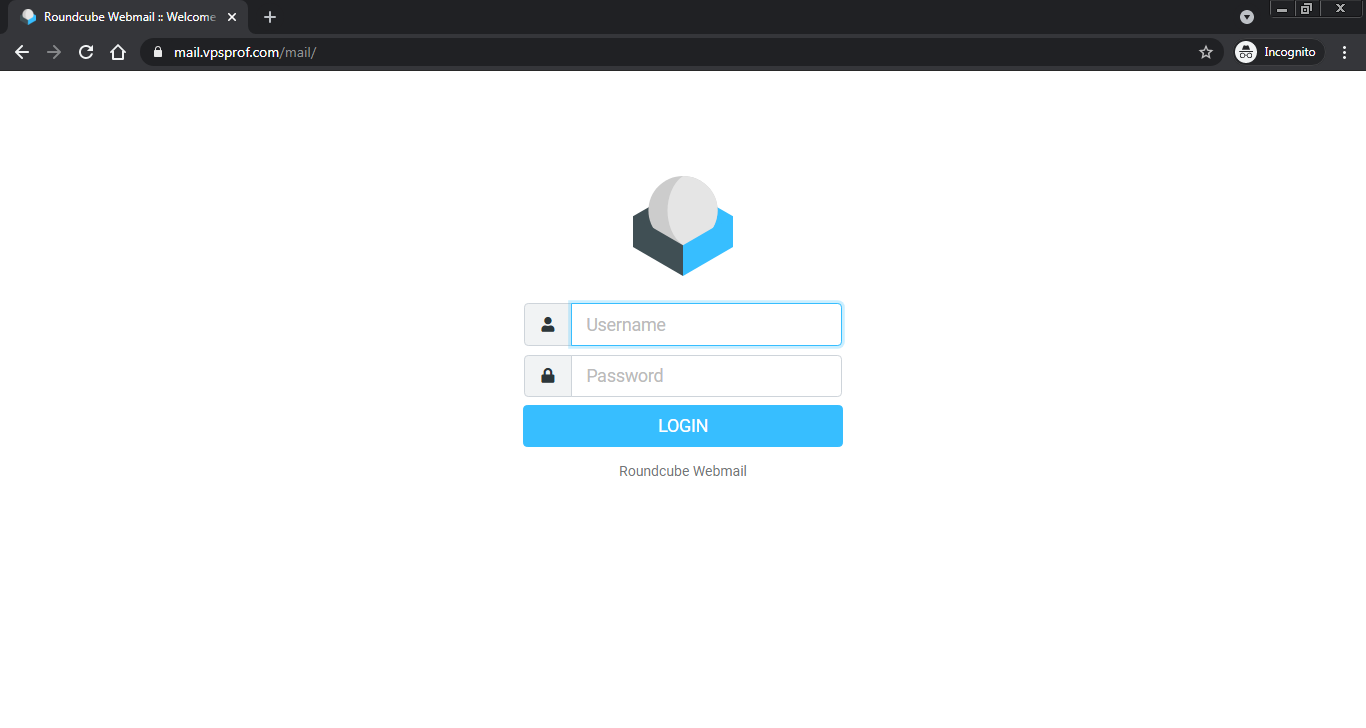
Now, if you visit any of the web-based panels, you will not see any of the privacy certificate warning. Also, the http domain (http://mail.vpsprof.com/mail/) will be redirected to https domain (https://mail.vpsprof.com/mail/)
c. Postfix TLS Configuration
1. Postfix service is the sending service for the email server. Go to the file below (open it).
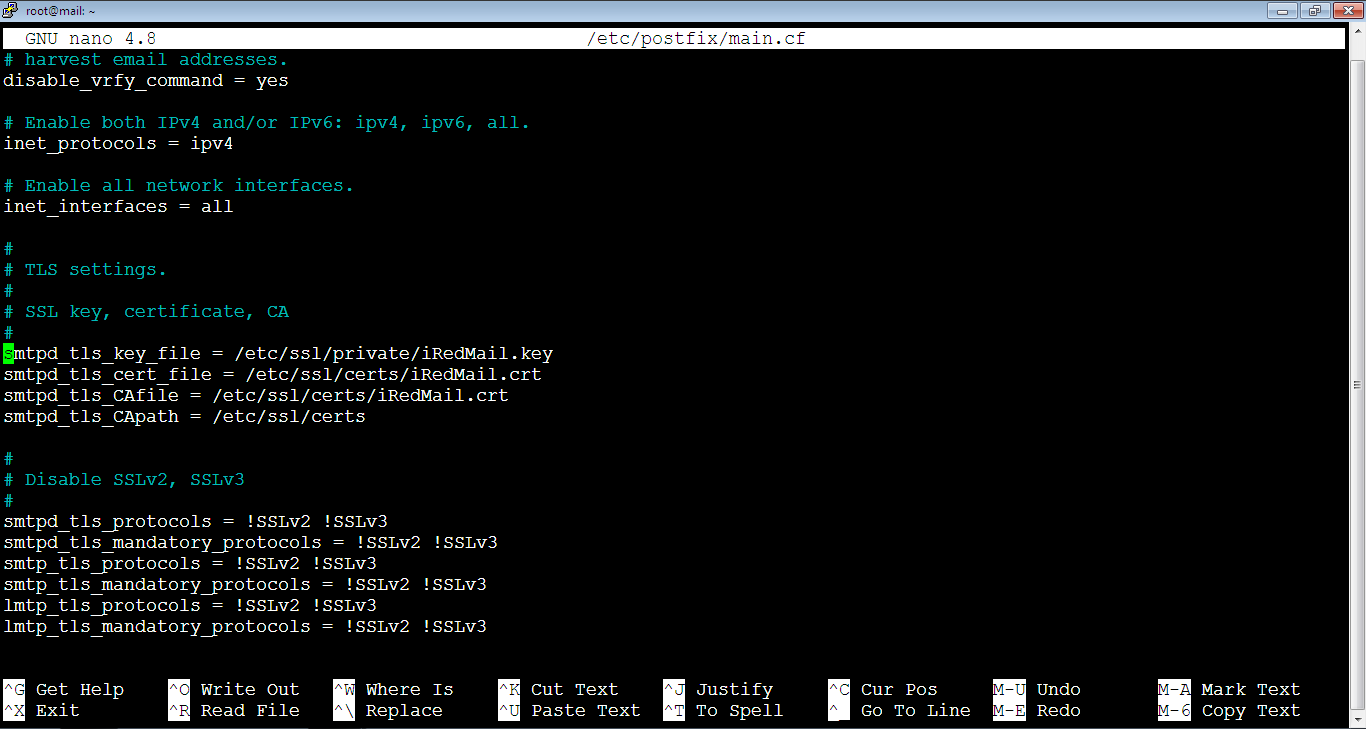
root@mail:~# nano /etc/postfix/main.cfLocate the below lines and comment them by adding hash (#) symbol at the beginning of each line.
smtpd_tls_key_file = /etc/ssl/private/iRedMail.key
smtpd_tls_cert_file = /etc/ssl/certs/iRedMail.crt
smtpd_tls_CAfile = /etc/ssl/certs/iRedMail.crt
The file is big, so you can’t locate the lines easily without searching. We will search for: smtpd_tls_key_file. So, copy it first by pressing: Ctrl+v. After that, go to the file on the console and press Ctrl+w, the search prompt will show up as below:
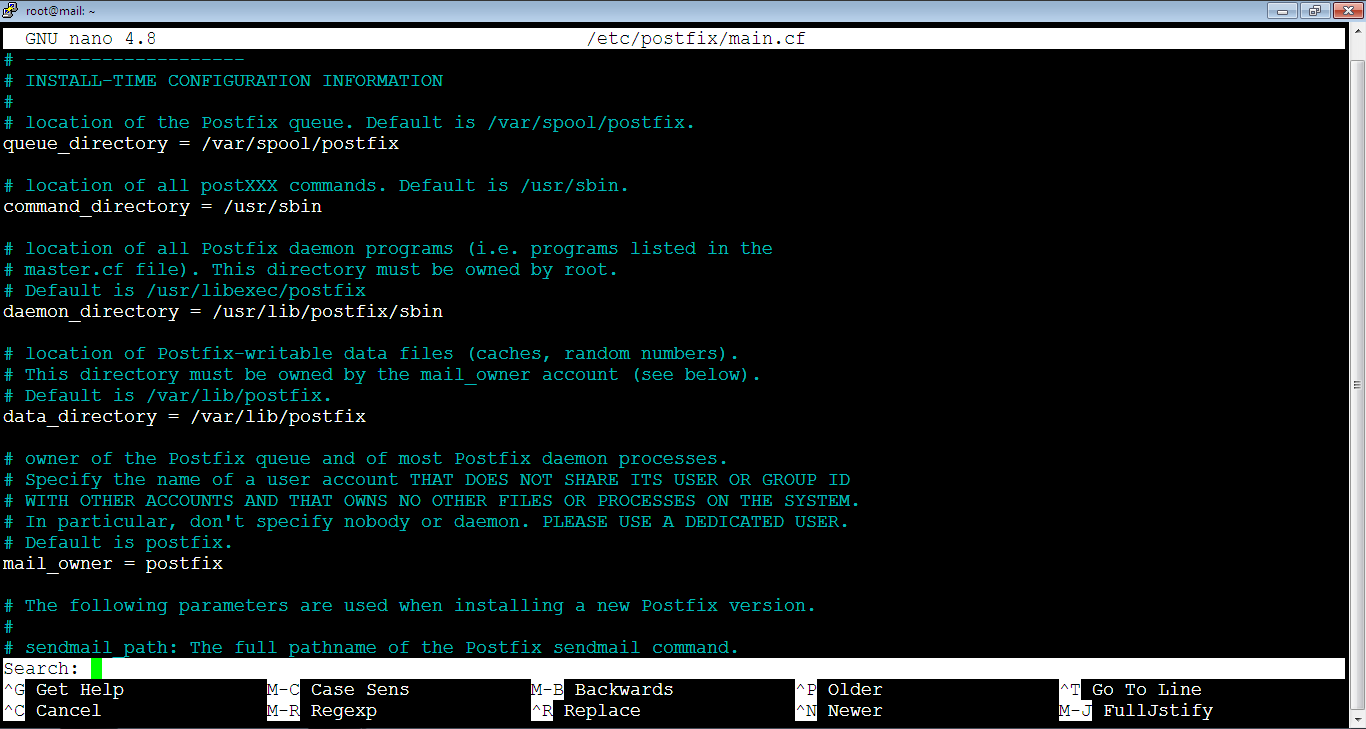
Then, click single right mouse click anywhere on the file to paste the copied text as below:
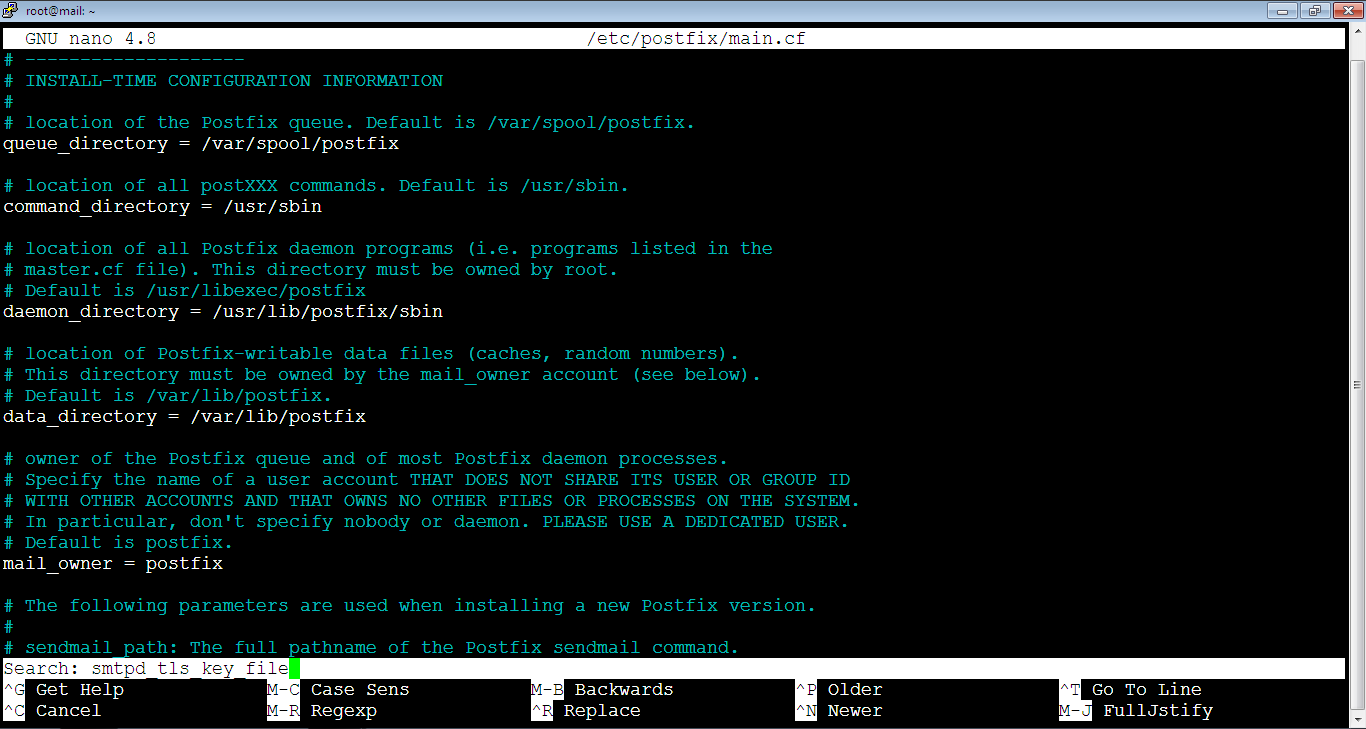
Here’s the result of the search:
Add the following lines below them (by moving the cursor inside the file using arrow keys below the lines that we commented then click a single right mouse click anywhere in the file to paste the copied text at the cursor’s position). Don’t forget to replace vpsprof.com domain in red with your own domain.
smtpd_tls_key_file = /etc/letsencrypt/live/mail.vpsprof.com/privkey.pem
smtpd_tls_cert_file = /etc/letsencrypt/live/mail.vpsprof.com/cert.pem
smtpd_tls_CAfile = /etc/letsencrypt/live/mail.vpsprof.com/chain.pem
The file will look like below after the change:
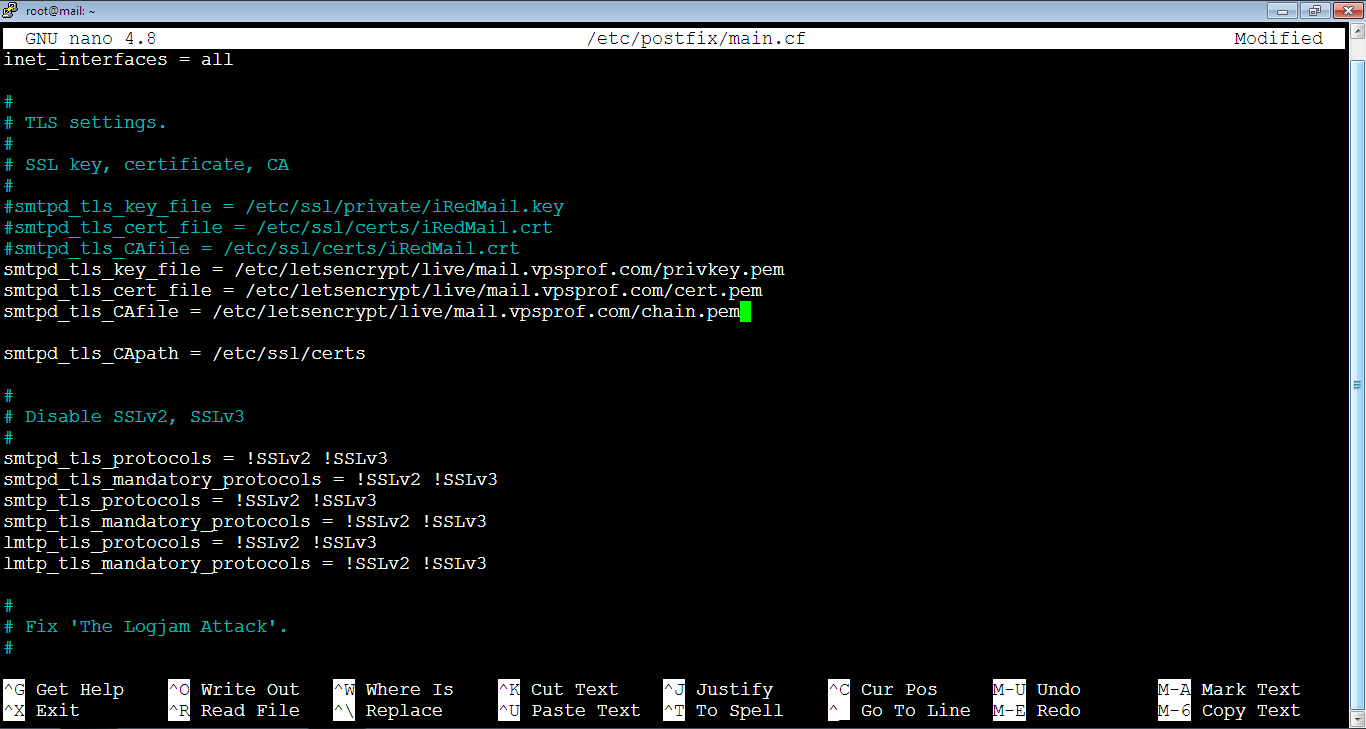
Close the file and save the changes: Ctrl+x, then: Y (or: y), then hit Enter key.
2. Now, reload the Postfix service by running the command:
root@mail:~# service postfix reload
To check if the Postfix server is running, run the command:
root@mail:~# service postfix status
As you see, it’s active.
d. Dovecot TLS Configuration
1. Open the configuration by running the below command:
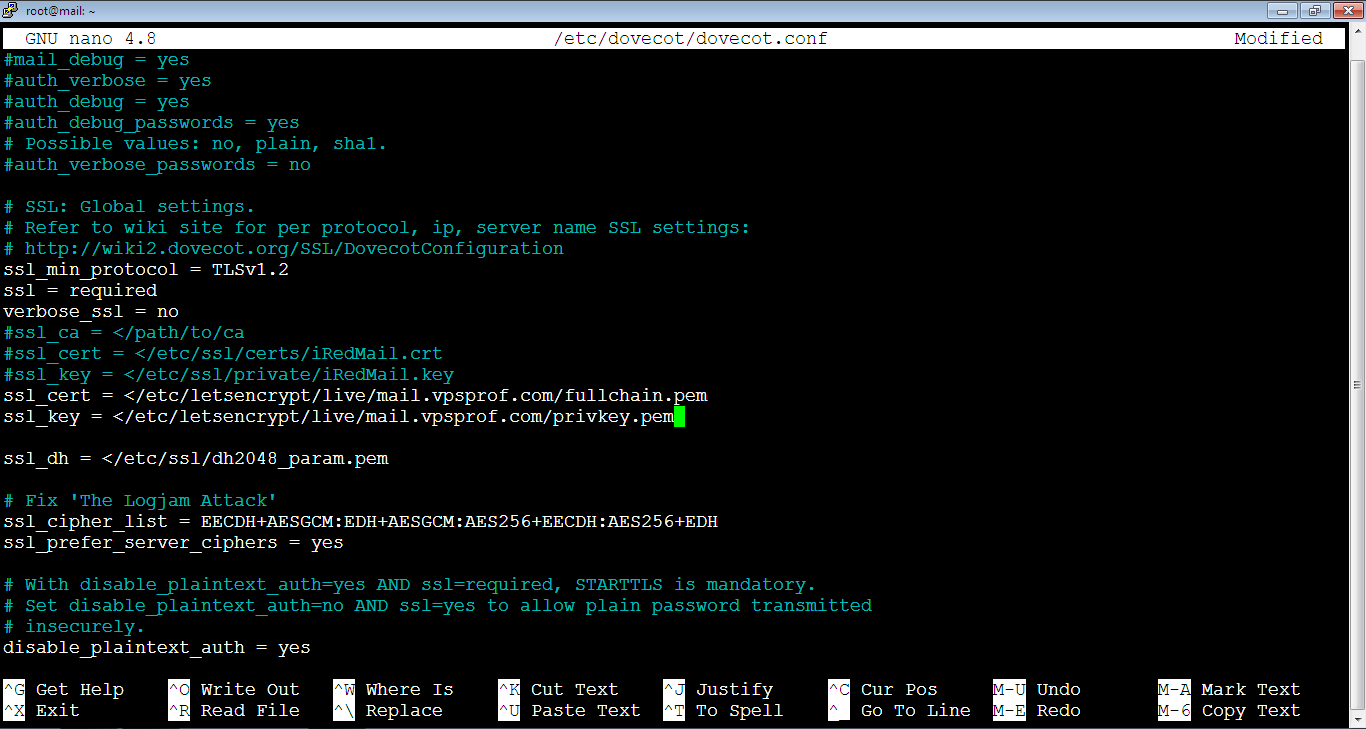
root@mail:~# nano /etc/dovecot/dovecot.confFind the below lines, comment them as we did before.
ssl_cert = </etc/ssl/certs/iRedMail.crt
ssl_key = </etc/ssl/private/iRedMail.key
Add the following lines below them and replace the domain in red with your own domain.
ssl_cert = </etc/letsencrypt/live/mail.vpsprof.com/fullchain.pem
ssl_key = </etc/letsencrypt/live/mail.vpsprof.com/privkey.pem
The file will look like this after the changes applied, save the changes as we did before.
2. Reload the Dovecot server by running the blow command:
root@mail:~# service dovecot reload
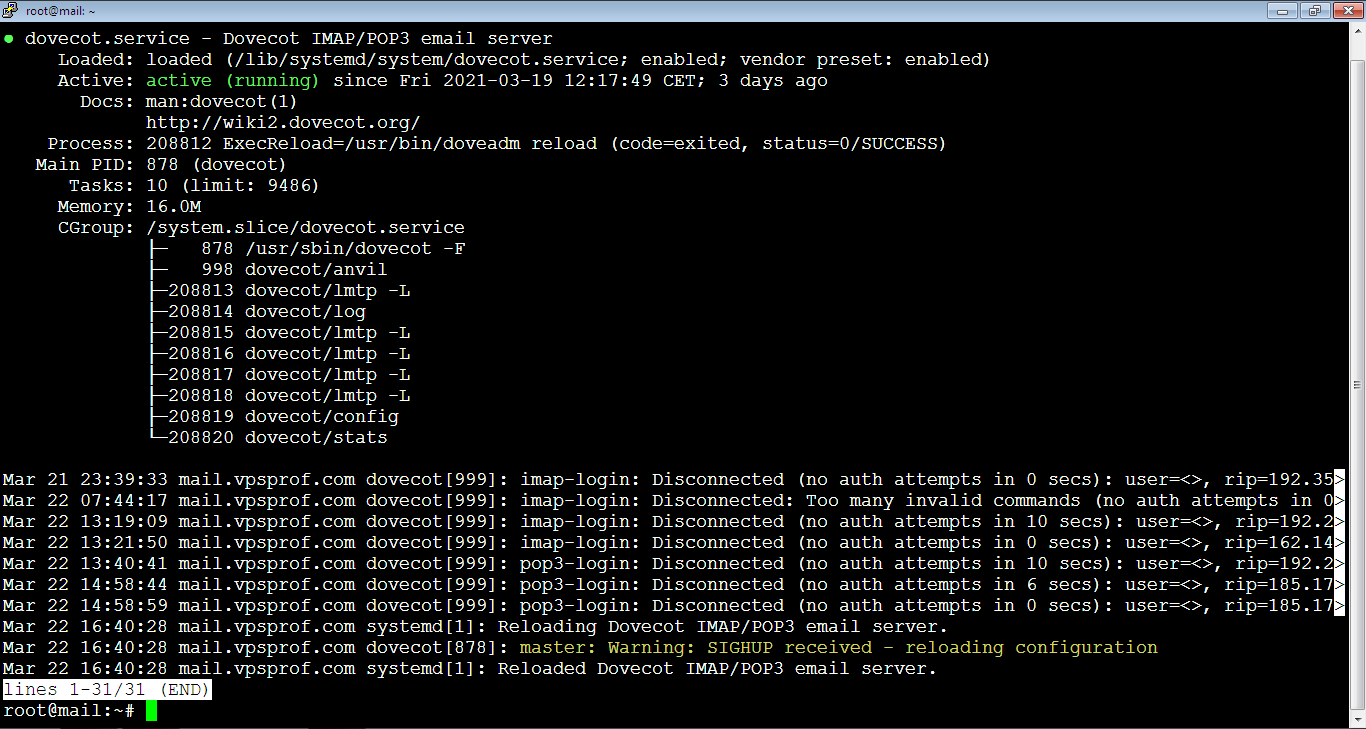
Check the status of Dovecot server by running the command:
root@mail:~# service dovecot status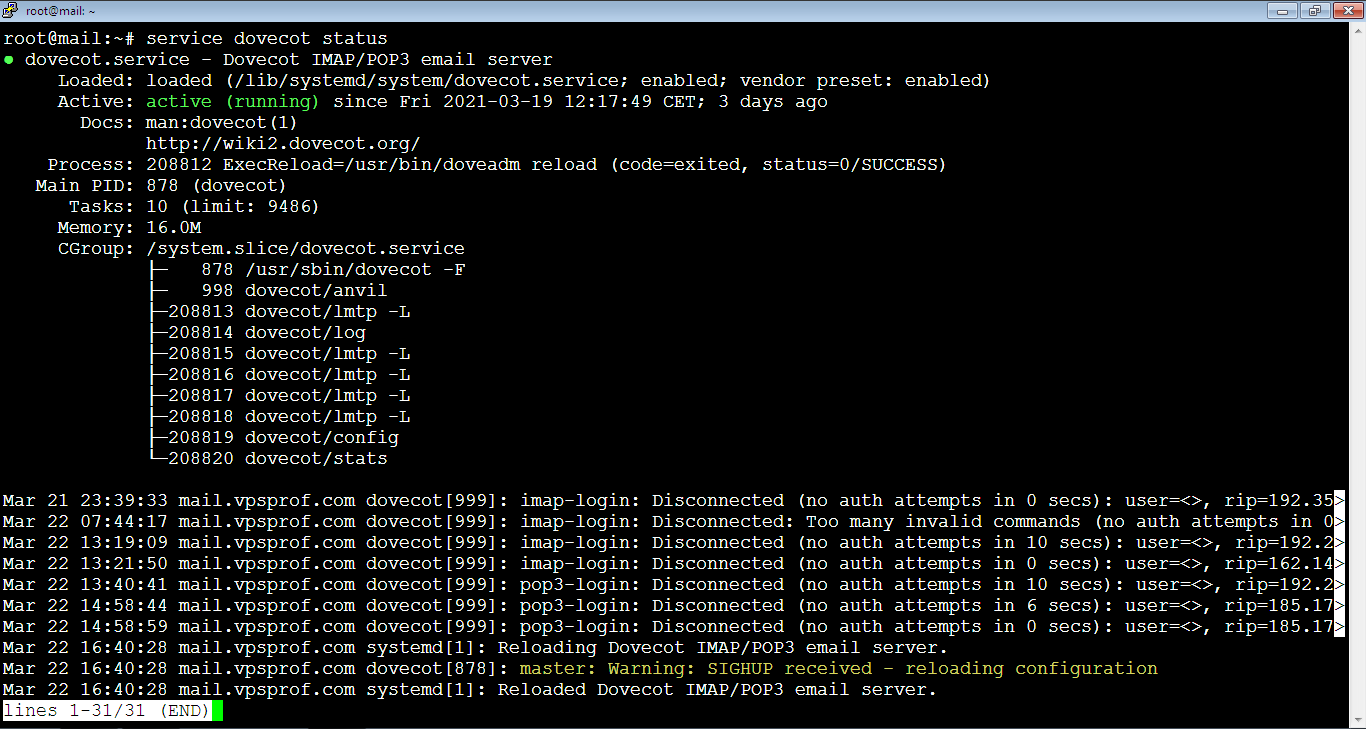
Press Ctrl+c to exit and go back to terminal prompt, it should look like this after you exit:
e. Verify the Installation
1. Now, test that everything is working well, send a test email. If you get an error: smtp error (454) authentication failed, when sending from Roundcube, then there’s a problem inside the file: /etc/postfix/main.cf on the Postfix server (go back to step C), make sure that the domain is correct, once you correct the error, restart the Postfix server as we did before then try again to send a test email.
2. You need to make sure that port 25 is enabled by running the command:
root@mail:~# telnet gmail-smtp-in.l.google.com 25If it’s open, you should see an output like below:

To exit the current Telnet session, press: Ctrl+]. The command prompt will show as: telnet> as below:

To go back to the terminal command prompt (root@mail:~#), type: close as below:

f. Renew TLS Certificate
To keep the TLS certificate up to date, do the following:
1. Go to cron jobs file by running the command:
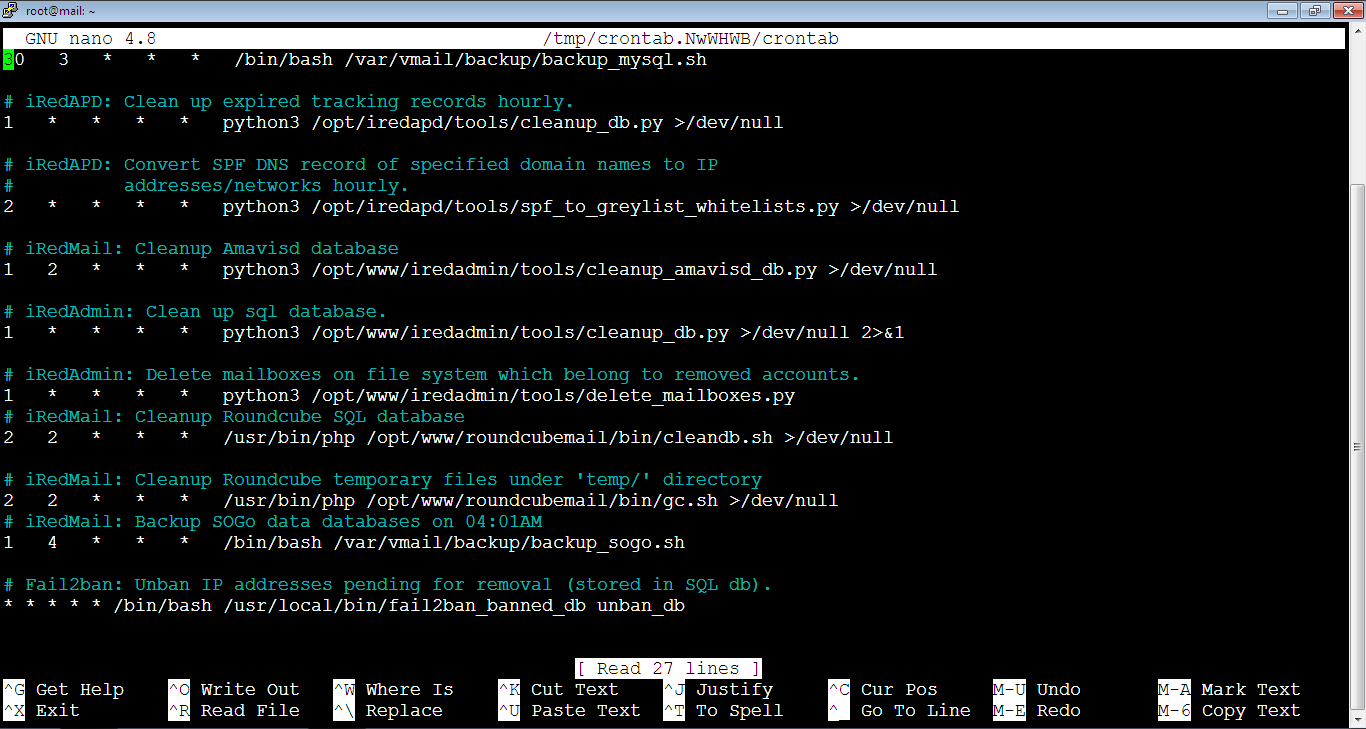
crontab -eYou will be asked to choose which editor to use in order to view the content of the cron jobs file. Type: 1 then hit Enter key.

The file will look like below:
Add the below at the end of the file. Note that the reload for the Postfix, Dovecot and Nginx is necessary to make these programs pick up the new certificate and the private key.
@daily certbot renew --quiet && systemctl reload postfix dovecot nginxThe file should look like below after the change:
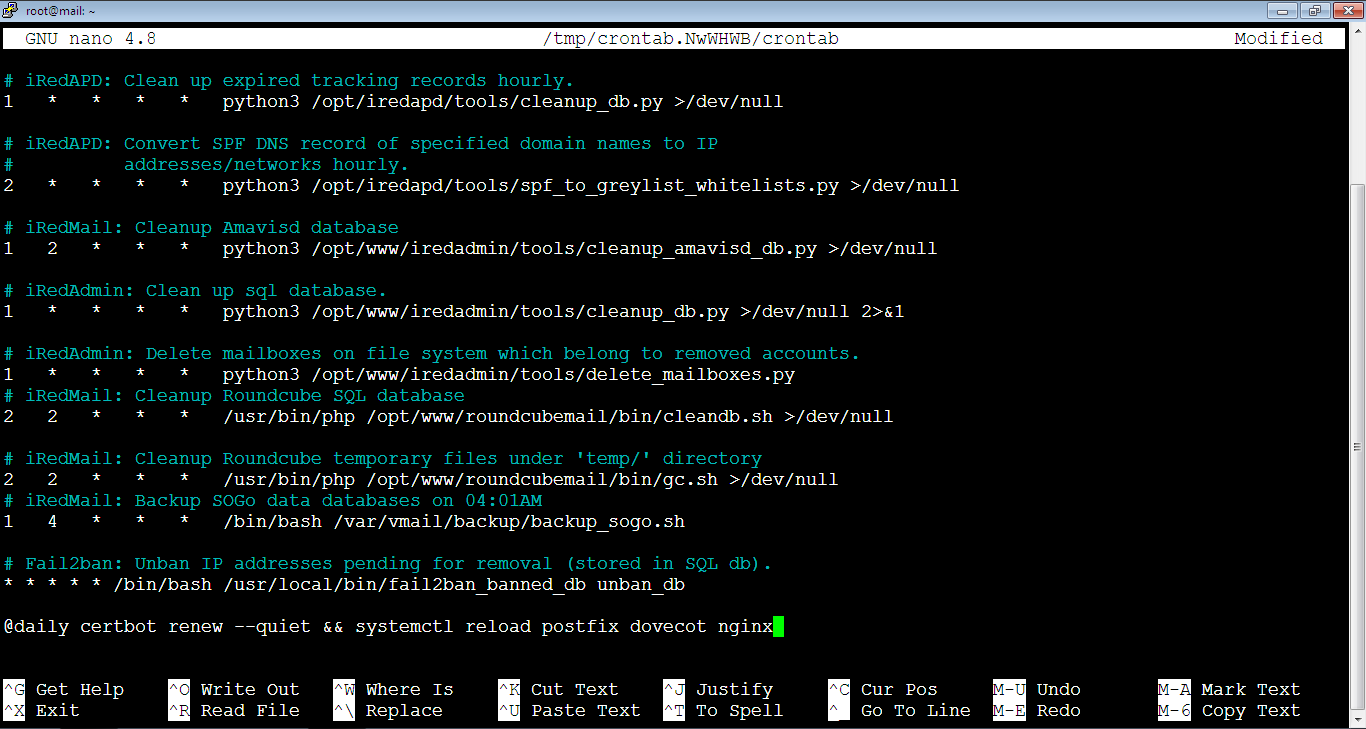
Now, we’re done, just close the file and save the changes as usual: Ctrl+x -> type: y -> hit Enter key.
In this next article, we will will improve email deliverability so our emails won’t be labeled as spam.