WordPress and WooCommerce are so easy to install and manage. They are commonly used to run blogs or eCommerce stores. We will download WordPress on Ubuntu server and manage the permissions and credentials to get it ready for installation.
Before you download WordPress on Ubuntu, you need to follow all the steps in the Install WordPress on Ubuntu section.
To find the IP address of your server, run the below command:
root@mail:~# ip aThe IP address is the IP which is right after inet in bold red below:
1: lo: <LOOPBACK,UP,LOWER_UP> mtu 65536 qdisc noqueue state UNKNOWN group default qlen 1000
    link/loopback 00:00:00:00:00:00 brd 00:00:00:00:00:00
    inet 127.0.0.1/8 scope host lo
       valid_lft forever preferred_lft forever
2: eth0: <BROADCAST,MULTICAST,UP,LOWER_UP> mtu 1500 qdisc fq_codel state UP group default qlen 1000
    link/ether 00:51:56:4d:61:46 brd ff:ff:ff:ff:ff:ff
    altname enp0s18
    altname ens18
    inet 144.91.72.55/21 brd 144.91.72.55 scope global eth0
       valid_lft forever preferred_lft forever
Download WordPress
1. We need to download the latest version of WordPress on Ubuntu from the mother website. Enter the directory: /var/www/html by running the command on PuTTY SSH client or any Linux terminal:
root@mail:~# cd /var/www/html
Then, run the following command:
root@mail:/var/www/html# wget -c http://wordpress.org/latest.zip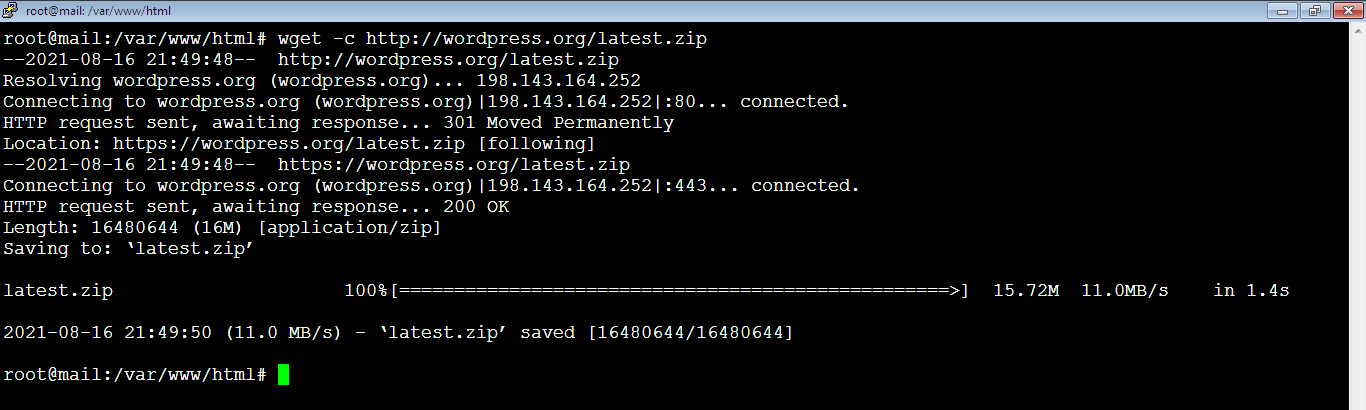
2. After that, unzip the latest.zip folder by running the command:
root@mail:/var/www/html# unzip latest.zipIn case the unzip utility is not installed, the unzip will not work as you see below:

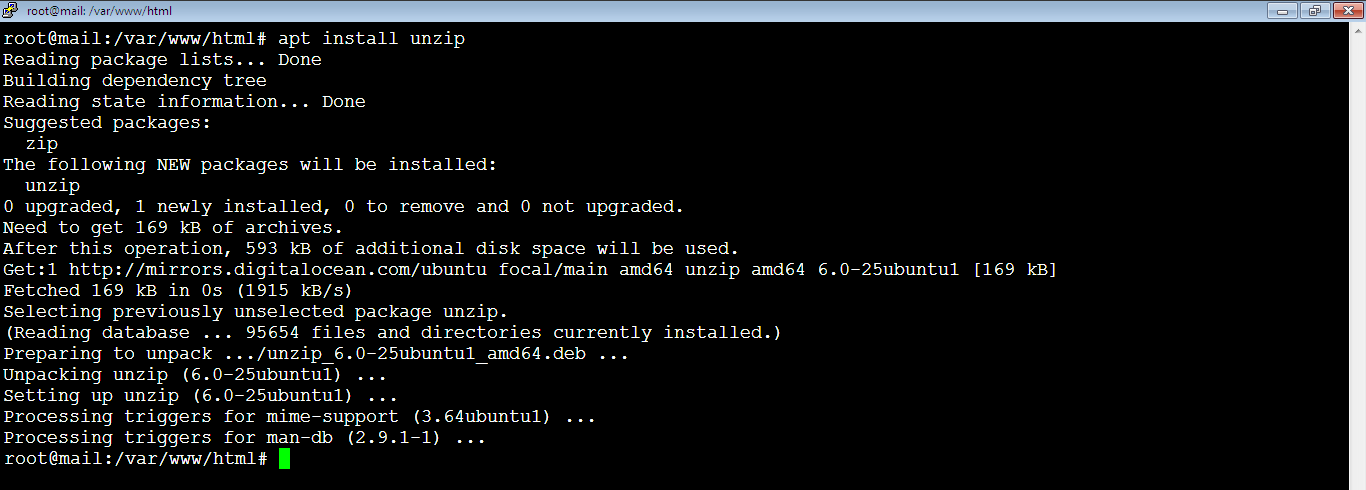
So, you need to install the unzip utility by running the command:
root@mail:/var/www/html# apt install unzipAnd here’s it when the installation is complete:
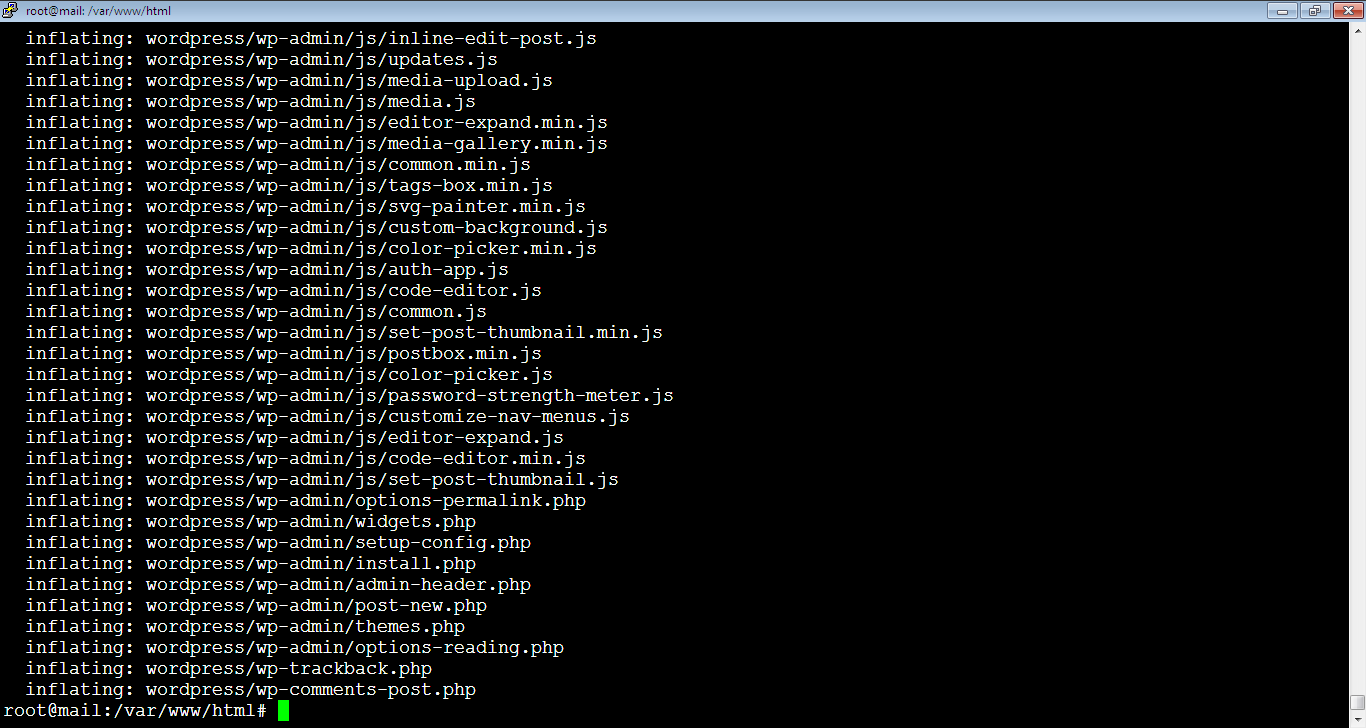
Now, run the unzip again after installing it if it wasn’t there:
root@mail:/var/www/html# unzip latest.zipAnd once the unzip is done, you will see something like this:
Note that the unzip process will create a new folder has the name: wordpress as you see below in blue:

3. Change the name of the folder: wordpress to the desired folder name. We will name it: sitebase, to use it to copy many websites quickly in the future. For this purpose, run the below command:
root@mail:/var/www/html# mv wordpress sitebase
As you see, the name has changed to sitebase instead of wordpress.
4. Remove the latest.zip file by running the command:
root@mail:/var/www/html# rm latest.zipIf You Will Use Previous WordPress Website that Exists:
Migrate Site Files
If you have already a running WordPress website and you want to migrate to the current server, use Rsync to transfer it from the source server to the destination server (this server) by running the command below on the source server. The IP address is for the current server (destination server). You can use root user as it’s a temporary action then disable root access.
root@mail:~# rsync -vzru -e 'ssh -p 22' /var/www/html/sitebase/ root@144.91.72.55:/var/www/html/sitebase/You will get a prompt as below. You need to accept and type “yes”, then hit enter key.
root@mail:~# rsync -vzru -e 'ssh -p 22' /var/www/html/sitebase/ root@144.91.72.55:/var/www/html/sitebase/
The authenticity of host '144.91.72.55 (144.91.72.55)' can't be established.
ECDSA key fingerprint is SHA256:bStw84bYecTjSWpmiWa9ol7bpCo+vhPBoc/7eSmA4zQ.
Are you sure you want to continue connecting (yes/no/[fingerprint])?
After that, you will get a prompt to enter the root password of the destination server to proceed with the transfer.
Warning: Permanently added '144.91.72.55' (ECDSA) to the list of known hosts.
root@144.91.72.55's password:
Note: Rsync is very fast, you don’t need to zip the transferred folder. If you want to zip the folder before sending, run the below comand:
root@mail:~# zip -r sitebase.zip sitebaseYou can see the difference in size by entering the directory where the file exists and run the command:
root@mail:/var/www/html# du -sh *Migrate MySQL database
1. Disable MySQL Write Access
If you don’t want the database to change after the export process, open the below file:
root@mail:~# nano /etc/mysql/mariadb.conf.d/50-server.cnfThen, just add the line read-only = 1 in 50-server.cnf file below the synced databases in the file.
read-only = 1After that, restart MariaDB server:
root@mail:~# service mariadb restart2. Export MySQL database
To send MySQL database to another server, we will do the same, but first, we need to export the database and placed it in the website’s folder by running the command:
root@mail:~# mysqldump -u sitebase_user -p sitebase_db > /var/www/html/sitebase/sitebase_db.sql3. Sync MySQL File with the Destination Server
Now, send it by Rsync to destination server by syncing the website directory sitebase on both servers by running the below command:
root@mail:~# rsync -vzru -e 'ssh -p 22' /var/www/html/sitebase/ root@144.91.72.55:/var/www/html/sitebase/4. Import Database on the Destination Server (BE CAREFUL HERE)
Now, it’s the time to import the database on the destination server but BE CAREFUL before doing this step as it will erase any previous database if it exists. If the database and the user don’t exist, you should create them by following the instructions on the Create New MySQL Database blog post.
Now, run the command to import the database:
root@mail:~# mysql -u sitebase_user -p sitebase_db < /var/www/html/sitebase/sitebase_db.sqlNote:
Once you complete all the steps in this article (1st step), you will need to change the DNS A record (2nd step) for the domain to point out to the new server’s IP address to be able to request the SSL certificate on the new server and run the website from there. Then, you will need to request the SSL certificate for the domain and configure Nginx virtual hosts (3rd step) for the domain, as explained in this coming article: Nginx Virtual Hosts Configuration.
Don’t forget!
Don’t forget to enable database write access by going to 50-server.cnf file:
root@mail:~# nano /etc/mysql/mariadb.conf.d/50-server.cnfAnd commenting the below line:
#read-only = 1Then, restart MariaDB for the changes to take effect:
root@mail:~# service mariadb restartChange WordPress Settings (if needed)
To change the WordPress site settings, we need to view the settings by the below command on MySQL prompt:
MariaDB [(none)]> use database sitebase_db;You can change the the admin domain by running the command:
MariaDB [sitebase_db]> update wp_options SET option_value="https://vpsprof.com" WHERE option_name="siteurl";Change the website public URL by the command:
MariaDB [sitebase_db]> update wp_options SET option_value="https://vpsprof.com" WHERE option_name="home";You can view the website’s settings by running the command:
MariaDB [sitebase_db]> select option_name, option_value from wp_options limit 10; You will get something like this:
| option_name        | option_value               |
+--------------------+----------------------------+
| siteurl            | https://site-url.com       |
| home               | https://site-url.com       |
| blogname           | Easy Email and Web Server  |
| blogdescription    | Learn and Enjoy Linux      |
| users_can_register | 0                          |
| admin_email        | admin@site-url.com         |
| start_of_week      | 1                          |
| use_balanceTags    | 0                          |
| use_smilies        | 1                          |
| require_name_email | 1                          |
+--------------------+----------------------------+
10 rows in set (0.00 sec)
Manage Permissions
5. Change the ownership of sitebase folder to www-data by running the below command. If you don’t apply the below step, you won’t be able to upload images to your website.
root@mail:/var/www/html# chown -R www-data:www-data /var/www/html/sitebase
6. We need to change the mod of folders and files.
First: change the mod of folders to avoid FTP popups when updating WordPress plugins. Set the permission for the files inside the website directory to 755 by running command below:
root@mail:/var/www/html# chmod -R 755 /var/www/html/sitebase
Second: Your website files mod must be (664). Otherwise, you will never be able to edit the files on WinSCP tool. You can refer to the article we posted previously on how to access/sync your server via WinSCP: Sync via WinSCP Tool. So, set the permission for the files inside the website directory to 664 by running command:
root@mail:~# find /var/www/html/sitebase -type f -exec chmod 664 {} \;
Manage Credentials
7. Enter sitebase directory, by running the command:
root@mail:/var/www/html# cd sitebase
We will list what’s inside the sitebase directory by running the command:
root@mail:/var/www/html/sitebase# lsAs you see, after running the command above, here’s the content of the sitebase directory:

8. Now, change the name of the PHP file wp-config-sample.php to wp-config.php by running the below command:
root@mail:/var/www/html/sitebase# mv wp-config-sample.php wp-config.php
9. Open the file wp-config.php by running the command:
root@mail:/var/www/html/sitebase# nano wp-config.php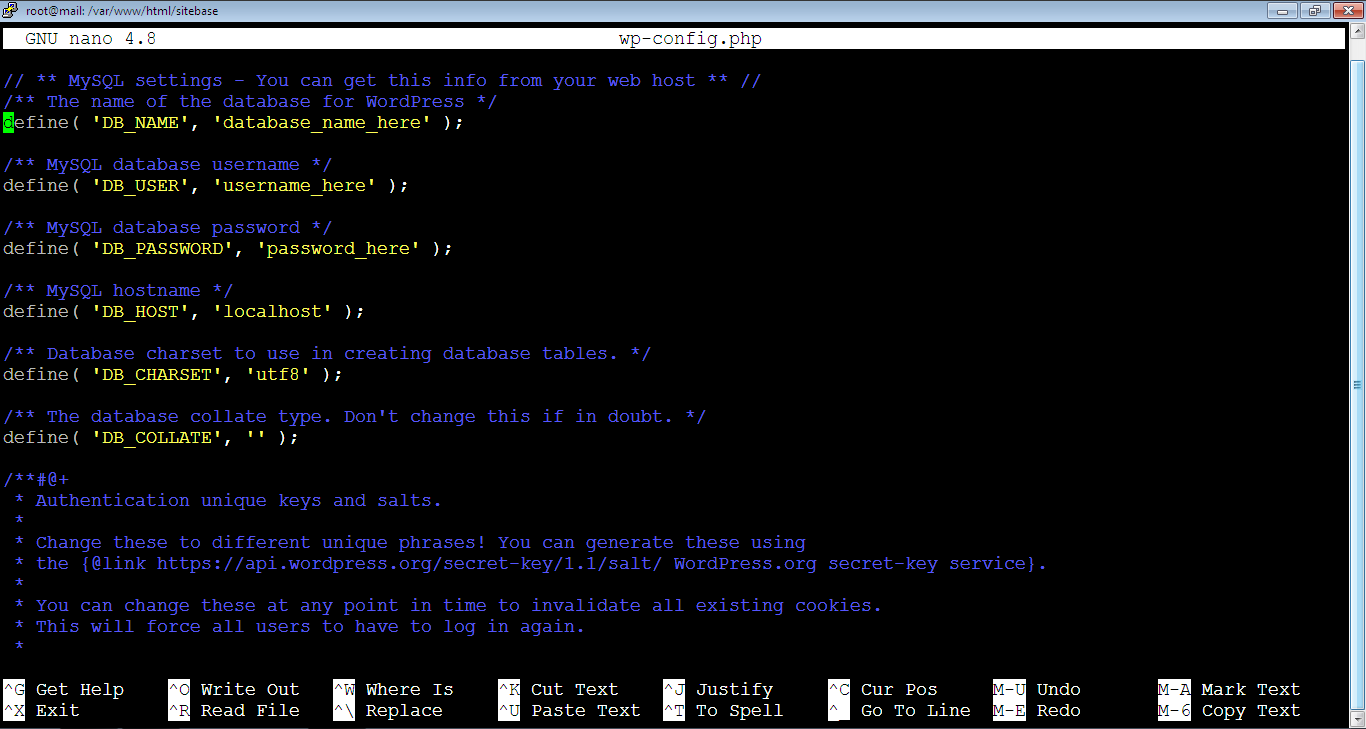
Then, change the below variables in bold font:
define( 'DB_NAME', 'database_name_here' );
define( 'DB_USER', 'username_here' );
define( 'DB_PASSWORD', 'password_here' );
To your own values that you set when you created the database in the previous tutorial here: Create New MySQL Database. Note that parameters we set before are shown below, you should recover your own parameters.
define( 'DB_NAME', 'sitebase_db' );
define( 'DB_USER', 'sitebase_user' );
define( 'DB_PASSWORD', '12345678' );
The password should be very strong, the password we use here is just an example.
Our next step is to configure Nginx virtual hosts where we will point out the domain (from DNS settings) to our server IP address first then will point out the traffic from the domain to the website folder in the server.