
We will create the required directories and files for our backup infrastructure environment.
a. Manual Creation
We will build a backup infrastructure manually without using automated Bash scripts.
Create Backup Infrastructure Folders
1. Create a master directory for the backup in the var directory, let’s give it the name: master_backup by running this command on PuTTY SSH client or any Linux terminal:
root@mail:~# mkdir /var/master_backup
2. Create two directories inside the master_backup directories, one for the databases and the other for the site files of the websites you will host on your server. Run the below two commands for each directory.
root@mail:~# mkdir /var/master_backup/databasesroot@mail:~# mkdir /var/master_backup/site_files
3. For every website’s folder you have on the server, you should create a sub directory inside the databases folder to keep its database backup there. We’ve connected the website gainbybrain.com with the folder sitebase, so will create a directory for sitebase. Also, we need to create a directory for all databases, we will give it the name: all.
root@mail:~# mkdir /var/master_backup/databases/allroot@mail:~# mkdir /var/master_backup/databases/sitebase
4. Same as the above step, for every website’s folder you have on the server, you should create a sub directory inside the site_files folder to keep the backup of its files and folders there. We don’t need to create a directory for “all websites” same as the databases. Simply, because it’s not needed as in MySQL there’s an option to import and export all databases. Run the below command:
root@mail:~# mkdir /var/master_backup/site_files/sitebase
5. Create a directory: vmail_backup to backup the default vmail directory that contains the files and the folders for all the emails you receive. The vmail directory is generated by default after the installation of the iRedMail server inside the var directory.
root@mail:/# mkdir /var/master_backup/vmail_backup
Create Backup Infrastructure CNF Files
6. We will need to create a CNF file for every database user (or website because every website has unique database user in our configuration). The CNF file is used to hide the password for the database user when running MySQL commands from Linux and it should be hidden. To hide a file in Ubuntu, just add a dot in front of its name. CNF files should be in the format: .my.cnf-postfix, our file name for the sitebase_user will be: .my.cnf-sitebase_user and for all databases (root user) will be .my.cnf-root. To create an empty CNF file for sitebase_user, run the following command. Note that touch command creates and saves a file without the need to add a content inside it, while nano command just opens a file then you will need to add content inside it to save it.
root@mail:~# touch /var/master_backup/.my.cnf-sitebase_user
To see the file created, if we use the ls command only to list what’s inside the directory, it will not show up because our CNF file is hidden. That is why, we’ve to use the ls -la command to see the hidden files as below:
root@mail:~# ls -la /var/master_backup/
7. Open the CNF file we’ve created by running the command:
root@mail:~# nano /var/master_backup/.my.cnf-sitebase_userAnd add the credentials inside the file following the format below:
[client]
user=sitebase_user
password="12345678"
It should look like below:
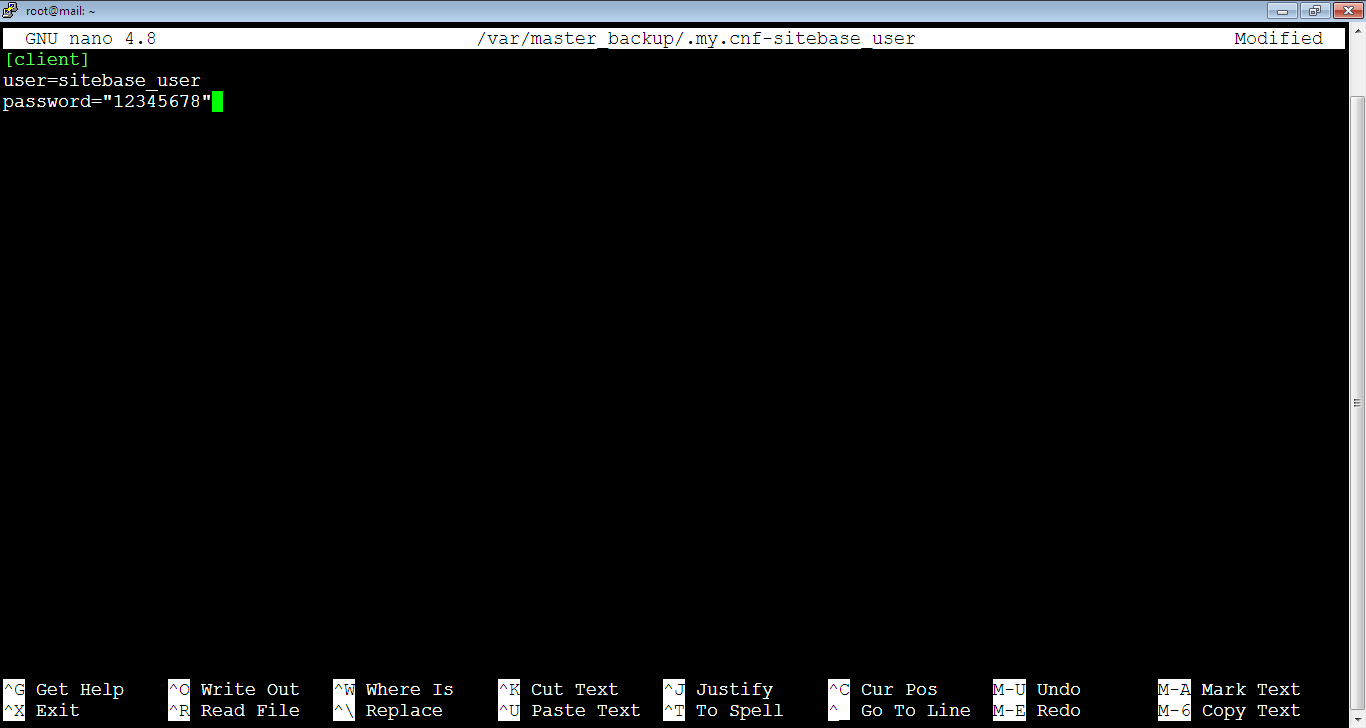
Then,Close the file and save the content by pressing: Ctrl+x. After that, press: y, followed by Enter key.
8. Let’s do the same for the root database user, if you remember, we set the password of root user during the installation of iRedMail, check step #9 here: Download and Install iRedMail (part: b. Install iRedMail). Open a CNF file by running the command below:
root@mail:~# nano /var/master_backup/.my.cnf-rootThen, add the credentials inside the file (let’s assume that the password of the root user is: 87654321)
[client]
user=root
password="87654321"
After that, close the file and save the content as what we did for the sitebase_user.
As you see, now we’ve the necessary directories and files to start the backup process.
9. Let’s see how the directories and files look like, run the command to list all of them:
root@mail:~# ls -la /var/master_backup
b. Automatic Creation
Automatic backup infrastructure creation method is faster and easier. We will only set the needed variables in Bash script then to run the script.
1. Create a bash file to enter the below code inside it. The bash file is like any file but it has the .sh extension. It’s an executable file to run shell commands, it’s like Linux programming, very easy and nice to do to ease and fasten the tasks you perform on your system. We chose the name: automatic_backup_environment.sh for the file and it can be placed anywhere. We will place it inside the var directory. So, run the below command to create it:
root@mail:~# nano /var/automatic_backup_environment.sh2. Then, copy and paste the code below inside the automatic_backup_environment.sh file which we’ve just created. Make sure to change the variables in bold according to your own credentials and folder/file names. After that, close and save the file. Please note that before and after the equal mark (=), there should be no space. In case you add any space, you will get a syntax error.
#!/bin/bash
#==================================
# Change the below
#==================================
# It will create the directory automatically, no need to create it
BACKUP_DIR="/var/master_backup"

# To create .my.cnf files for the database users and passwords
ARRAY_DBUSER_DBPASS=(
root            "\"87654321\""
sitebase_user   "\"12345678\""
)

# To create folders for the backup in the databases and site_files directories
ARRAY_SITEALIAS_FOLDERS=(
all
sitebase
)
#==================================
# Change the above
#==================================


printf "\nThe below file(s) have been created/updated:\n"

# If the main directory doesn't exist, then we create it
if [ ! -d "${BACKUP_DIR}" ]; then
        mkdir ${BACKUP_DIR}
fi

for (( index=0; index<${#ARRAY_DBUSER_DBPASS[@]}; index+=2 )); do

        FILE=${BACKUP_DIR}/.my.cnf-${ARRAY_DBUSER_DBPASS[$index]}

# Don't keep space when writing a file, you will get file with spaces
cat > $FILE << EOF
[client]
user=${ARRAY_DBUSER_DBPASS[$index]}
password=${ARRAY_DBUSER_DBPASS[${index}+1]}
EOF
# If you add space before EOF above, you will get syntax error

        echo "$FILE"

done


printf "\nThe below folder(s) have been created:\n"

for (( index=0; index<${#ARRAY_SITEALIAS_FOLDERS[@]}; index+=1 )); do

        # If "databases" directory doesn't exist, then we create it
        if [ ! -d ${BACKUP_DIR}/databases ]; then
                mkdir ${BACKUP_DIR}/databases
                echo  "${BACKUP_DIR}/databases"
        fi


        # If each store directory doesn't exist, then we create it
        if [ ! -d ${BACKUP_DIR}/databases/${ARRAY_SITEALIAS_FOLDERS[$index]} ]; then
                mkdir ${BACKUP_DIR}/databases/${ARRAY_SITEALIAS_FOLDERS[$index]}
                echo "${BACKUP_DIR}/databases/${ARRAY_SITEALIAS_FOLDERS[$index]}"
        fi
done

printf "\nThe below folder(s) have been created:\n"

for (( index=0; index<${#ARRAY_SITEALIAS_FOLDERS[@]}; index+=1 )); do

    # If "site_files" directory doesn't exist, then we create it
    if [ ! -d ${BACKUP_DIR}/site_files ]; then
        mkdir ${BACKUP_DIR}/site_files
        echo  "${BACKUP_DIR}/site_files"
    fi

    # If each store directory doesn't exist, then we create it
    if [ ! -d ${BACKUP_DIR}/site_files/${ARRAY_SITEALIAS_FOLDERS[$index]} ]; then

                # No need to create the folder site_files/all, because it's not like the database can be imported for all sites
                if [[ ! ${ARRAY_SITEALIAS_FOLDERS[$index]} =~ "all" ]];  then
                        mkdir ${BACKUP_DIR}/site_files/${ARRAY_SITEALIAS_FOLDERS[$index]}
                        echo "${BACKUP_DIR}/site_files/${ARRAY_SITEALIAS_FOLDERS[$index]}"
                fi
    fi


done


# TO BACKUP THE EMAILS
# If "vmail_backup" directory doesn't exist inside /var/master_backup, then we create it, it is to save zipped files from the source server /var/vmail.
if [ ! -d ${BACKUP_DIR}/vmail_backup ]; then
        mkdir ${BACKUP_DIR}/vmail_backup
        echo  "${BACKUP_DIR}/vmail_backup"
fi


# If the default "vmail" directory doesn't exit inside /var/, then we will create it, it will be fed from /var/vmail at source server
if [ ! -d /var/vmail ]; then
        mkdir /var/vmail
        echo "/var/vmail"
fi


printf "\n"
Note: The tabsize of the default nano file is 8 spaces, it’s better to change it to 4 spaces to edit files easier. Enter the file:
root@mail:~# nano /etc/nanorcThen, uncomment the below and set tabsize to 4 instead of 8:
## Use this tab size instead of the default; it must be greater than 0.
#set tabsize 8

set tabsize 4
Delete Main Backup Directory Before Running the Script
3. Before we run the bash script, if you’ve already created the backup environment manually, you need to delete the main backup directory which is master_backup to notice the auto creation of the environment. So, let’s delete the master_backup directory by running the command:
root@mail:~# rm -r /var/master_backupNote that when we delete a directory, we should use -r in the command. We don’t need to use it when we delete a file.

4. Let’s run the automatic_backup_environment.sh file by running the command:
root@mail:~# bash /var/automatic_backup_environment.sh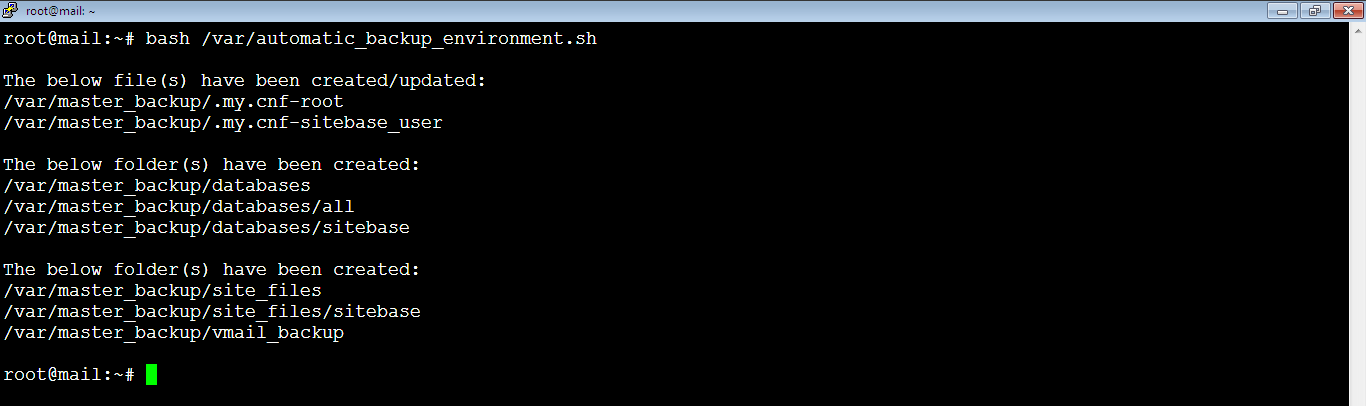
And here we go! The bash script has created all the directories (including the master_backup directory) and the files instantly with a report for the content inside the master_backup directory. Now, we will double check and list the content of master_backup directory to make sure that the script hasn’t missed any of them. So, run the below command:
root@mail:~# ls -la /var/master_backup
Then, check the list. As you see, all the directories and files are there.
Note that if you type the Linux commands manually, you can use the Tab key to autocomplete the command. For this purpose, you only need to write first few letters of the directory or the file.
5. Once you’re done, It’s better to move automatic_backup_environment.sh file to /var/master_backup directory to keep all backup related files together by running the below command:
root@mail:~# mv /var/automatic_backup_environment.sh /var/master_backupIn the next article, we will show you how to use this infrastructure to backup MySQL and site files on the source server.