WinSCP is a free and open-source Microsoft Windows tool that transfers files between Ubuntu server and local computer via SSH file transfer protocol
- a. Download and Install WinSCP (8 steps)
It’s highly recommended to keep a copy of backup on your local machine. If you have a Windows-based machine, WinSCP is the best to use to sync the backup between your Ubuntu server and your machine.
If you would like to have a full backup automated mechanism, you should follow the instructions on the backup category here: Setup Real Time Backup on Ubuntu.
a. Download and Install WinSCP
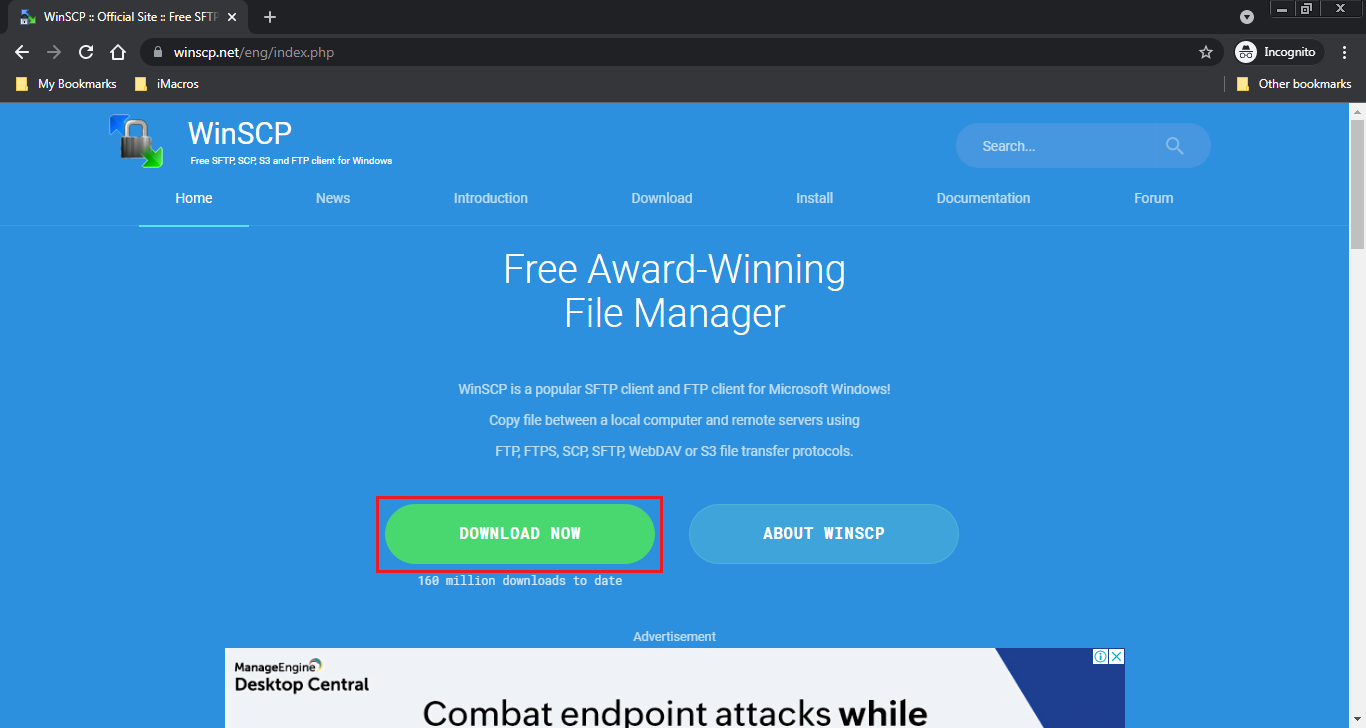
1. Go to WinSCP website here: https://winscp.net, then click on DOWNLOAD NOW button as seen below:
2. On the next page, scroll down a bit until you see a green download button for the latest release, click on it.
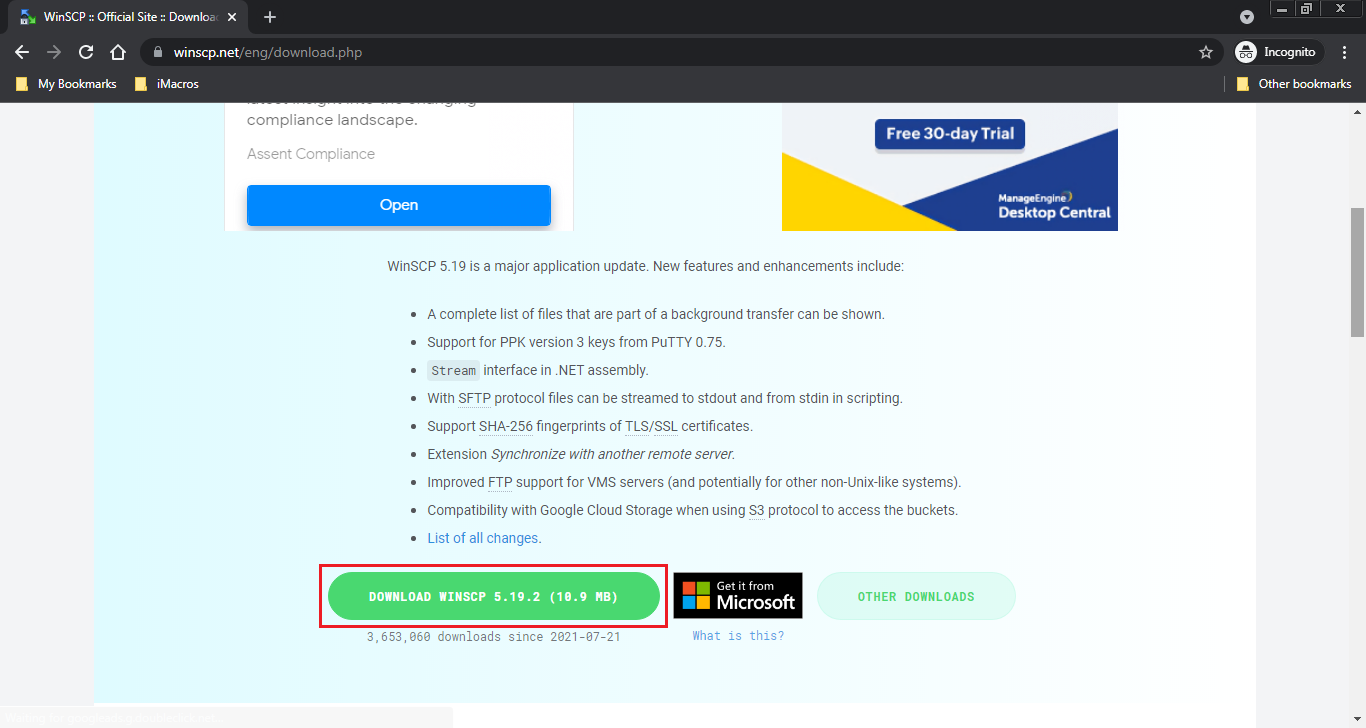
3. The download will start in few seconds. Once it’s completely downloaded, click on the installation file (WinSCP-5.19.2-Setup.exe) to start the installation.
4. You may get a security warning, click on Run as below:
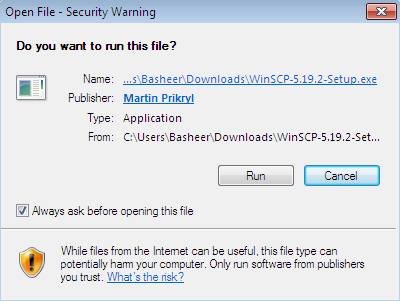
5. Then, you will get a prompt says: Do you want to allow the following program to make changes to this computer?
Click on: Yes.
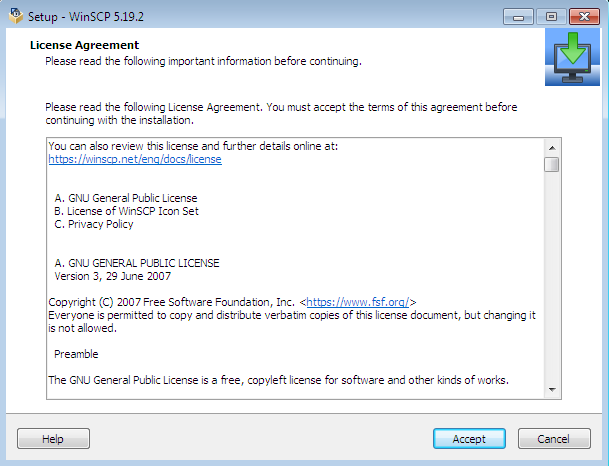
6. You will need to agree on the License, click on Accept.
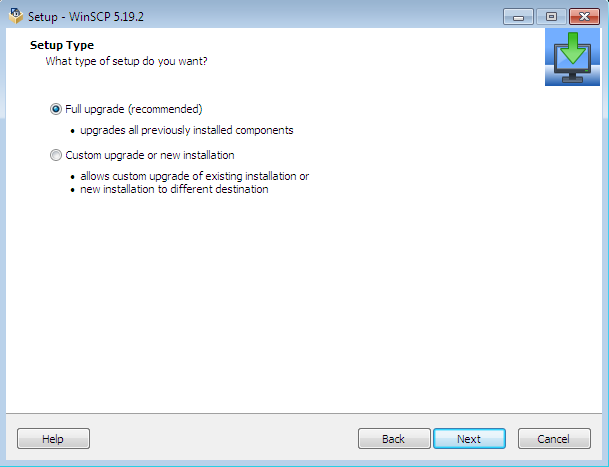
7. You will be asked to choose the setup type, as WinSCP is already installed, it shows the upgrade option below, keep it as default, click on Next button.
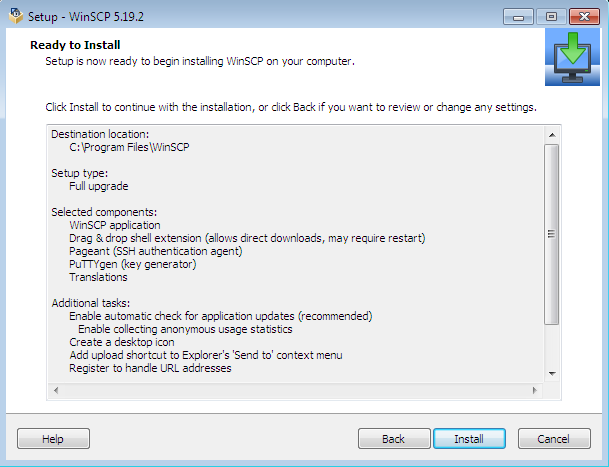
You will reach the final step before starting the installation. So, review the settings you chose and if everything is okay, click on Install button.
8. You will see a progress during the installation.
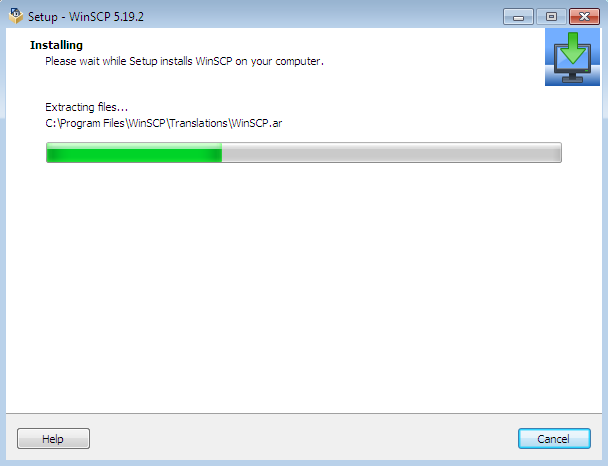
Once it’s done, click on Finish to start it.

b. Create Ubuntu WinSCP User
1. Login to your Master server, run the below command on PuTTY SSH client or any Linux terminal:
root@mail:~# useradd -m winscp_user
2. Give password to the user we’ve just created, you will need to enter the password twice, run the below command:
root@mail:~# passwd winscp_user
3. We will enable winscp_user to login to root and use sudo by adding it to sudoers, run the below command: with this command:
root@mail:~# echo 'winscp_user ALL=(ALL) ALL' >> /etc/sudoers
4. In order to be able to edit your website files using WinSCP, we need to do the following:
First: add winscp_user to www-data group by running the command:
root@mail:~# adduser winscp_user www-dataSecond: your website files mod must be (664), otherwise, you will never be able to edit the files. As you remember, the folder for the WordPress website we created is sitebase, so set the permission for the files inside the website directory to 664 by running command:
root@mail:~# find /var/www/html/sitebase -type f -exec chmod 664 {} \;Also, your website folders and sub-folders mod must be (755). Set the permission for the folders to 755 by running the below command:
root@mail:~# find /var/www/html/sitebase -type d -exec chmod 755 {} \;Ignore Permission Errors
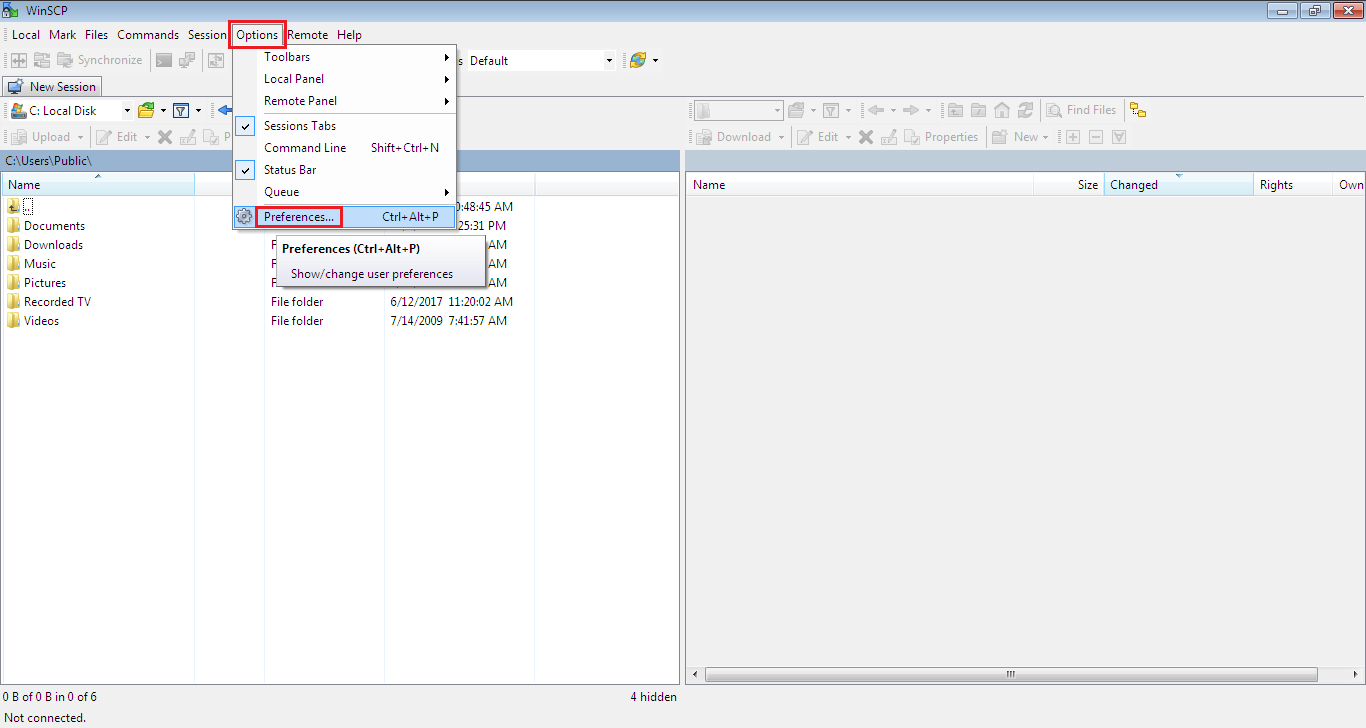
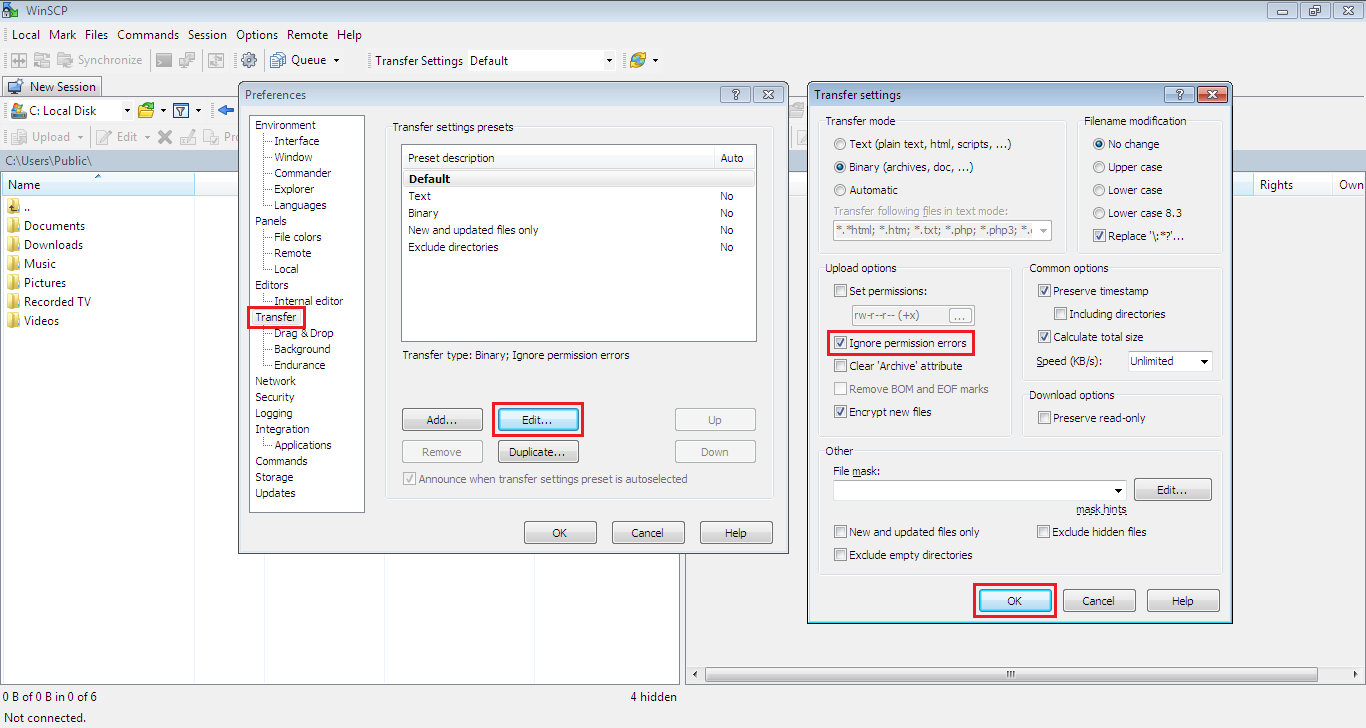
Third: To avoid showing notice every time you write to a file on WinSCP, we need to ignore permission errors. Open WinSCP, go to Options on main menu on top, then Preferences then Transfer then Edit then check the checkbox for ignore permission errors option as you see below, then click on OK.
c. Save Remote and Local Sessions
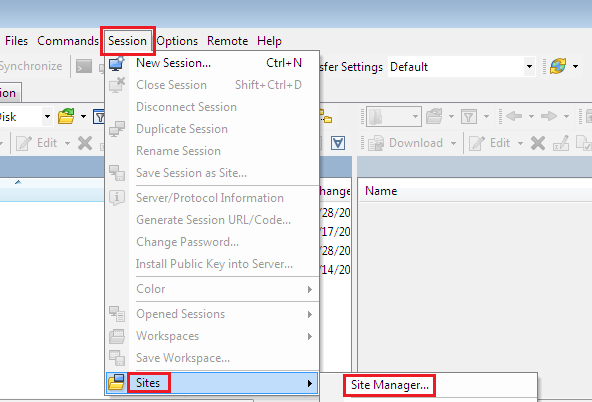
1. Open WinSCP, you will need to login to your server by going to Session on main menu, then Sites, then Sites Manager as below:
After that, click on New Site as seen below:
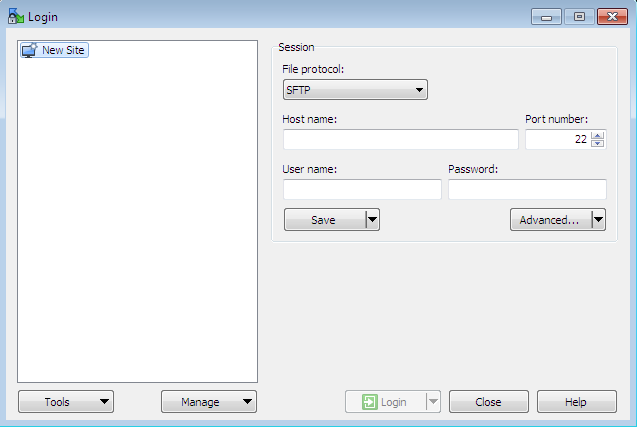
2. Enter your server IP address in the Host name field, make sure that the File protocol is SFTP and the Port number is: 22. We don’t recommend adding your username nor your password for better security measure’s. Click on Save button.

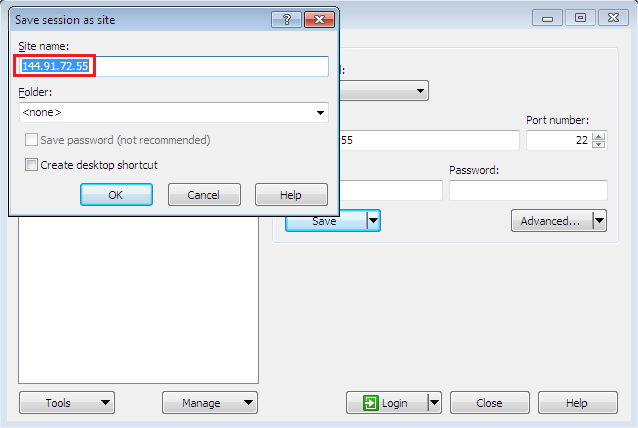
3. You will need to add a name for your session instead of the IP address as the IP address is hard to recognize. In our case, we will name it: VPS Prof – Master. So, change the name as you want then click OK.
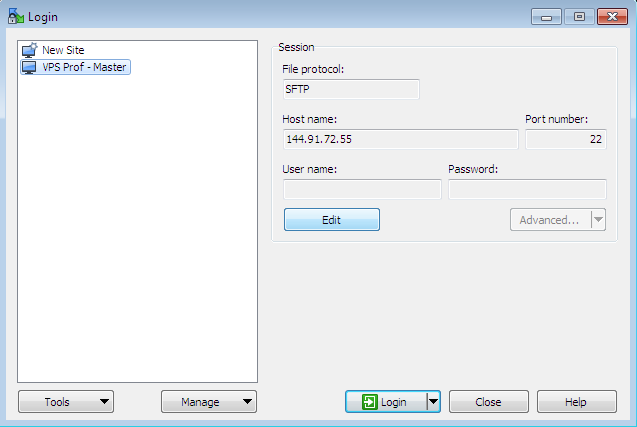
And here it’s done, your session has been saved successfully as you see. Now, let’s login to server by clicking on Login button below:
You will see a prompt to enter the username. So, enter the username you created, in our case it’s: winscp_user. Then, click on OK.
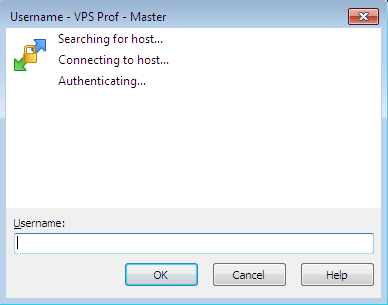
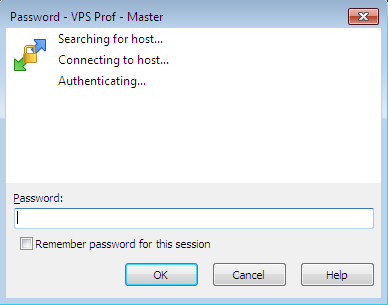
Enter the password then click on OK.
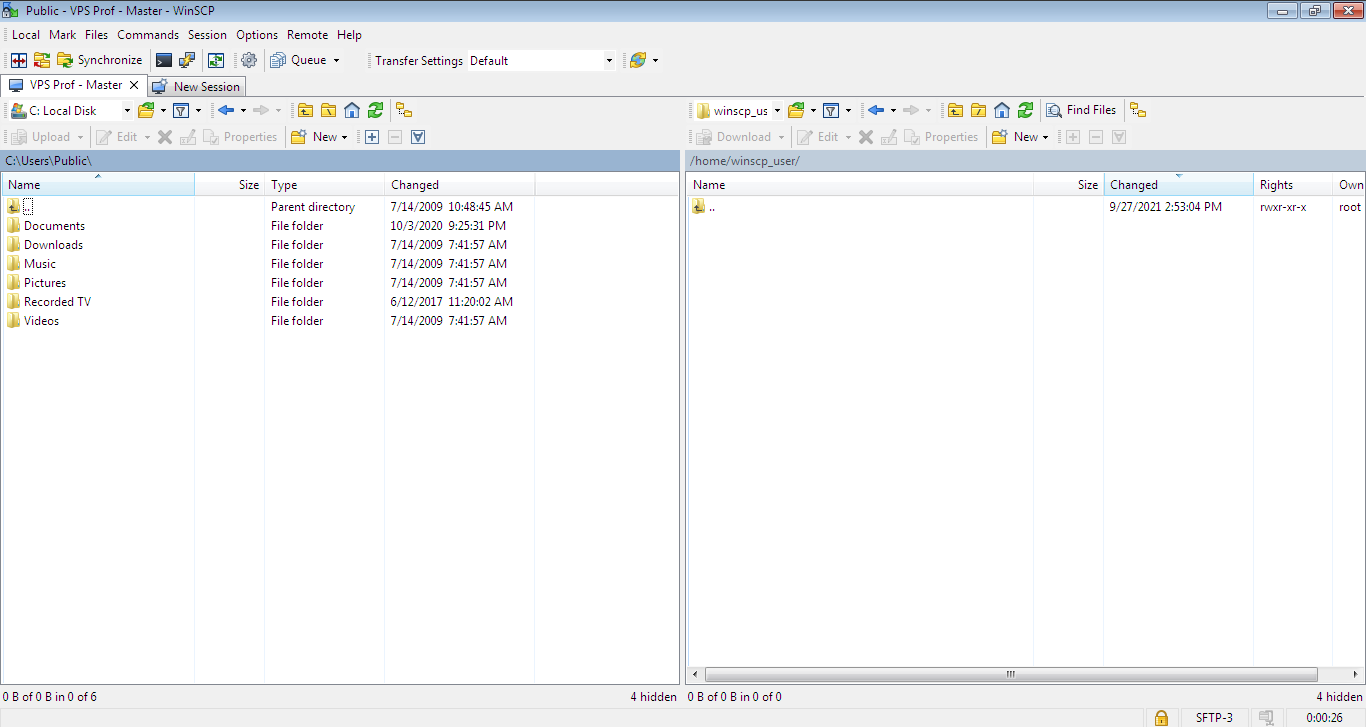
And here we go! We’ve logged in successfully into server via WinSCP tool.
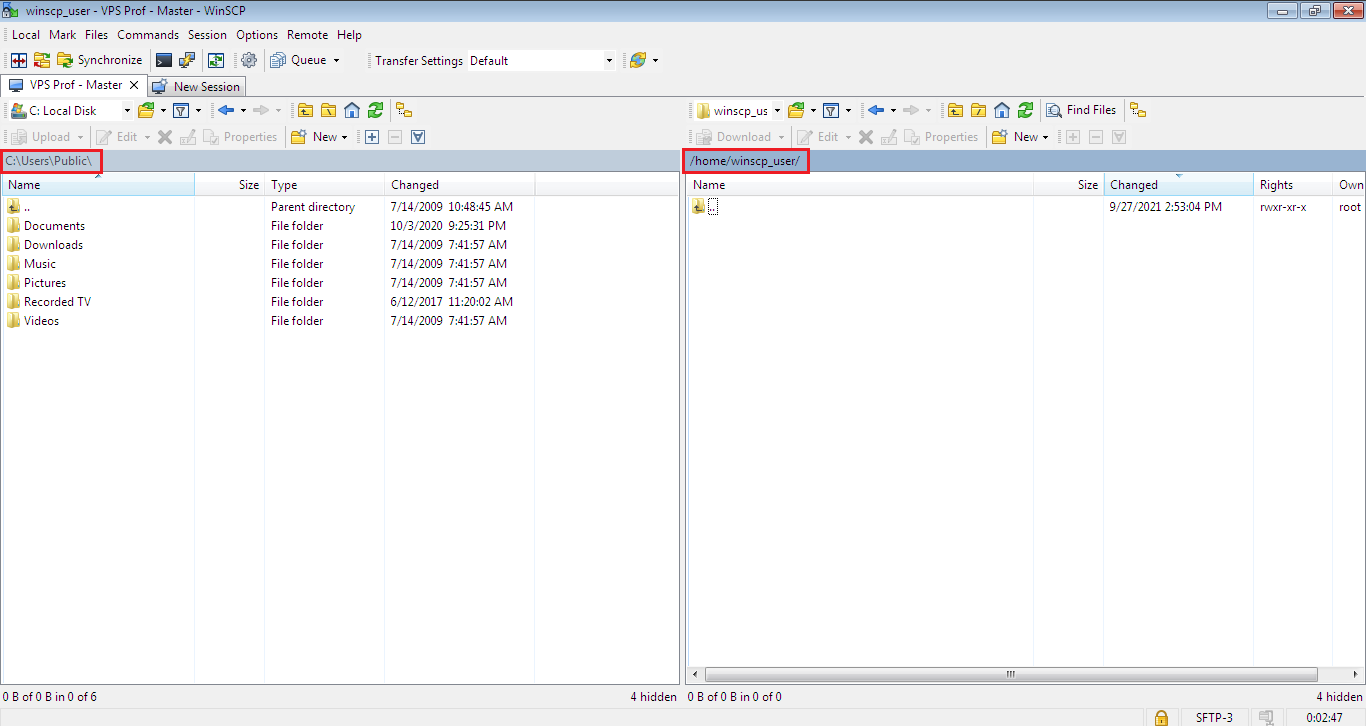
4. We will need to change the directory paths of the backup folder on remote (VPS server) and your local computer in order to run the sync between them. Click on each directory path and change it as you see below:
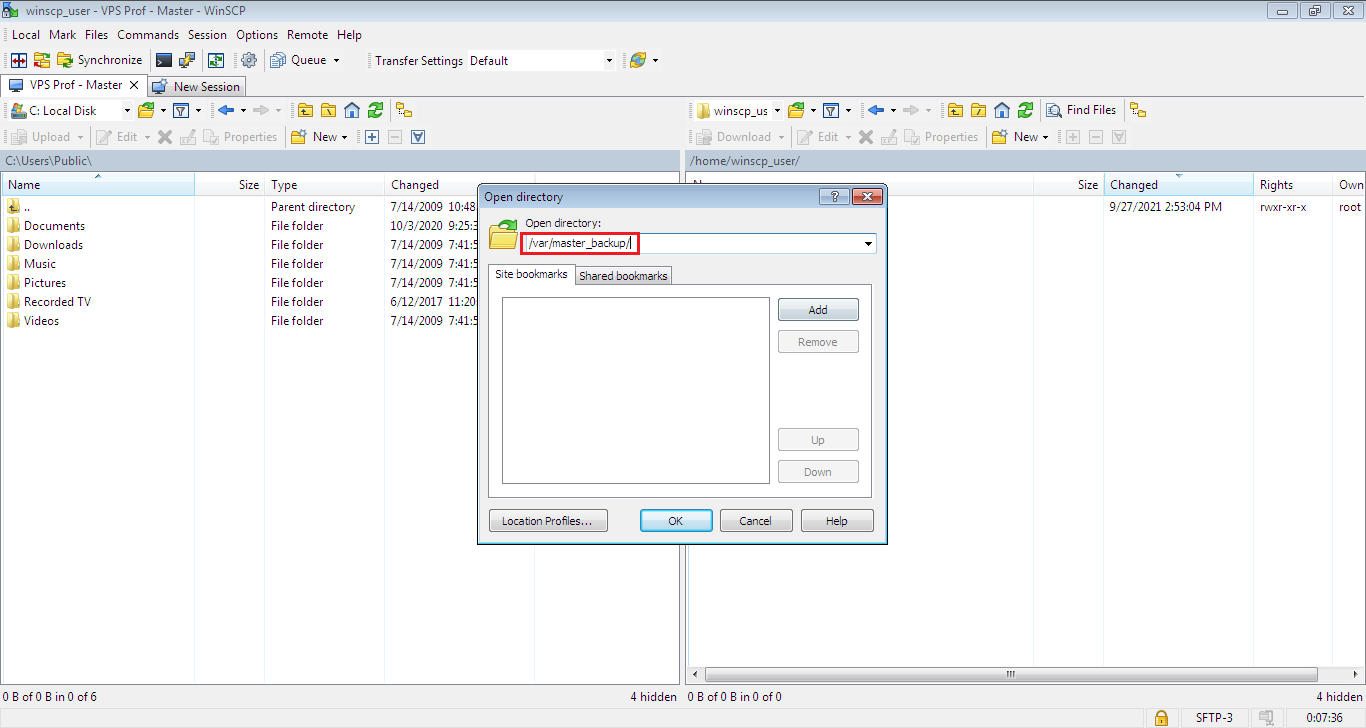
We will change the path on server to the master backup folder which is: /var/master_backup/ as you see below, click OK when you finish.
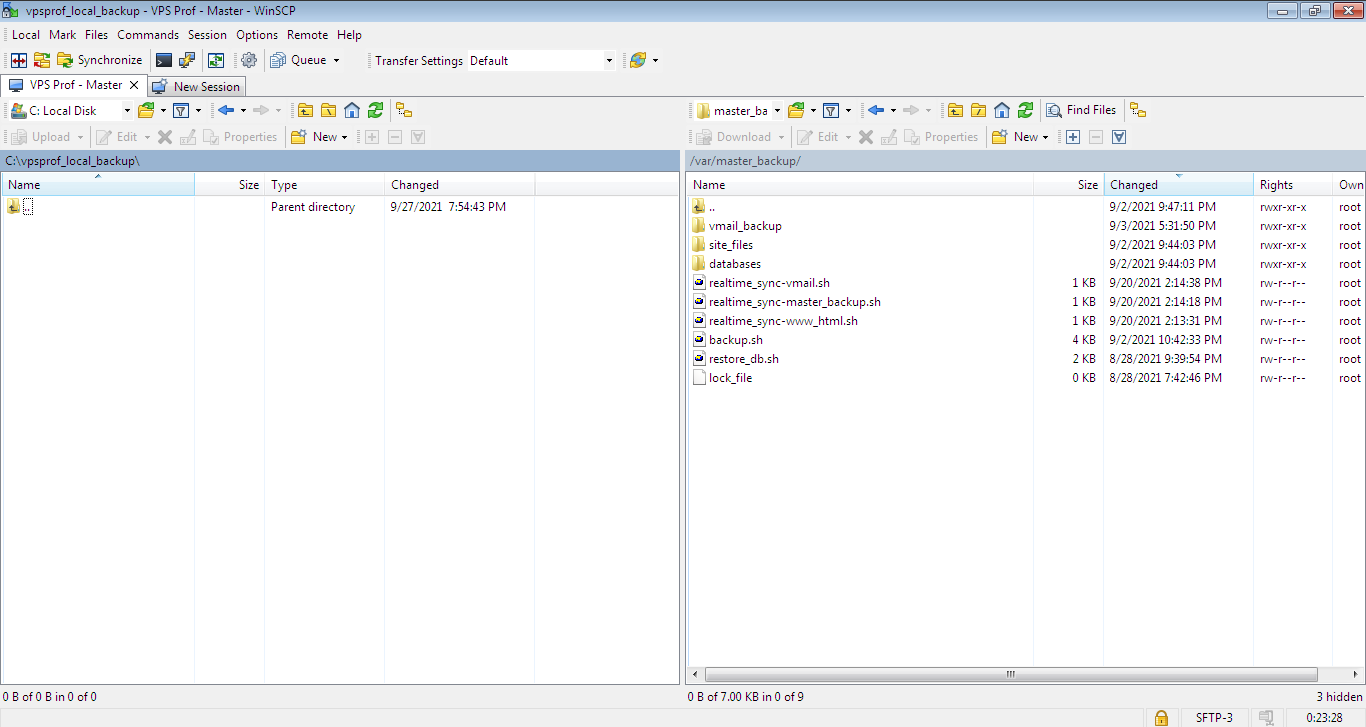
For the local computer directory, it’s up to you, create a backup directory anywhere so it will be synced always with the remote backup directory. For example, let’s create: vpsprof_local_backup folder in C drive. WinSCP with directories that are ready to sync should look like below:
d. Run WinSCP Sync Between Ubuntu and PC
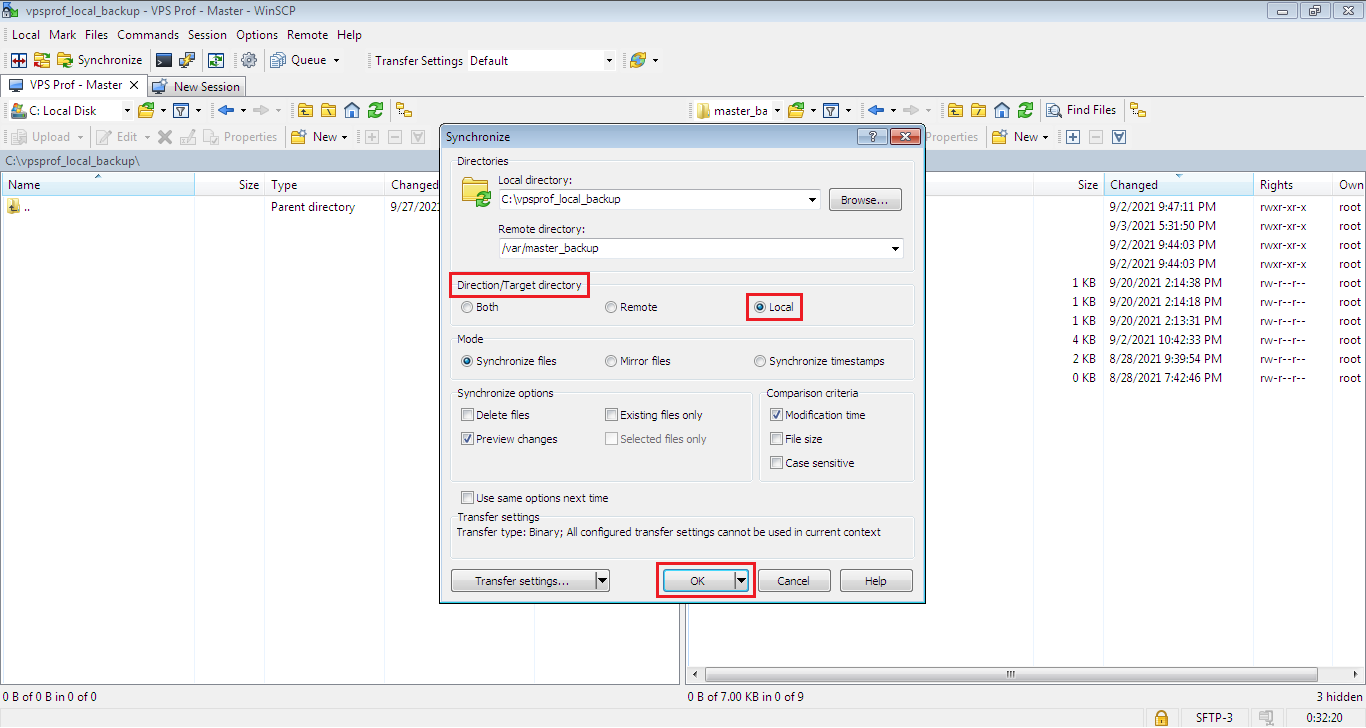
5. Let’s start syncing, from main menu on top, go to: Commands then click on: Synchronize or click Ctrl+s. The Synchronize dialog will show up. Make sure to set the Direction/Target directory option to Local as seen below then click on OK.
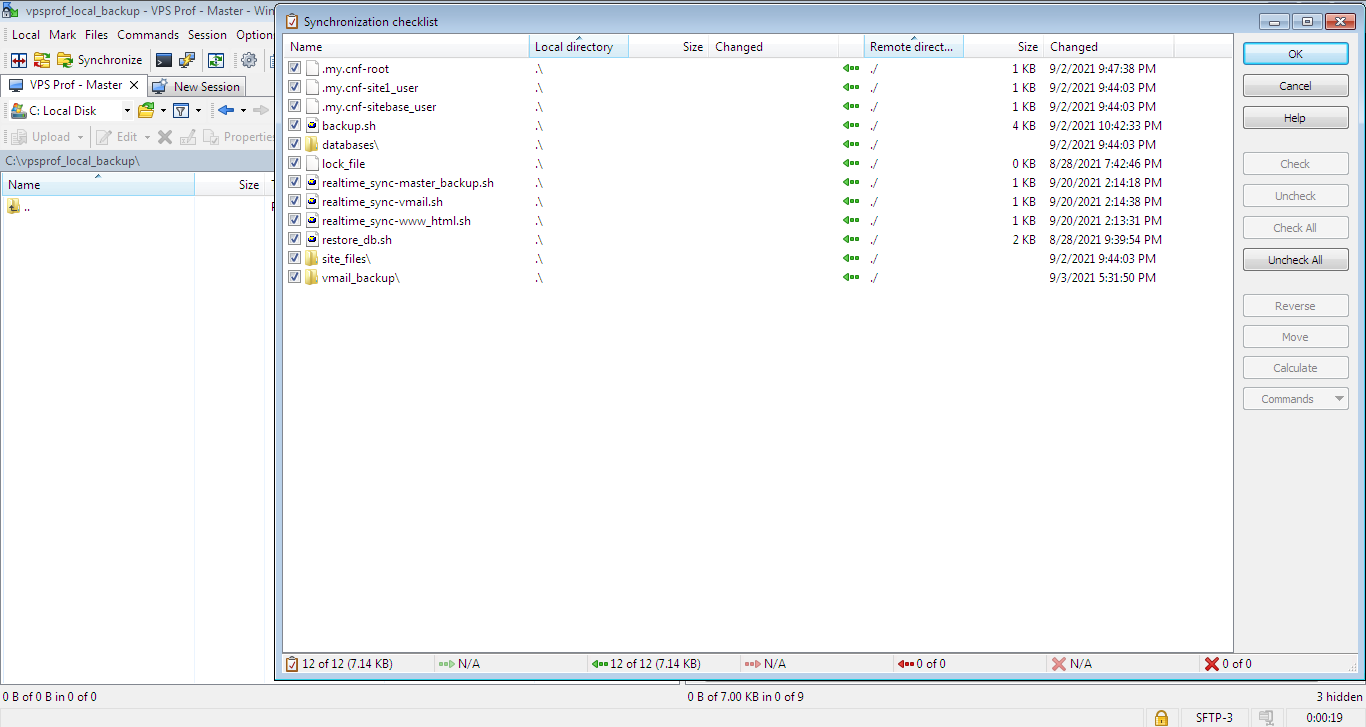
WinSCP will start comparing directories and once it’s done, it will show you the directories that changed on remote server and not changed on local computer as below. As it’s the first time to sync, WinSCP will show that all folders and files need a sync. So, click on OK to start the sync process.
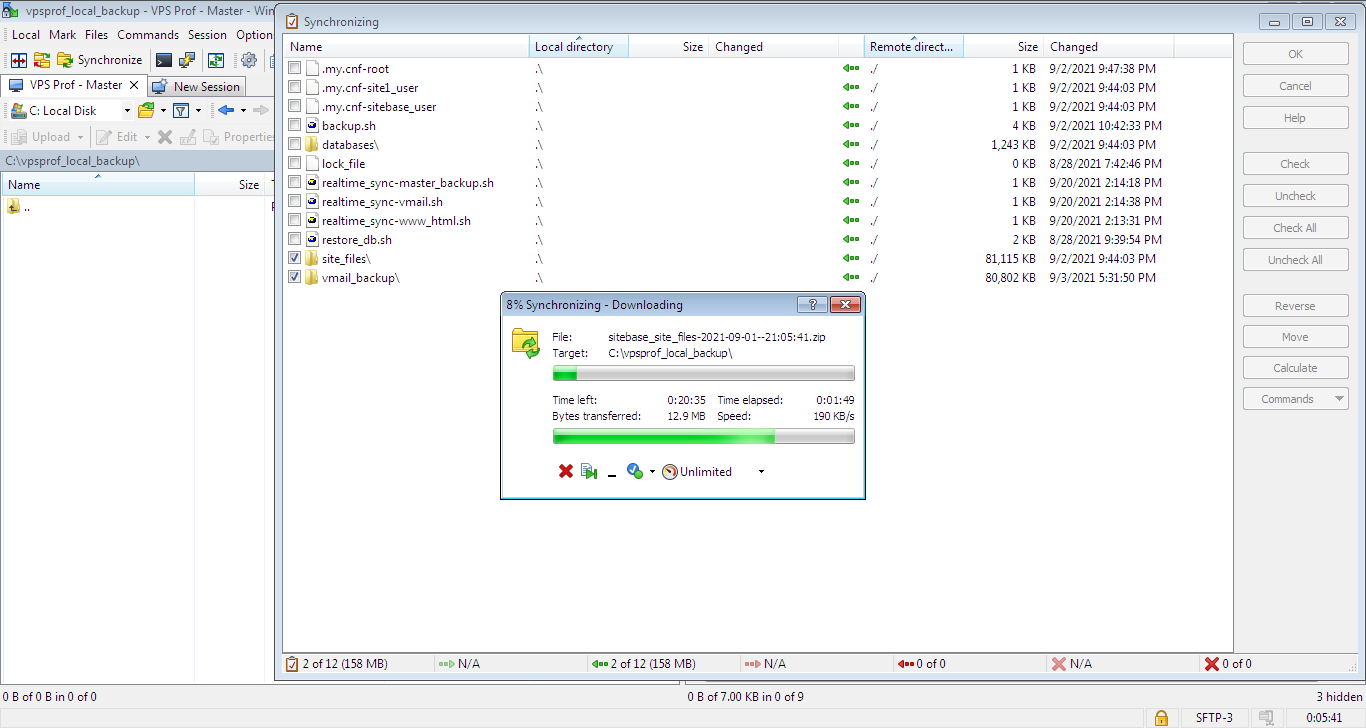
You will see the transfer progress as below:
6. Save the session between directories by clicking on:
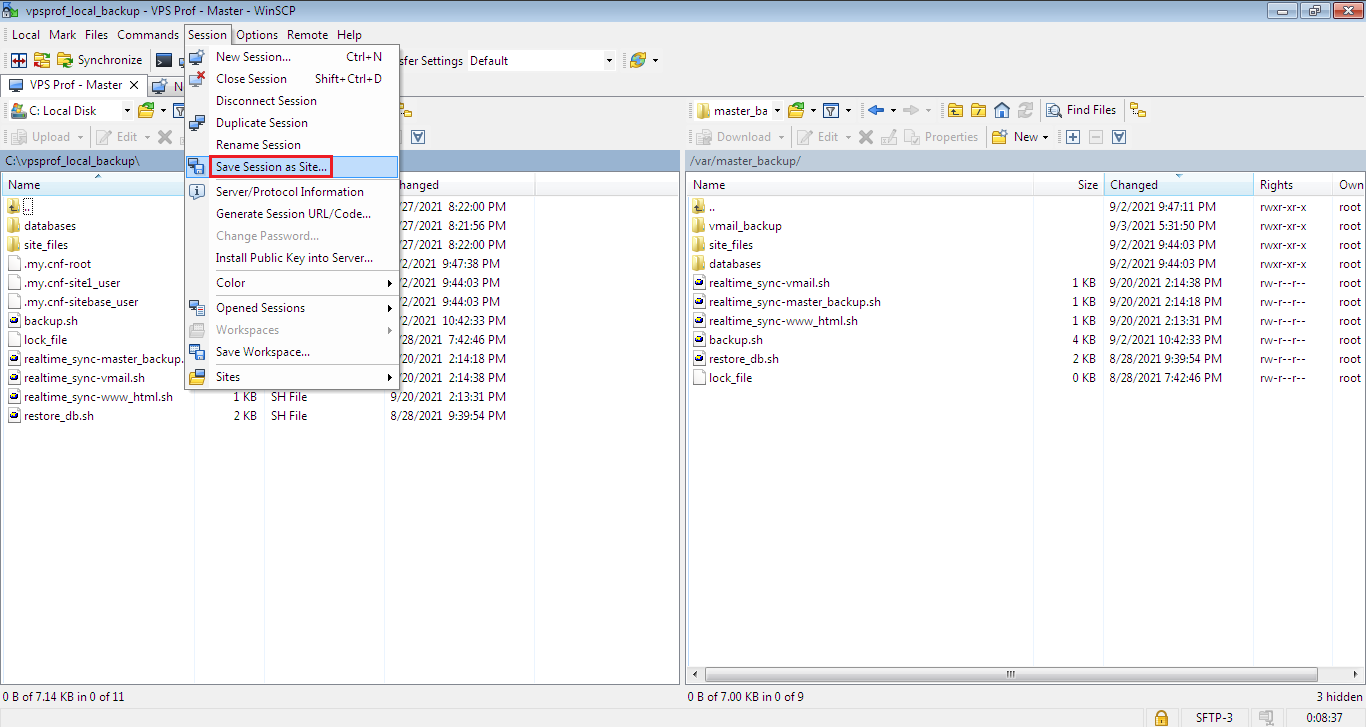
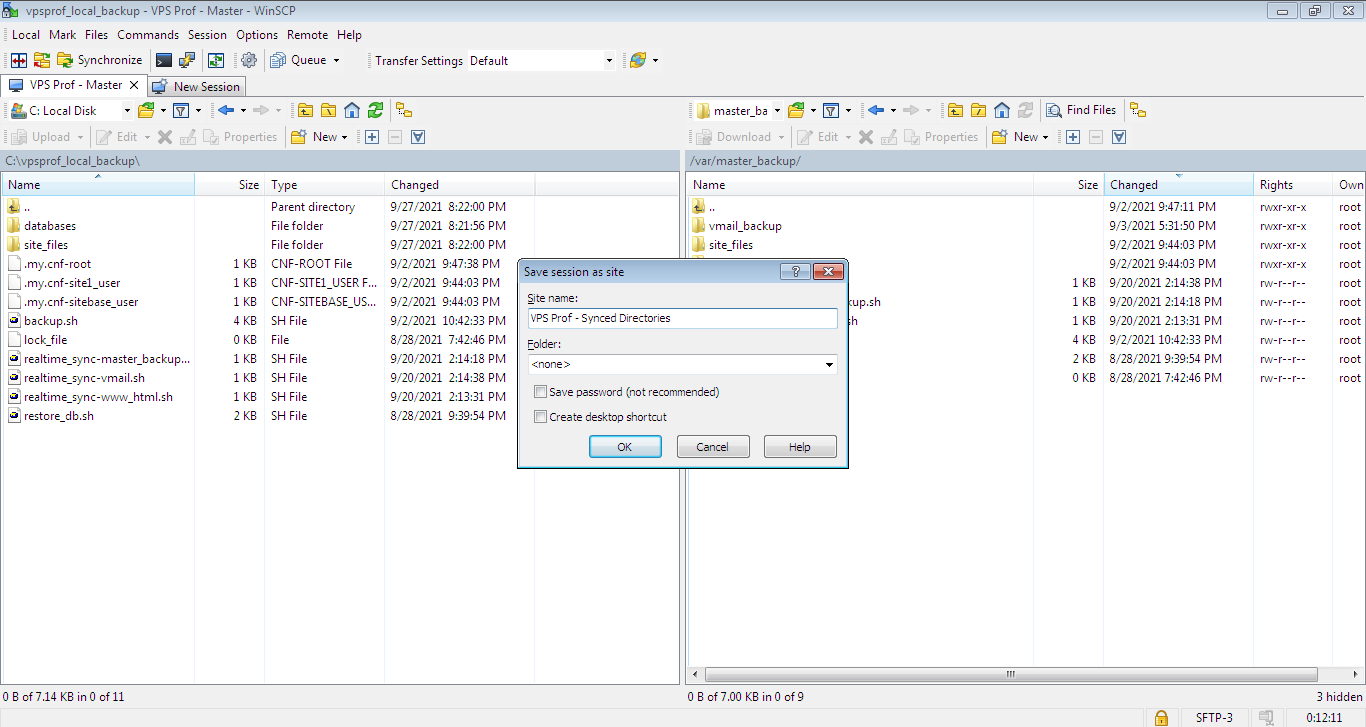
Choose a name for the session then click OK to add the session to Site Manager.
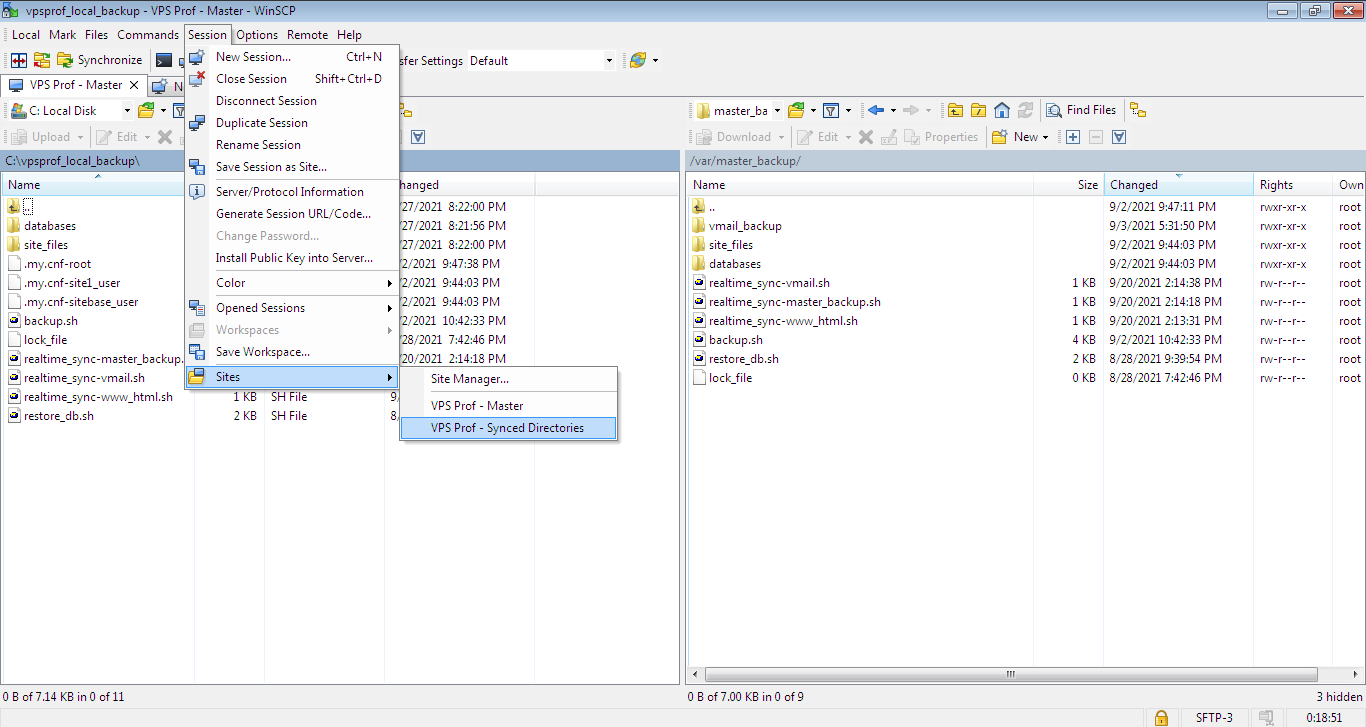
As you see here, the sync session has been added to Site Manager.
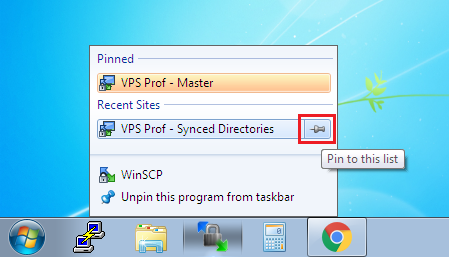
You can pin WinSCP to Microsoft Windows Taskbar so when you login to the session next time from Site Manager, you can pin the session to WinSCP list as seen below and you will need only to click (right mouse click) on WinSCP icon on Taskbar, then click on the session you want to login to.
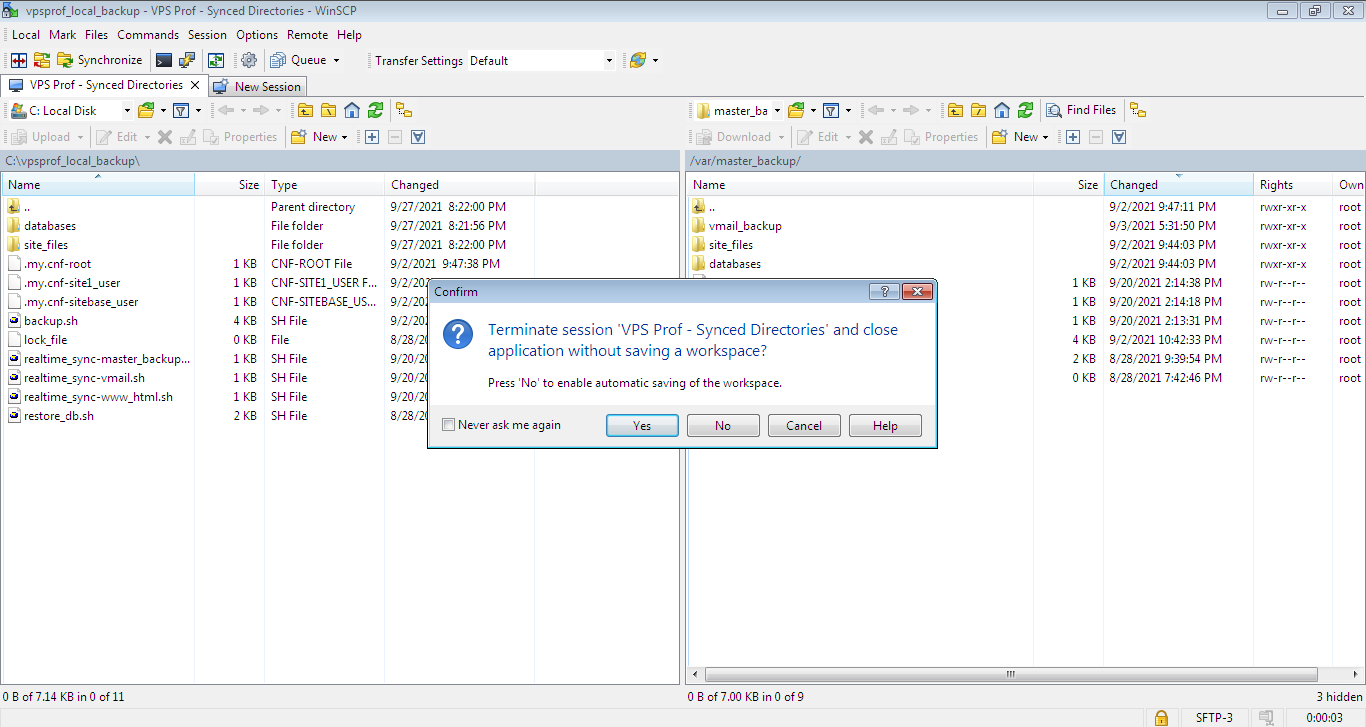
Please note that when you close the session, you get the message below, just click on Yes as we already saved our session and we don’t need to update it later.