
iNotifyWait will sync the folders between two servers in real time.
We will create an iNotifyWait bash scripts on the source server to check for any changes on the synced folders to send the change to the destination server. That is to say, iNotifyWait will perform a real time sync on the synced folders.
1. Let’s download iNotifyWait utility by running the below command on PuTTY SSH client or any Linux terminal:
root@mail:~# apt install inotify-tools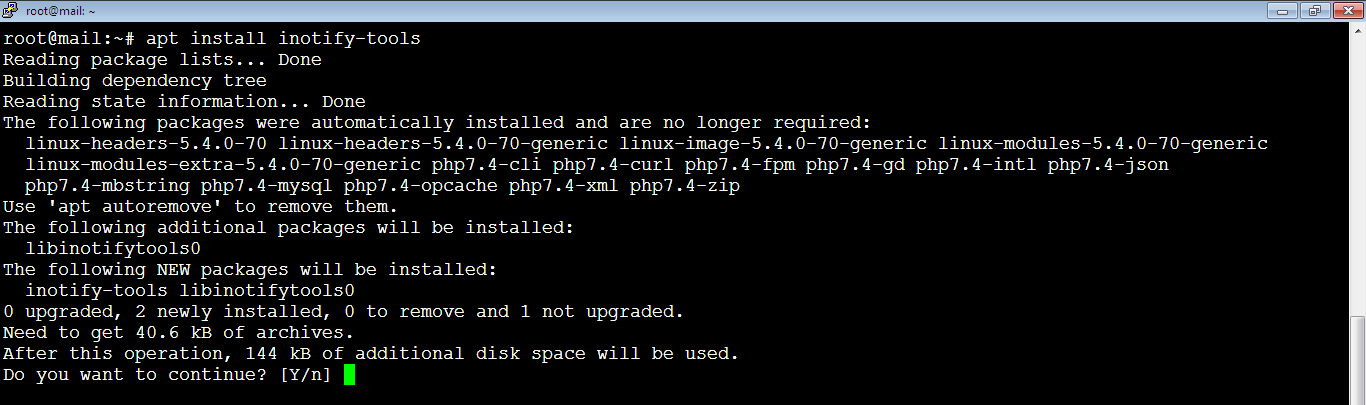
Then, you will be asked to confirm the installation. So, type: Y, or: y, then hit Enter key. After that, you will see an installation progress.
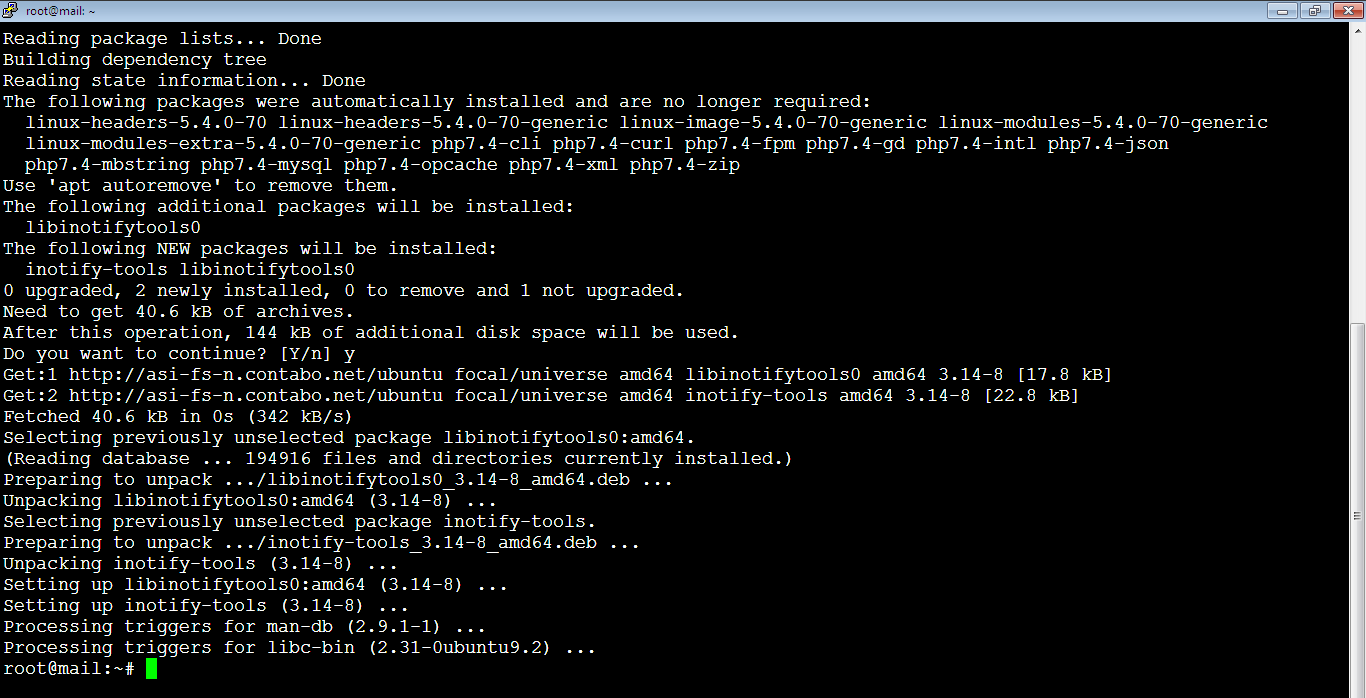
And here when it’s done successfully.
2. We need to create new Bash scripts inside the master_backup directory that we created before for every directory we need to sync. That is to say, we will sync three directories.
Sync Document Root Directory
I. Run the below command to open a file to monitor: /var/www/html/ directory:
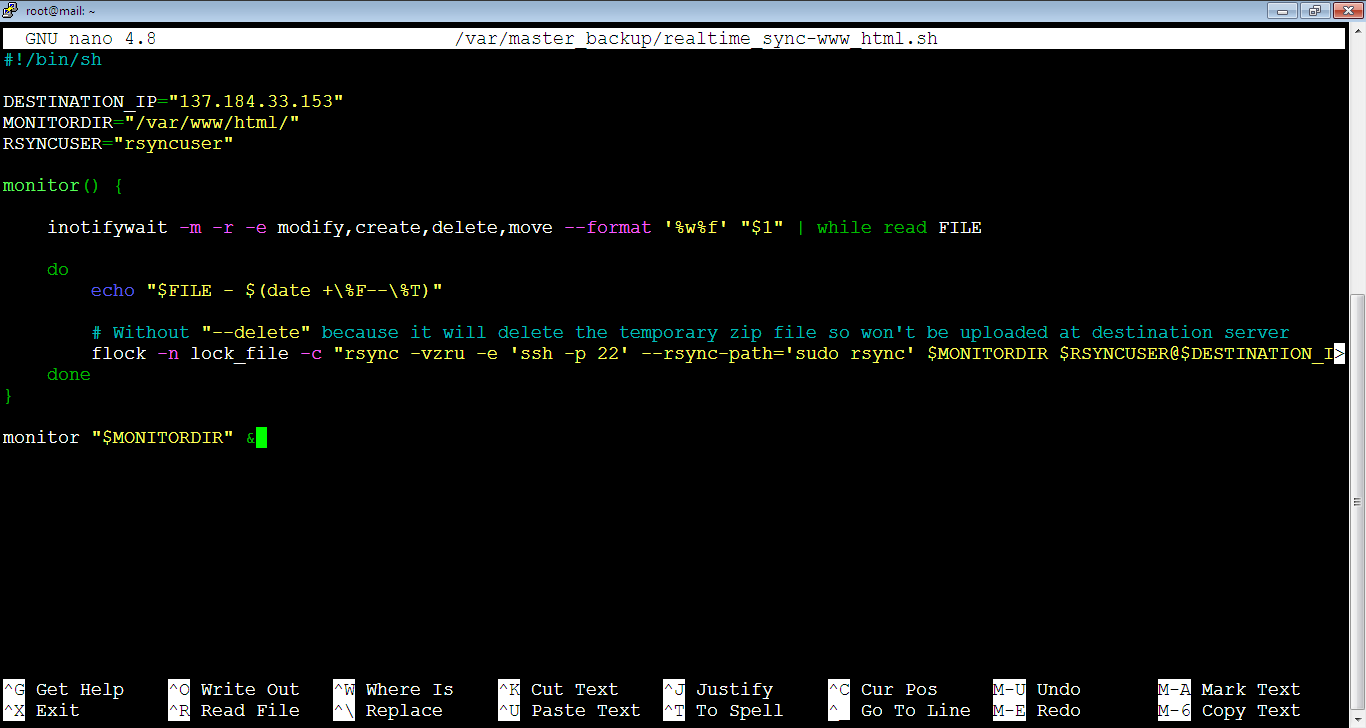
root@mail:~# nano /var/master_backup/realtime_sync-www_html.shAdd the below code inside the opened file then close and save it.
#!/bin/sh

DESTINATION_IP="137.184.33.153"
MONITORDIR="/var/www/html/"
RSYNCUSER="rsyncuser"

monitor() {

    inotifywait -m -r -e modify,create,delete,move --format '%w%f' "$1" | while read FILE

    do
        echo "$FILE - $(date +\%F--\%T)"

        # Without "--delete" because it will delete the temporary zip file so won't be uploaded at destination server
        flock -n lock_file -c "rsync -vzru -e 'ssh -p 22' --rsync-path='sudo rsync' $MONITORDIR $RSYNCUSER@$DESTINATION_IP:$MONITORDIR"
    done
}

monitor "$MONITORDIR" &
Your file should look like below. Note that the MONITORDIR parameter has to have a slash (/) at the end of the directory, like this slash in red: /var/www/html/. If this slash is not added, the sync will move the whole directory as a single empty folder from the source to destination (will not move the content inside the directory).
If we add -q to inotifywait function above like: inotifywait -q -m -r …, it will not show the updates on the console once you launch the iNotifyWait process.
Sync Master Backup Directory
II. Run the below command to open a file to monitor: /var/master_backup/ directory:
root@mail:~# nano /var/master_backup/realtime_sync-master_backup.shAdd the following code inside it then close and save it.
#!/bin/sh

DESTINATION_IP="137.184.33.153"
MONITORDIR="/var/master_backup/"
RSYNCUSER="rsyncuser"

monitor() {

    inotifywait -m -r -e modify,create,delete,move --format '%w%f' "$1" | while read FILE

    do
        echo "$FILE - $(date +\%F--\%T)"

        # Without "--delete" because it will delete the temporary zip file so won't be uploaded at destination server
        flock -n lock_file -c "rsync -vzru -e 'ssh -p 22' --rsync-path='sudo rsync' $MONITORDIR $RSYNCUSER@$DESTINATION_IP:$MONITORDIR"
    done
}

monitor "$MONITORDIR" &
Note that we placed the bash scripts inside /var/master_backup/ directory which is a synced directory. It means, if we try to edit these bash scripts from the same SSH session that we used to launch iNotifyWait processes, we will see a sync progress on the console while we edit them or even move the cursor inside the files. This is because it’s considered a change to /var/master_backup/ directory which can be annoying. So, if you don’t want to see any sync progress on the console, just open a new SSH session to edit these bash scripts.
Sync Mail
III. Run the below command to open a file to monitor: /var/vmail/ directory:
root@mail:~# nano /var/master_backup/realtime_sync-vmail.shAdd the following code inside the file then close and save it.
#!/bin/sh
DESTINATION_IP="137.184.33.153"
MONITORDIR="/var/vmail/"
RSYNCUSER="rsyncuser"
monitor() {
inotifywait -m -r -e modify,create,delete,move --format '%w%f' "$1" | while read FILE
do
echo "$FILE - $(date +\%F--\%T)"
# Without "--delete" because it will delete the temporary zip file so won't be uploaded at destination server
flock -n lock_file -c "rsync -vzru -e 'ssh -p 22' --rsync-path='sudo rsync' $MONITORDIR $RSYNCUSER@$DESTINATION_IP:$MONITORDIR"
done
}
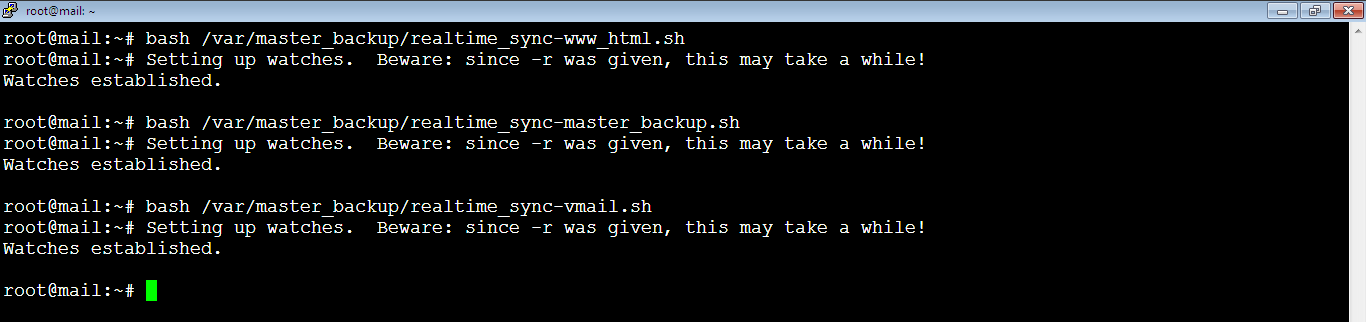
monitor "$MONITORDIR" &3. Let’s run these three bash scripts we’ve just created by running the following commands.
root@mail:~# bash /var/master_backup/realtime_sync-www_html.shYou need to hit Enter key again to go back to Linux console run the next below bash scripts.
root@mail:~# bash /var/master_backup/realtime_sync-master_backup.shroot@mail:~# bash /var/master_backup/realtime_sync-vmail.shNote that if you run the same bash script twice, iNotifyWait process will run twice too which will lead to waste of resources.
Manage iNotifyWait Processes
4. To see which folders iNotifyWait is managing and which processes are running, run the below command:
root@mail:~# ps -ef | grep inotifywaitroot 1305178 1305177 0 20:59 pts/0 00:00:00 inotifywait -m -r -e modify,create,delete,move --format %w%f /var/www/html/
root 1305183 1305182 0 20:59 pts/0 00:00:00 inotifywait -m -r -e modify,create,delete,move --format %w%f /var/master_backup/
root 1305188 1305187 0 20:59 pts/0 00:00:00 inotifywait -m -r -e modify,create,delete,move --format %w%f /var/vmail/
root 1305297 1303236 0 21:02 pts/0 00:00:00 grep --color=auto inotifywait

5. To delete any process, you need to run the below command:
root@mail:~# kill process_numberIn the screen shot above, the process number is marked above the red line (first number in the line), let’s try killing all processes, just separate them by a space as belwo:
root@mail:~# kill 1305178 1305183 1305188
If you get no error, it means all processes has stopped, to check if there are any open process, run the below command again:
root@mail:~# ps -ef | grep inotifywait
As you see, there are no processes connected with the three bash scripts that we created.
Test Real Time Sync
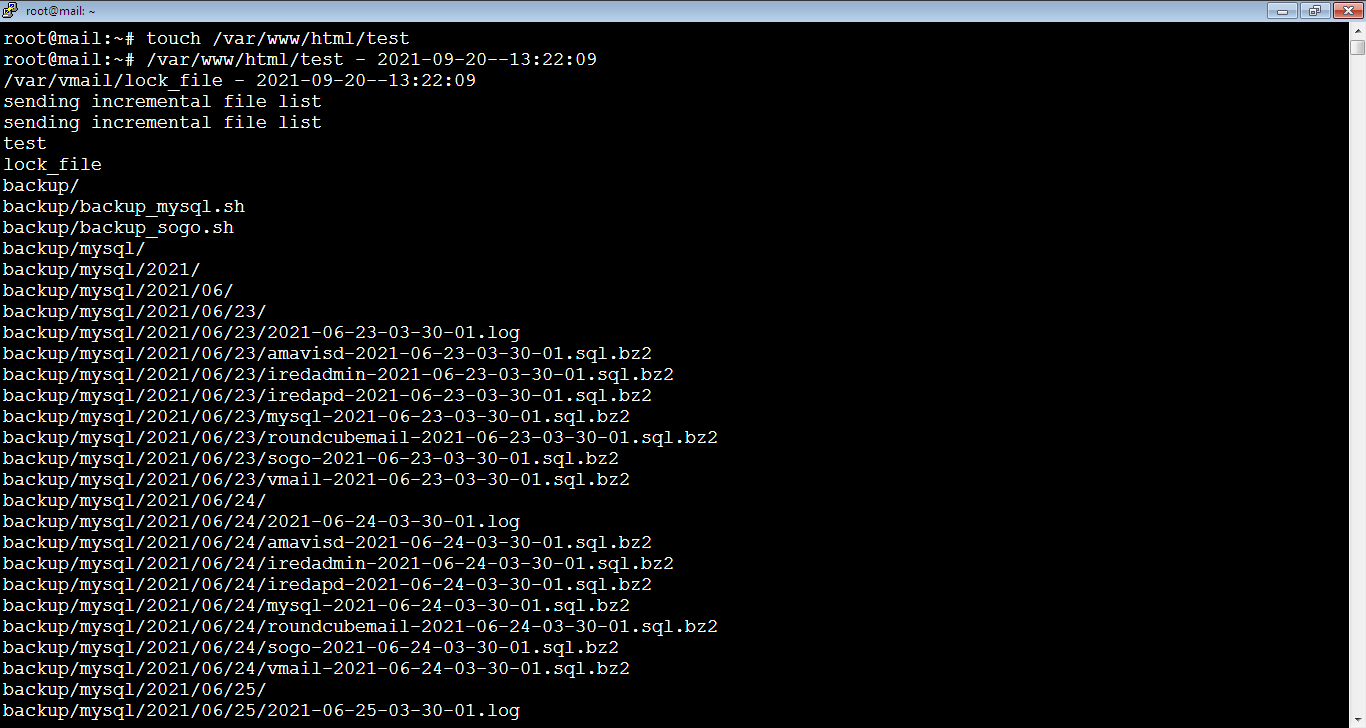
6. Let’s test if it works. We will create a test file in the /var/www/html/ directory on the source server, then will check if we can find it on the destination server. Run the below command to create a file (test) inside the /var/www/html/ directory:
root@mail:~# touch /var/www/html/testOnce you make a change to a one directory, iNotifyWait processes will check the changes on the three directories we setup to watch, so the sync will be done on all of them. The console will show up the sync progress updates as below:

And as we’re working on the same SSH session which we used to launch the iNotifyWait processes, we will see the sync updates on the console, if you close the current SSH session and open new one, you will not see the progress update on the console, you will see only the sync changes on the destination server.
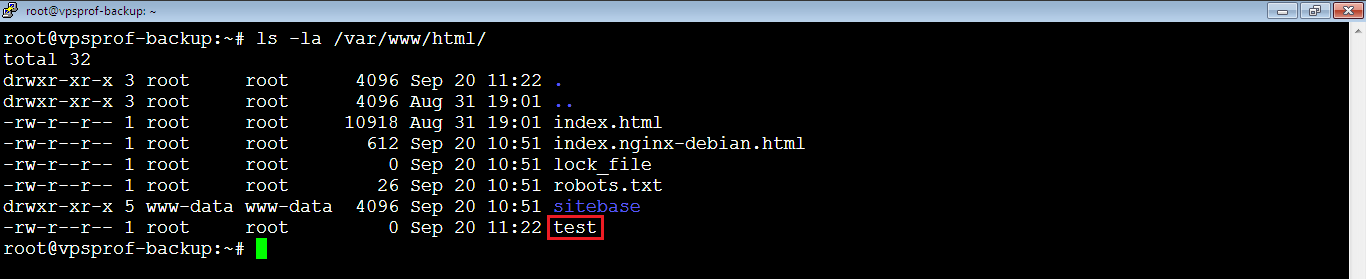
Now let’s go to destination server and check the (test) file if it’s there, run the below command:
root@vpsprof-backup:~# ls -la /var/www/html/And yes, it’s there!
Note that if you change the name of the directory on source server, the Rsync will create new directory at destination server as we didn’t add the --delete to the Rsync function. You can perform the delete separately whenever you want to cleanup the unwanted files on the destination. You can also make a cron job to cleanup, but make sure it doesn’t run the same time you run the backup on the source server (using backup.sh script) as the zip files take temporary names during the sync progress and you don’t want them to be deleted during the cleanup process.
Big NOTE: using touch doesn’t fire the inotifywait sometimes, after using touch, open the file using nano and edit it then save it to make sure if it works or not.
Auto Launch Real Time Sync (iNoitfyWait Processes)
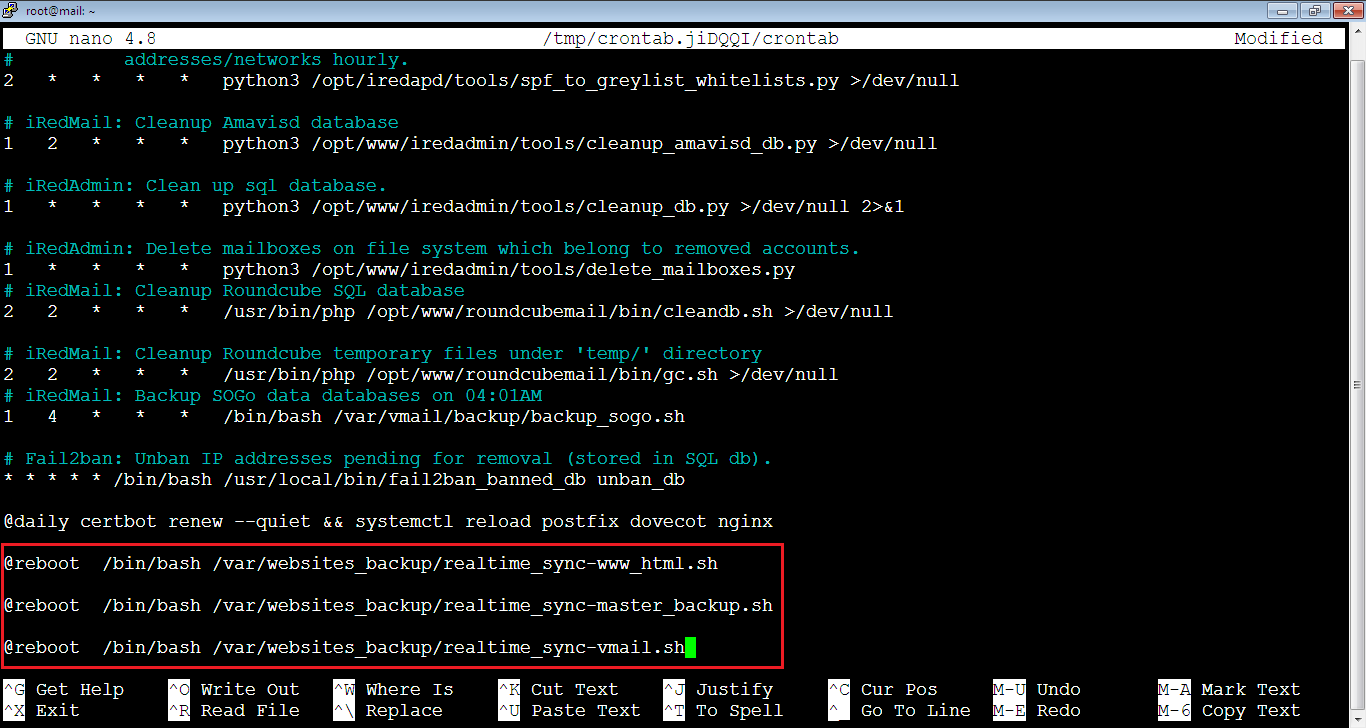
7. When you reboot the server, iNotifyWait processes won’t launch, so we need to add them to cron job. Open cron tab by running the below command:
root@mail:~# crontab -eThen add the below lines for every synced directory at the end of the file:
@reboot  /bin/bash /var/websites_backup/realtime_sync-www_html.sh

@reboot  /bin/bash /var/websites_backup/realtime_sync-master_backup.sh

@reboot  /bin/bash /var/websites_backup/realtime_sync-vmail.sh
Your file should look like below:
8. Increase the upper limit of iNotifyWait watches, because when you have too much files, the watches might not be enough and you will get an error like the below:
root@mail:~# Setting up watches.  Beware: since -r was given, this may take a while!
Failed to watch /var/www/html; upper limit on inotify watches reached!
Please increase the amount of inotify watches allowed per user via '/proc/sys/fs/inotify/max_user_watches'.
First, you need to check the RAM using the below command:
root@mail:~# free -m
As you see, we have 5452 MB of free memory (around 5.3 GB of RAM as we use Contabo 8 GB RAM server). Note that every watch needs 0.5 to 1 KB of RAM on 32 bit or 64 bit systems, so 100,000 watches need maximum 100,000 KB of RAM (around 100 MB of RAM which is less than 0.1 GB of RAM).
Let’s see the number of current watches on source server, run the below command:
root@mail:~# cat /proc/sys/fs/inotify/max_user_watches
On Ubuntu 22.04 LTS, the default value is: 61369
To change the value temporarily (it will revert back to 8192 after reboot), run the below command. You can change it to 500000 or even 1 million if you have enough memory.
root@mail:~# sysctl fs.inotify.max_user_watches=100000 To change the value of max watches permanently, run the below two commands:
root@mail:~# echo "fs.inotify.max_user_watches=100000" | sudo tee -a /etc/sysctl.confroot@mail:~# sysctl -p
If you reboot your server and check the number of watches, it won’t revert back to the initial number.