We need to get a Linux backup server (destination server) to run the backup process flawlessly.
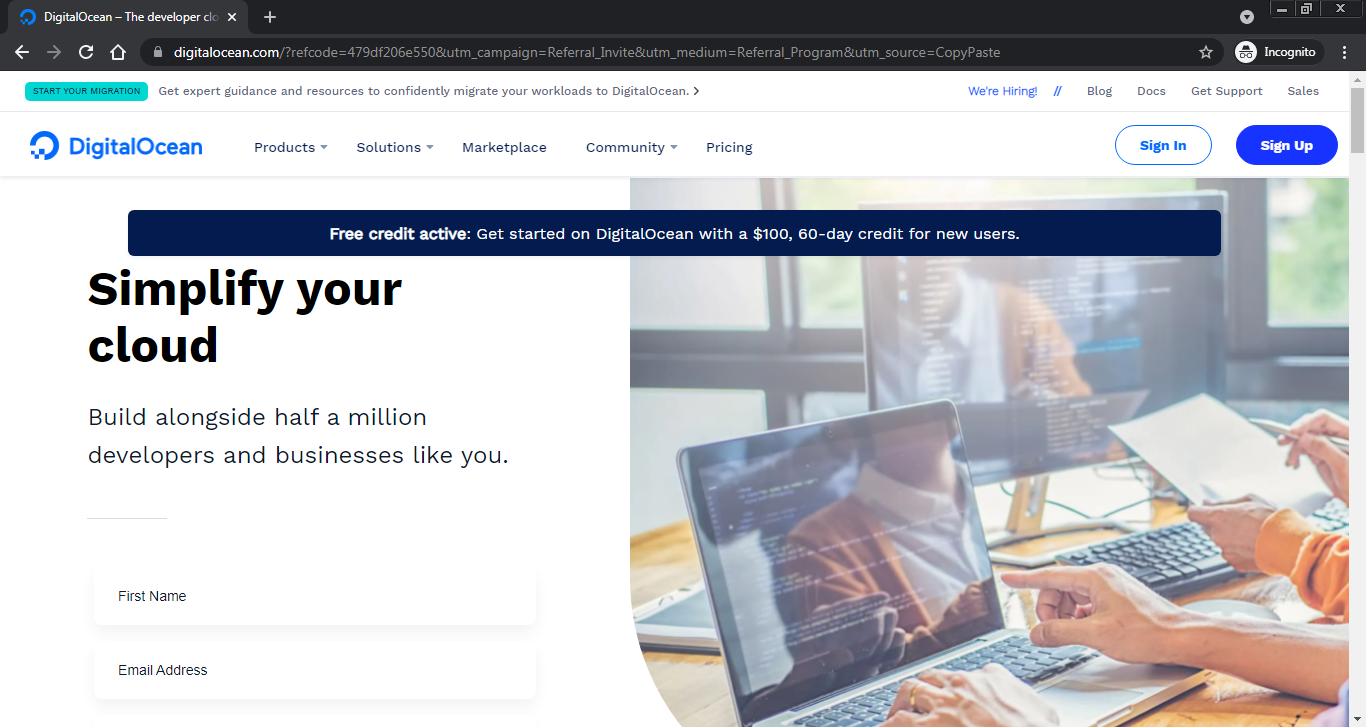
For this purpose, we recommend Digital Ocean as a great Linux backup server provider which offers robust service and a SUPER DEAL! $100 FREE Credit if you join via this link: $100 Free Credit
For the backup server, we don’t need high specs unlike the source server which has the email server which needs 2 GB RAM minimum. So, the lowest plan will work as a charm unless you need higher storage. Note that the free trial amount provides free credit up to $100 that must be used within 60 days.
Follow the steps below to get your server:
- Click on the provided link: $100 Free Credit, then create an account.
2. Once you finish the registration, sign in to be directed to the Dashboard. After that, click on Create button. Then, click on Droplets.
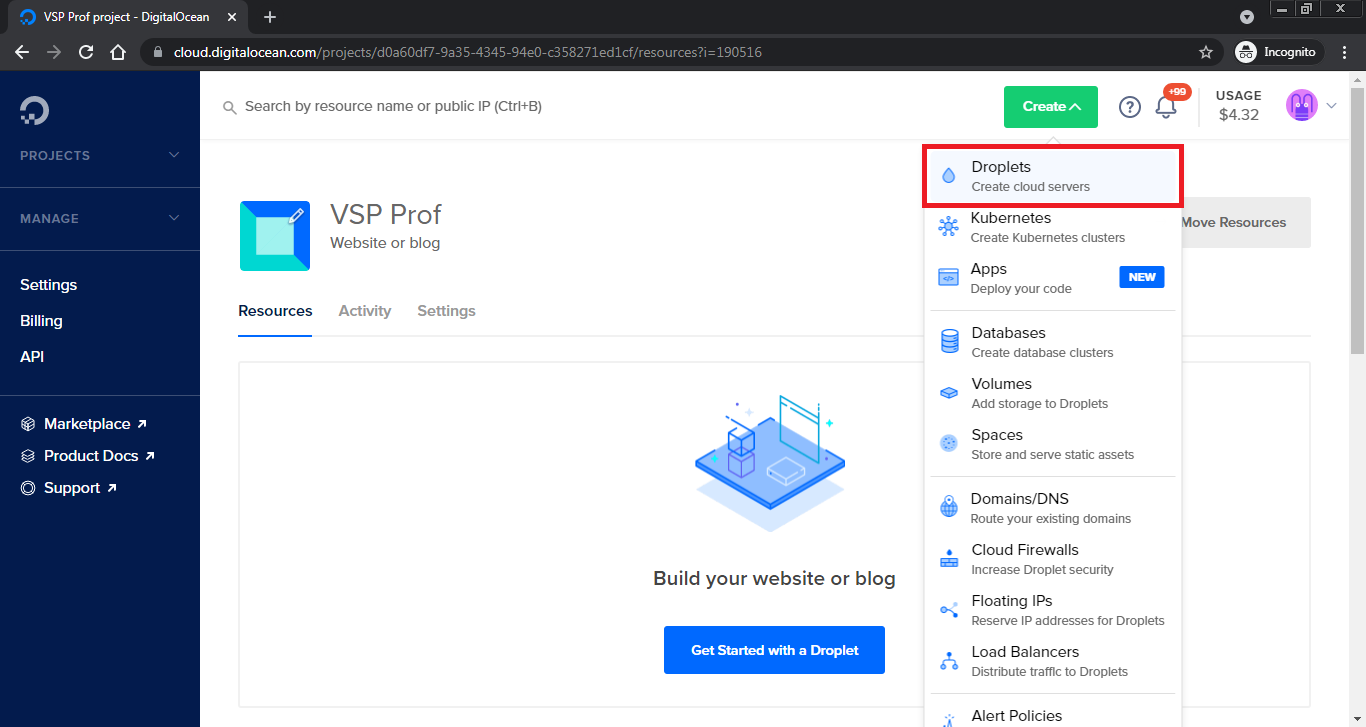
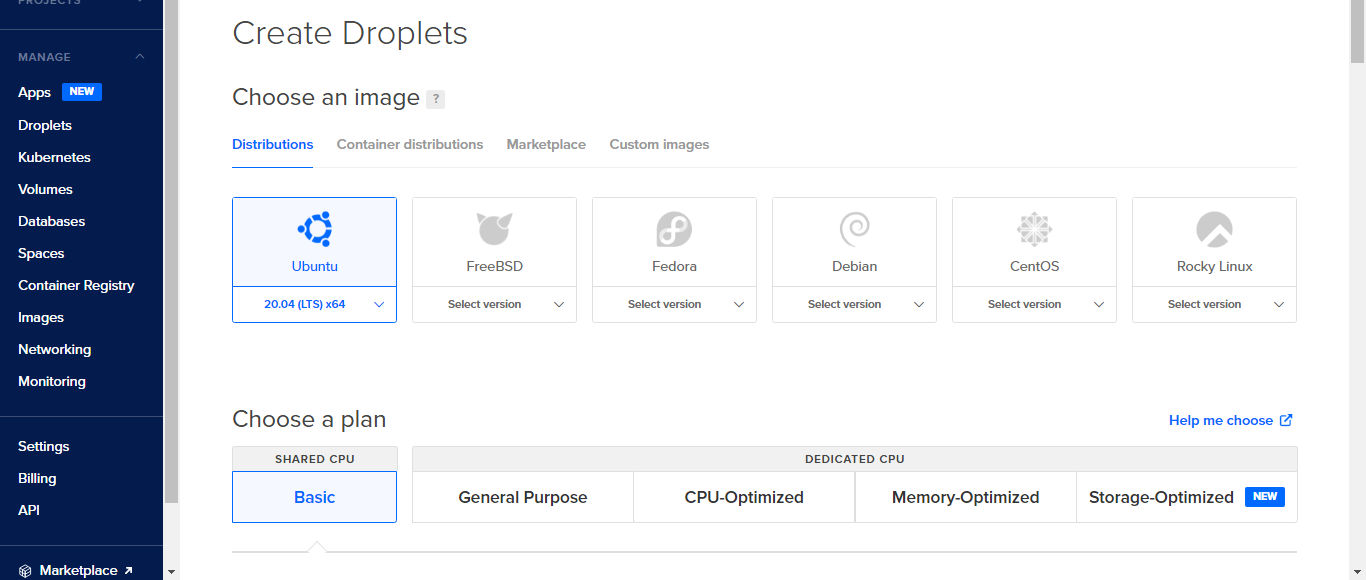
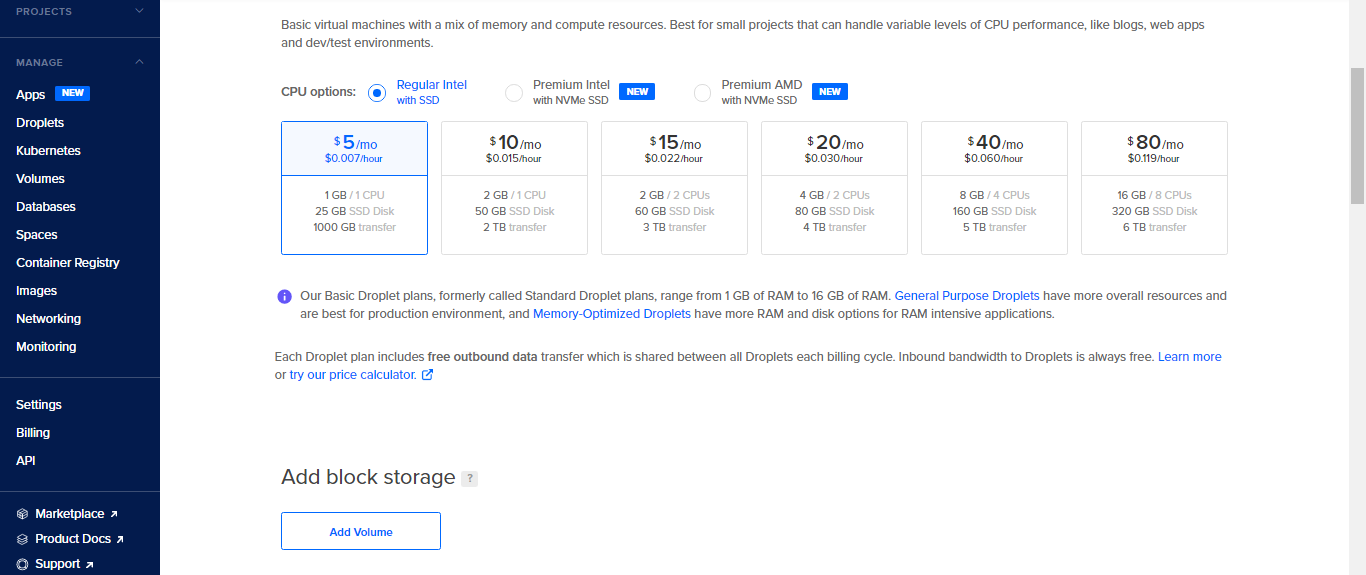
3. You will get the following options to choose and customize your droplet, we chose the basics which are:
Choose an image
Ubuntu 20.04 (LTS) x64
Choose a plan
Basic
CPU options
Regular Intel with SSD
Budget
We use now: $5/mo – $0.007/hour (1 GB RAM / 1 CPU, 25 GB SSD Disk, 1000 GB monthly transfer).
If you’re looking for a higher specs, you can go for: $10/mo – $0.015/hour ( 2 GB RAM / 2 CPU, 50 GB SSD Disk, 2 TB monthly transfer).
Add block storage
If you’re okay with the storage that comes with the default plan, no need to add extra storage. In case you want to add more, the cost of 10 GB costs $1.
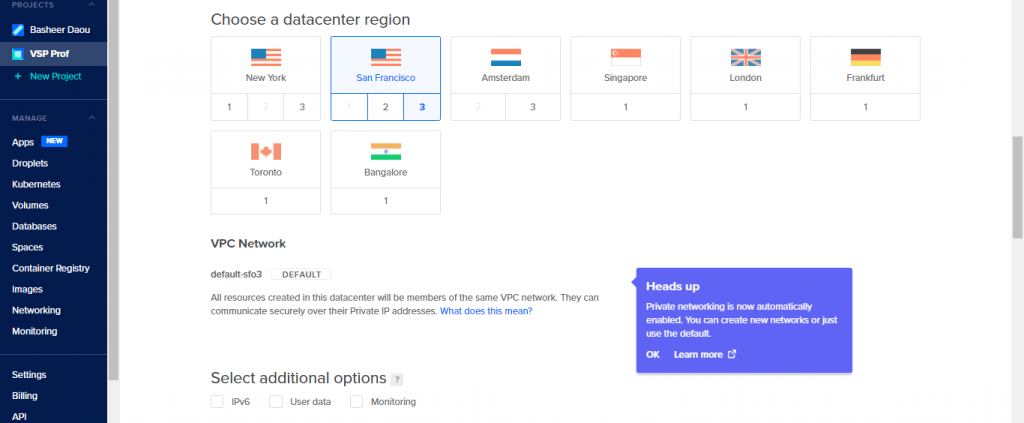
Choose a datacenter region
We usually keep the default one. The default one now is San Francisco 3
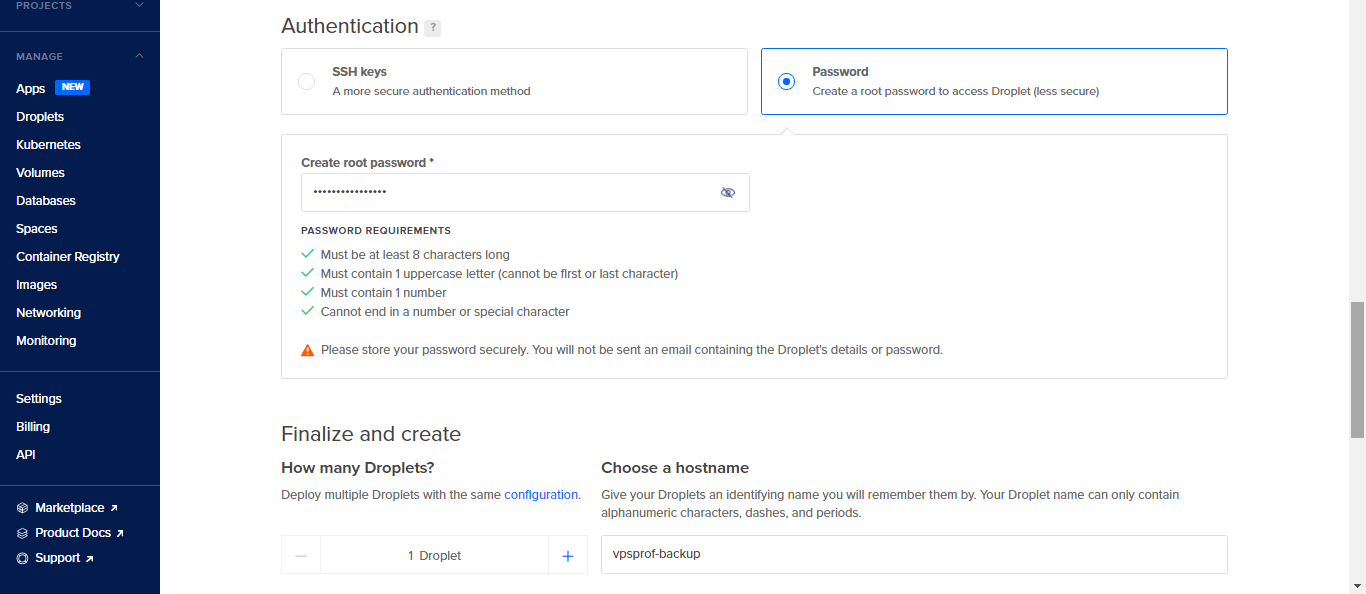
Authentication
Choose Password option below. We will change the password later and disable the root access, that’s why it can’t be a security problem for us at the moment.
How many Droplets?
1 droplet
Choose a hostname
vpsprof-backup
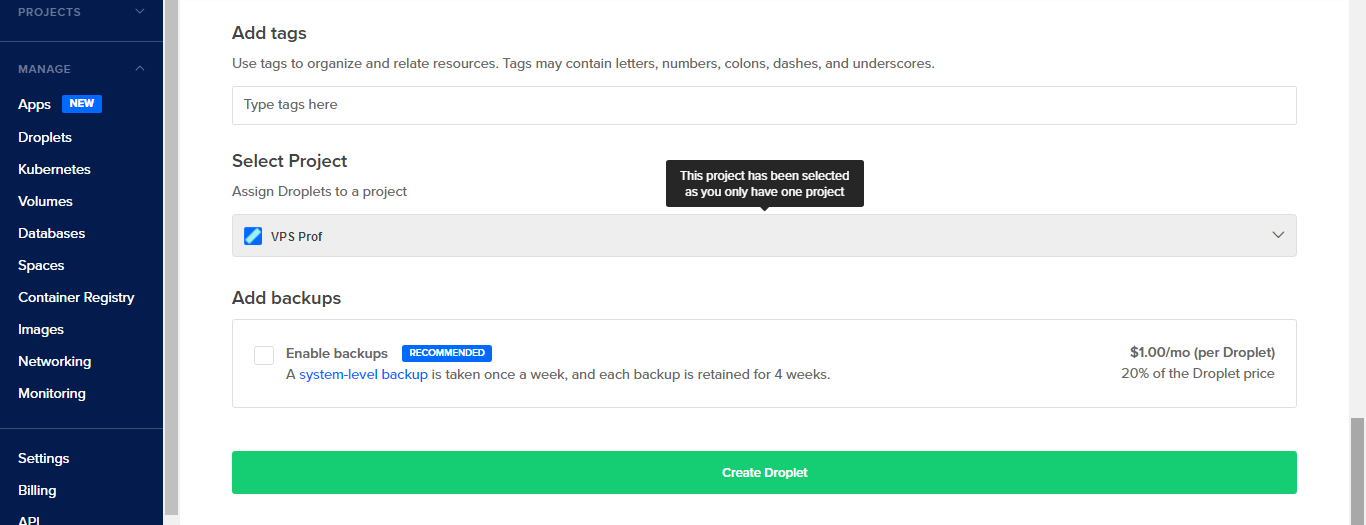
Add tags
No need to add if you have 1 droplet.
Select Project
You don’t need to select anything if you’ve only one project.
Add backups
No need, as it’s a backup server to backup the data on the source server.
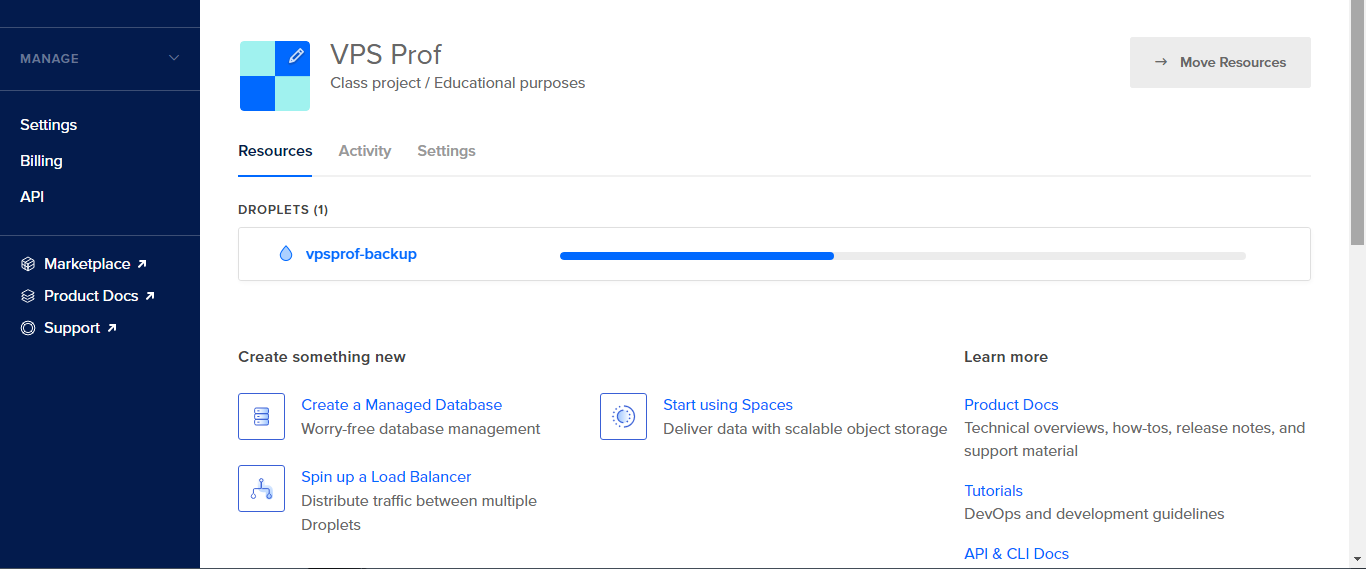
Once done with all the options, click on Create Droplet as seen below:
It will take few seconds to create the droplet and once it’s done, it will look like below:
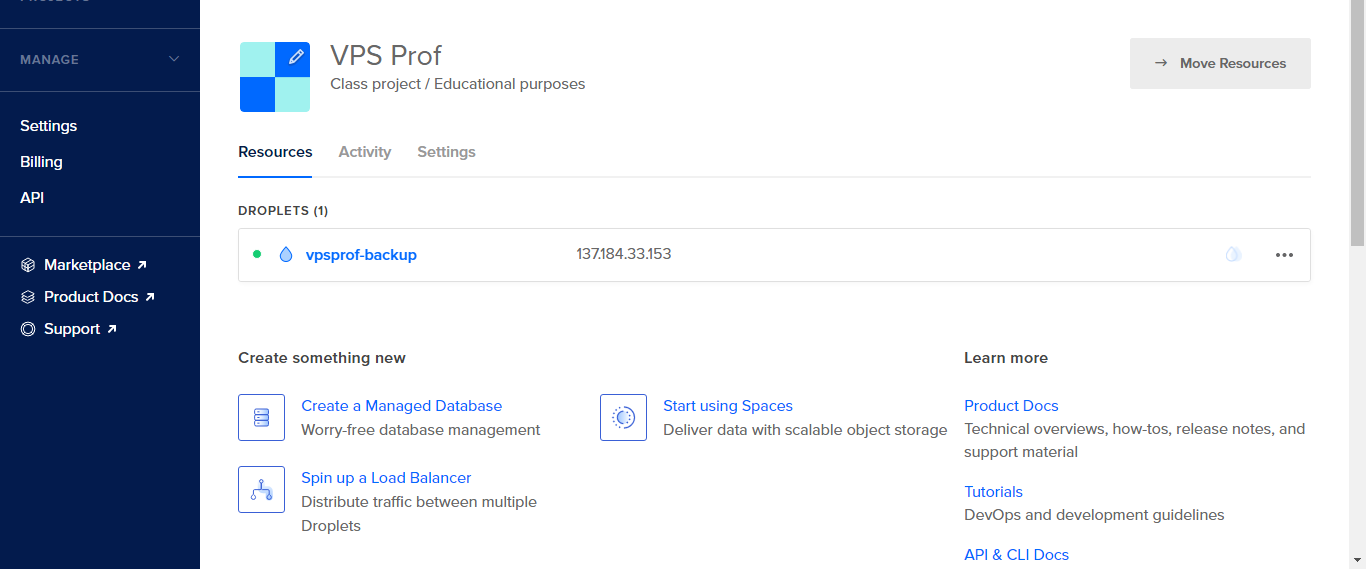
And now the droplet is ready! Note that your droplet will get an IP address as shown below.
4. Now you will need to login to your backup server but first it’s better to save the session in PuTTY and create a pin for it. We’ve explained this before in the SSH Remote Connection from Windows-based Machines article (part d. How to Save, Load, Delete & Manage Sessions).
The username to login is: root and the password is the password you assigned to the server when you created it. It will look like below after first login:
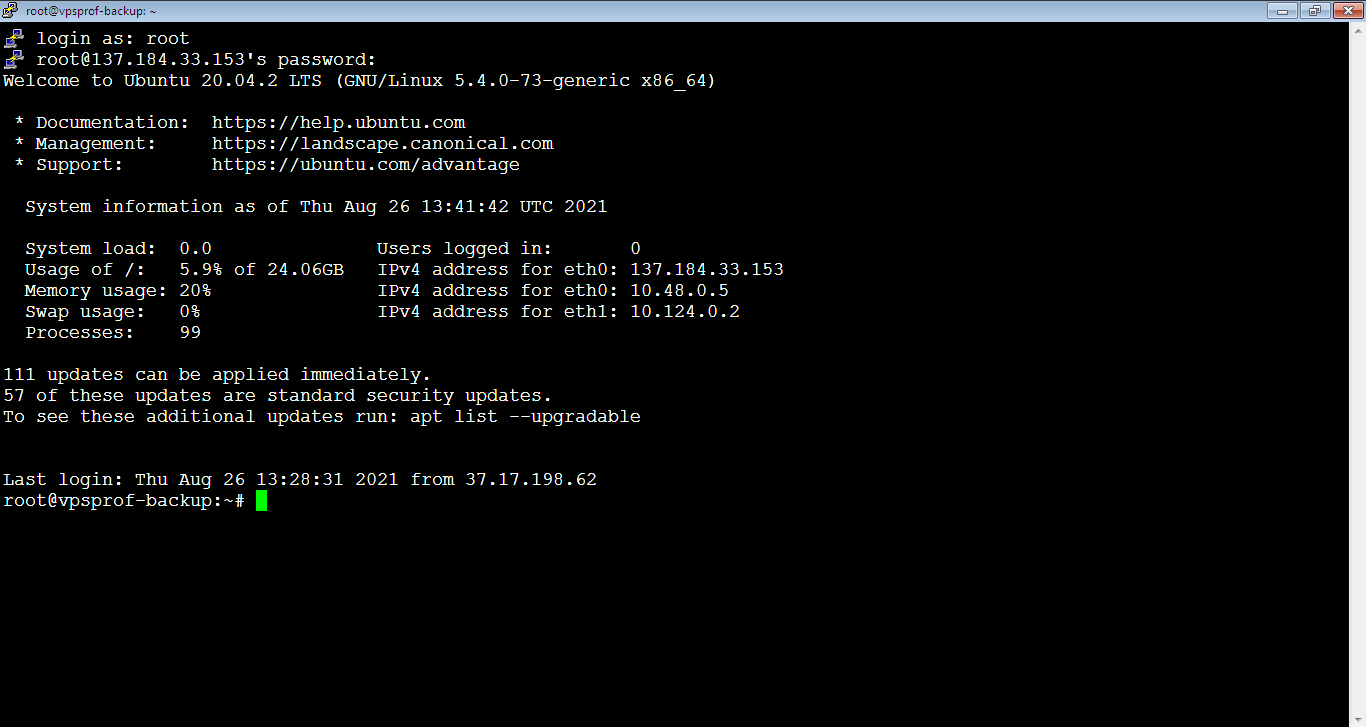
For security purposes, you need to change the password now, follow the hints here: Change Password On Ubuntu.