It’s so easy to start WordPress through the wizard.
After creating new MySQL database for the WordPress on Ubuntu server, downloading WordPress and getting it ready for installation and configuring Nginx virtual hosts for the domain which we want to connect to the WordPress website, we need to start WordPress as per the following steps:
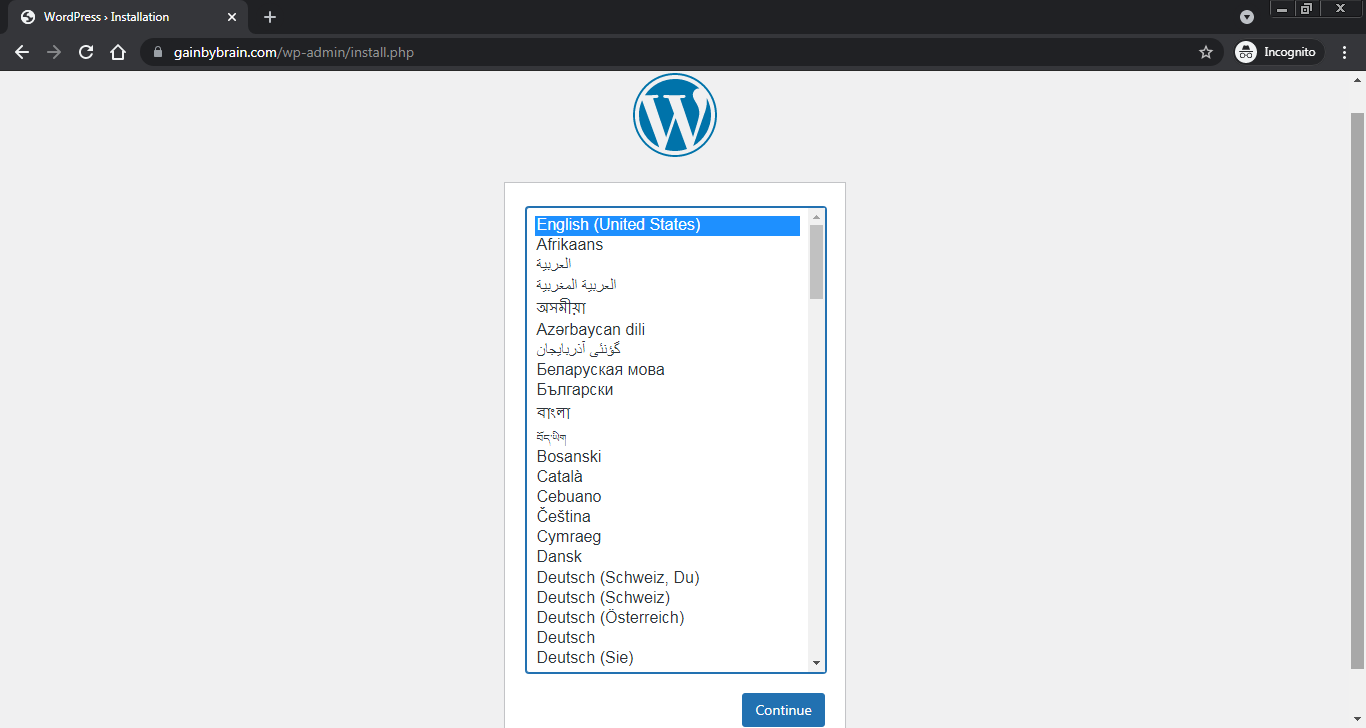
1. Go to the domain (in our case it’s: https://gainbybrain.com). The installation wizard should start as below. Choose your preferred language then click on Continue.
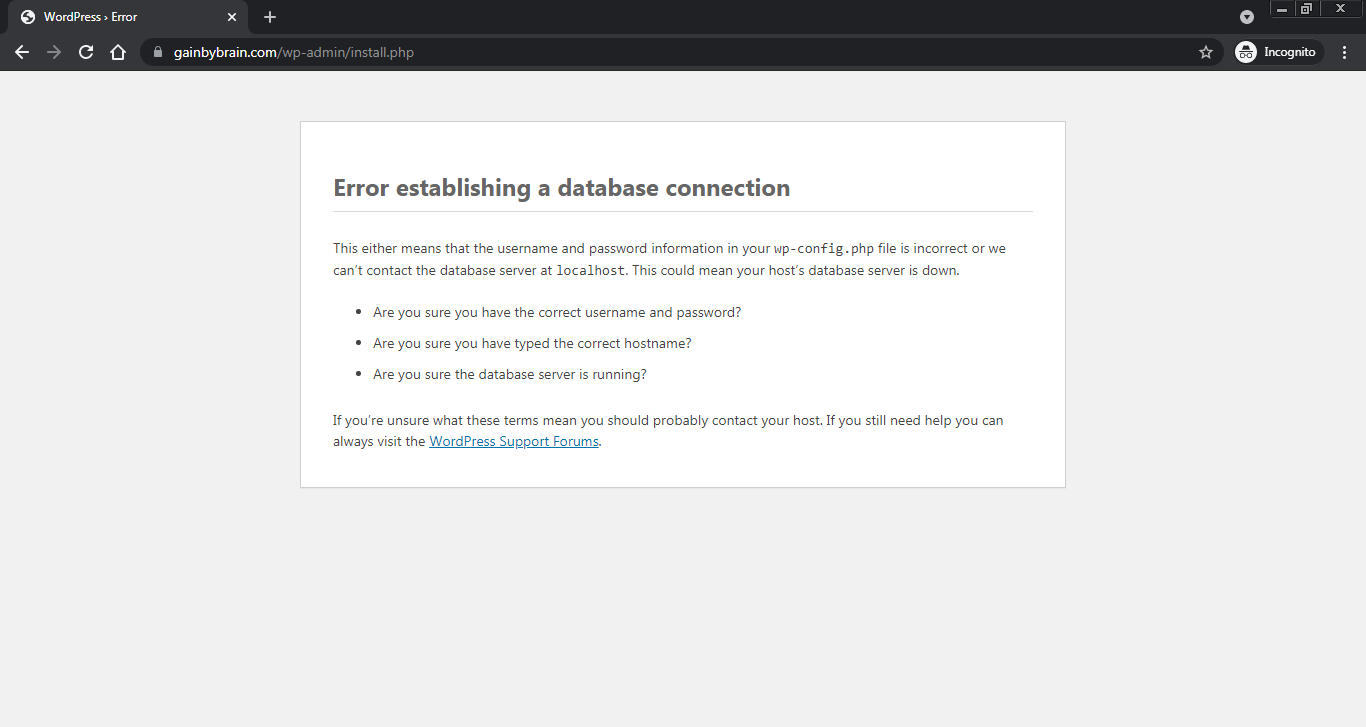
If the database credentials are incorrect, you will get an error like below, so you need to double check the credentials in the wp-config.php PHP file.
2. You will move to the next step where you will enter your website info and the admin info.
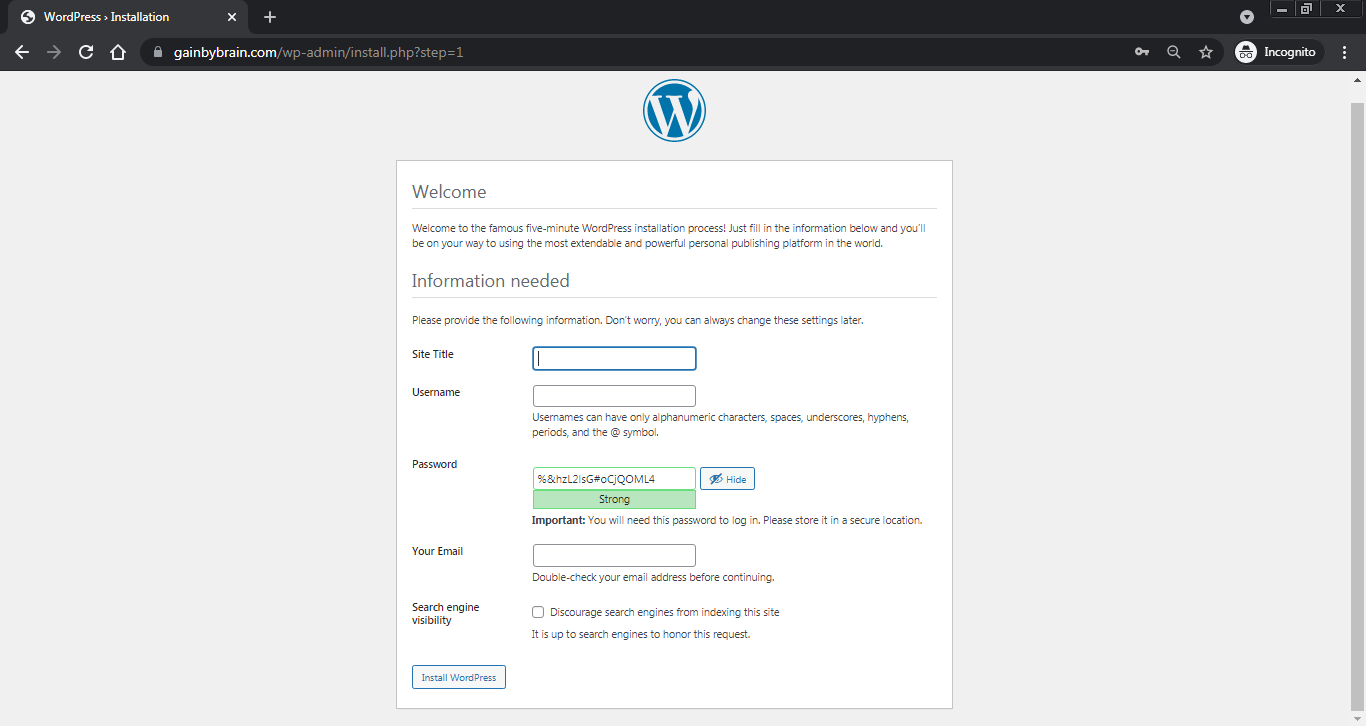
Let’s fill them together here:
Site Title: GainByBrain
Username: admin
Password: enter a strong password or accept the auto generated one
Your Email: enter your email
Search engine visibility: if you will go live (not a testing website), don’t discourage search engines from indexing this site.
You can see the fields filled below:
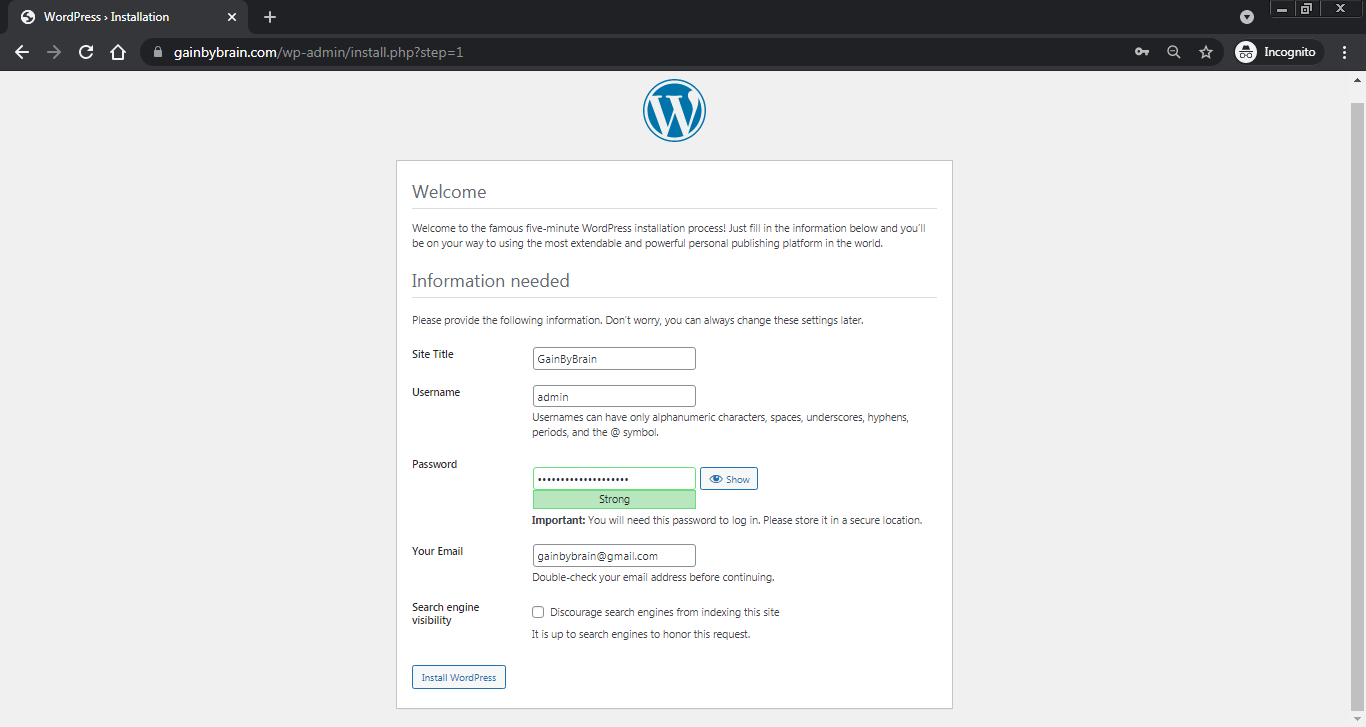
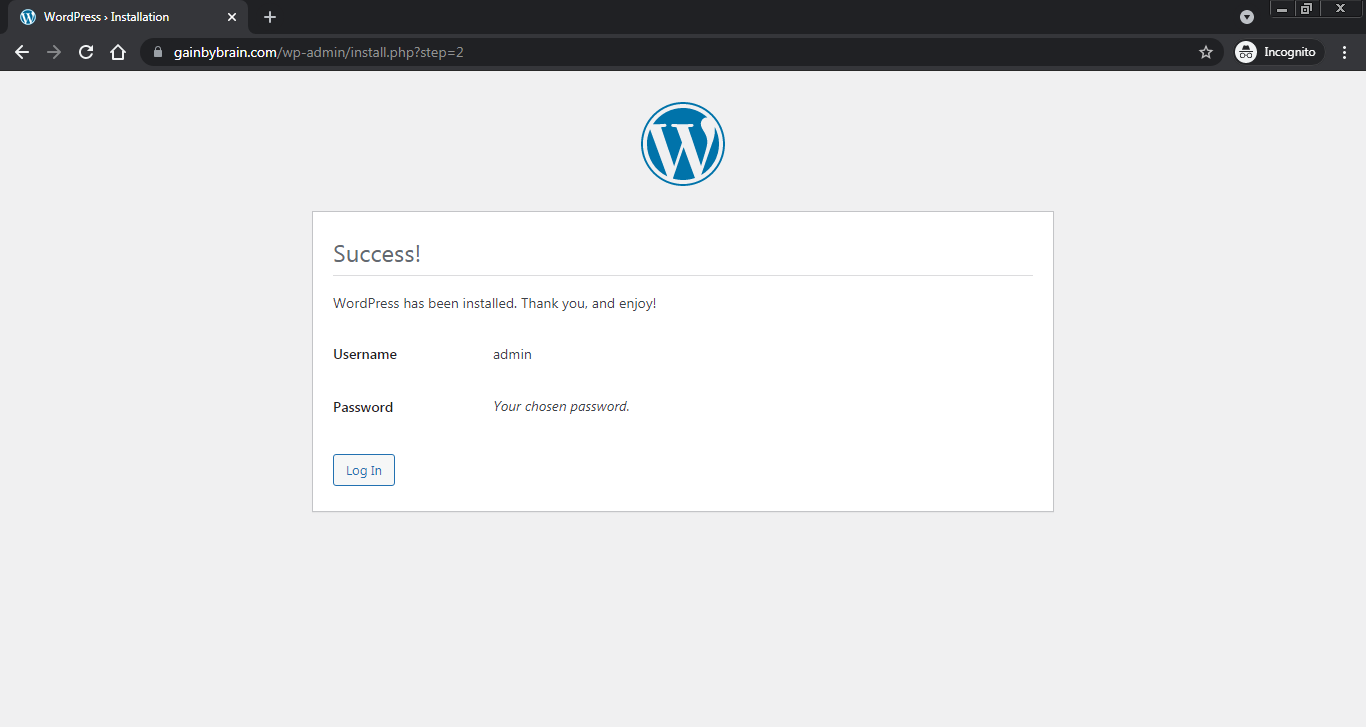
Click on Install WordPress now and here we go, Success! It’s so fast.
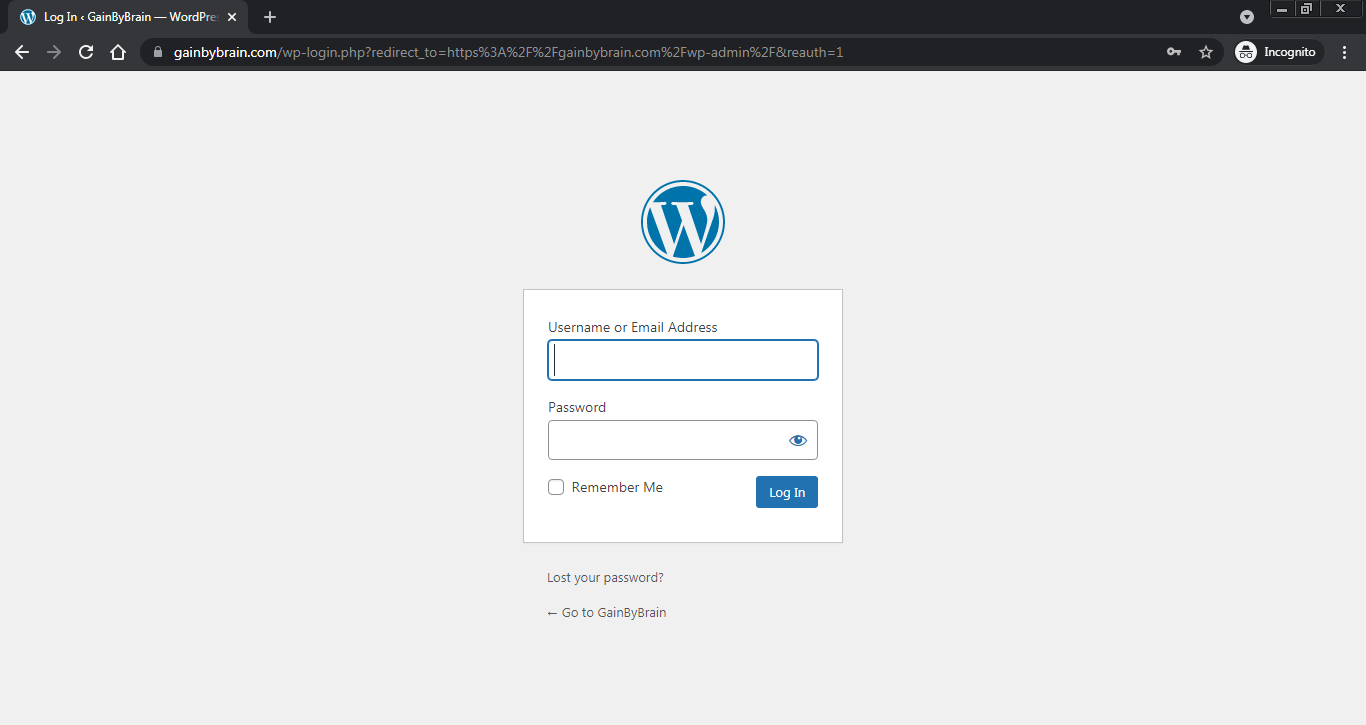
3. Login to your WordPress website by adding /admin at the end of your website’s domain, the link should be like this: https://gainbybrain.com/admin, enter your username and password then click on Log In button.
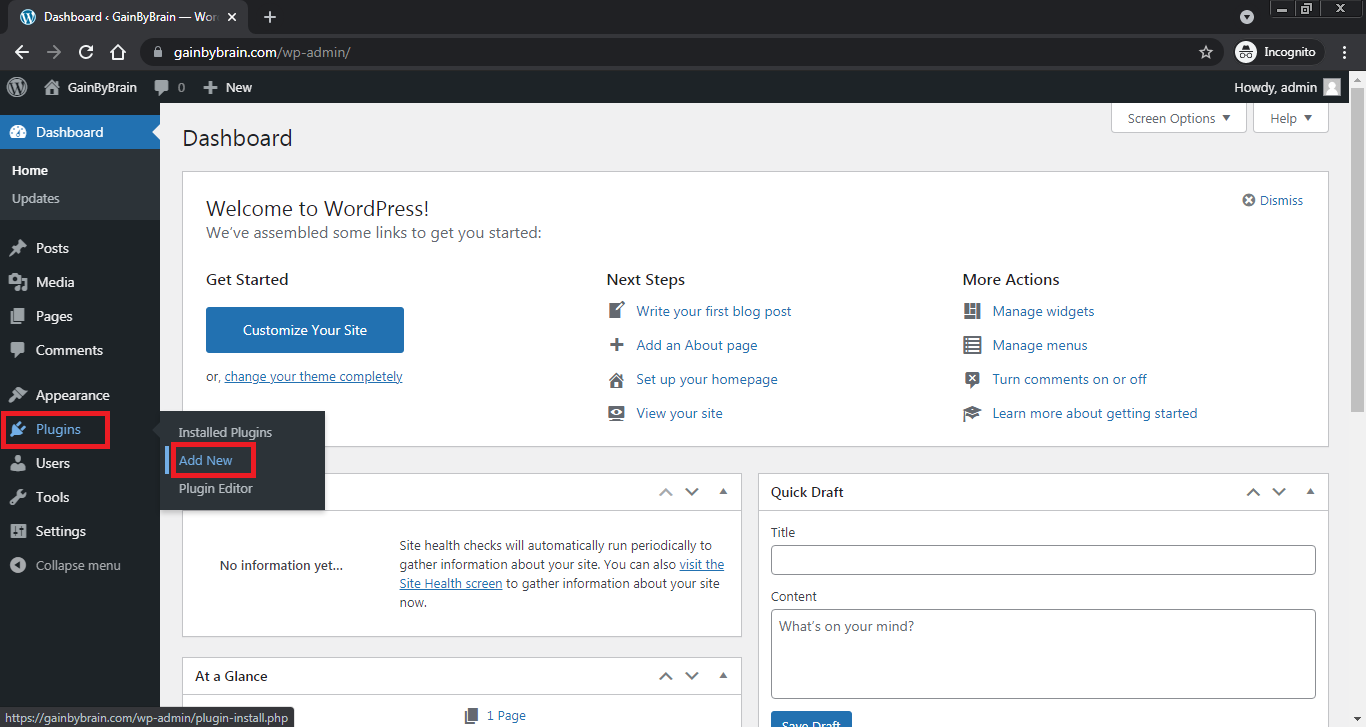
Here’s the WordPress dashboard after our first login:
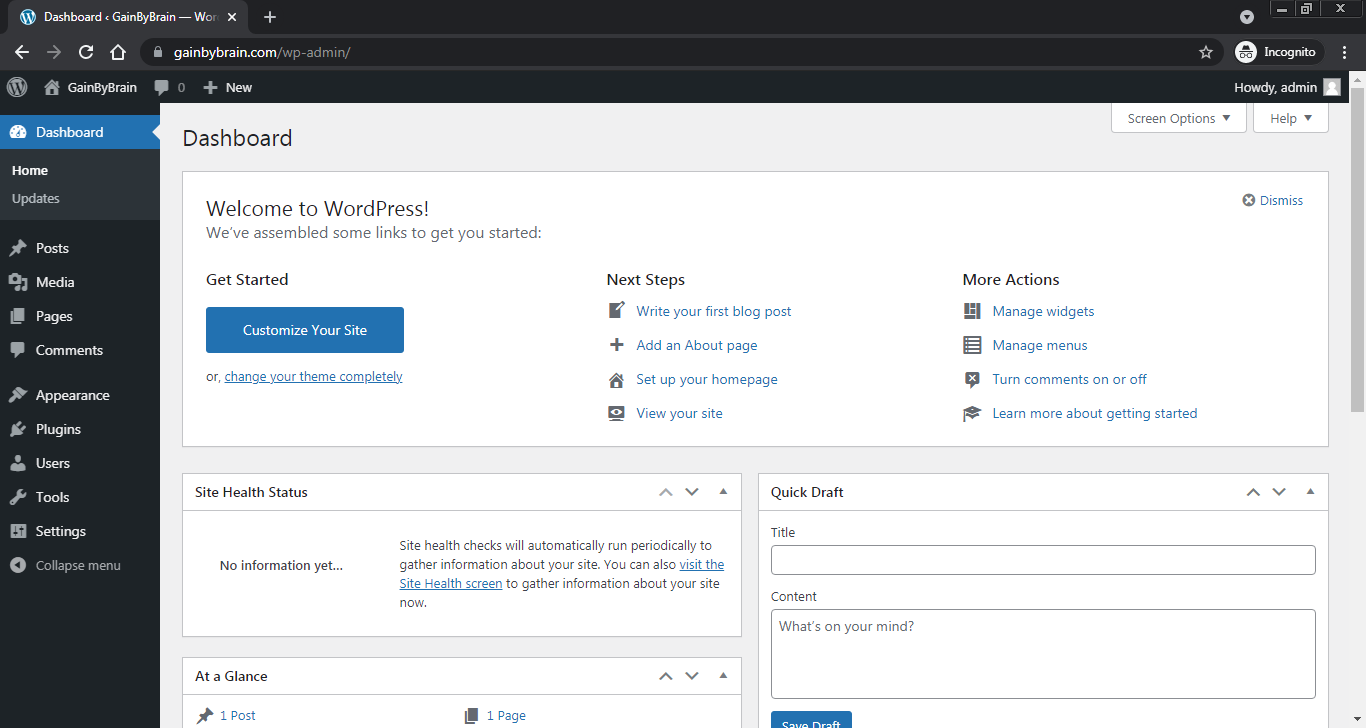
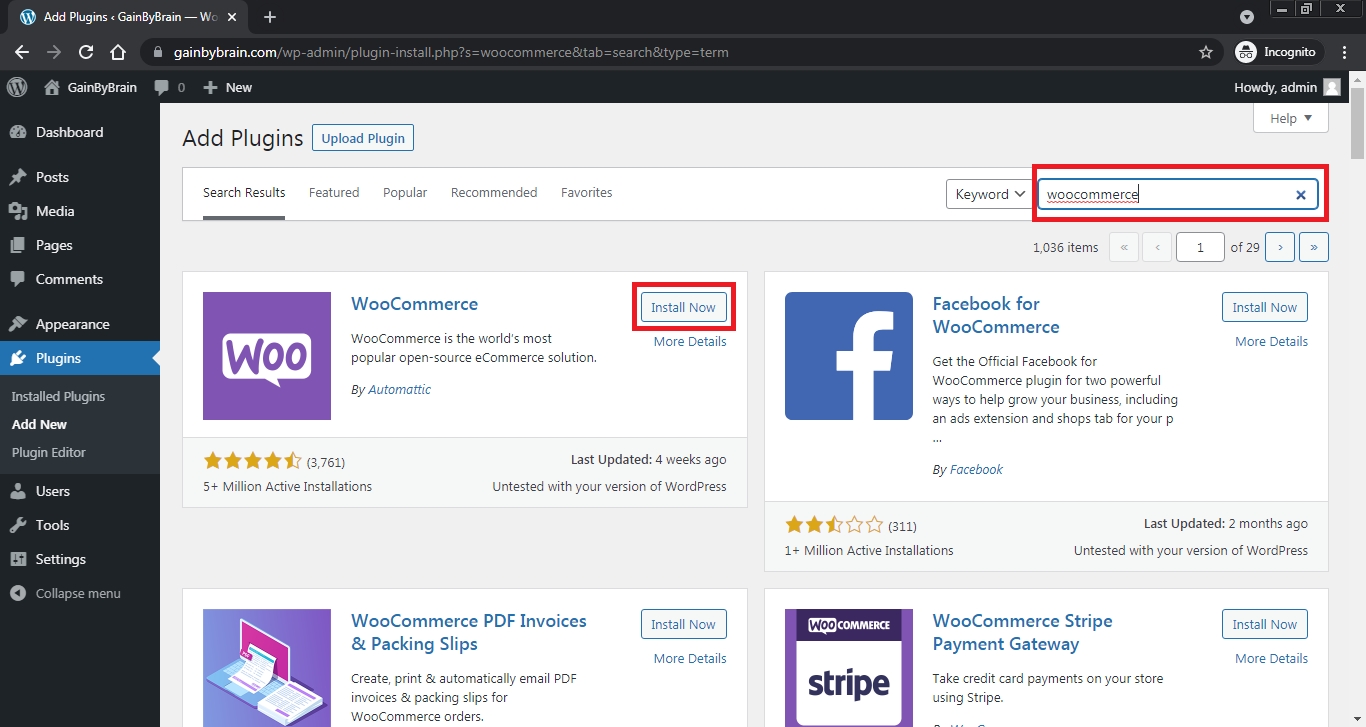
4. Hover over Plugins on left side then click on Add New as below:
5. Search for WooCommerce in the keyword field then click Install Now as below: