Your website will need a domain, i.e. a web address for your business. A single domain will be used for accessing the email server web panels and also accessing your website pages.
For this purpose, we recommend NameCheap registrar service which offers COMPETITIVE domain prices with a forever privacy for the domain info, i.e. no one can expose your domain registration info like your name, address, etc. Also, it provides informative easy interface, robust support and fast DNS resolution.
We will go through a single domain registration process because one domain is enough for the email server. Also, we can use the same domain for the website pages.
Follow domain registration steps below to get your domain:
Domain Search
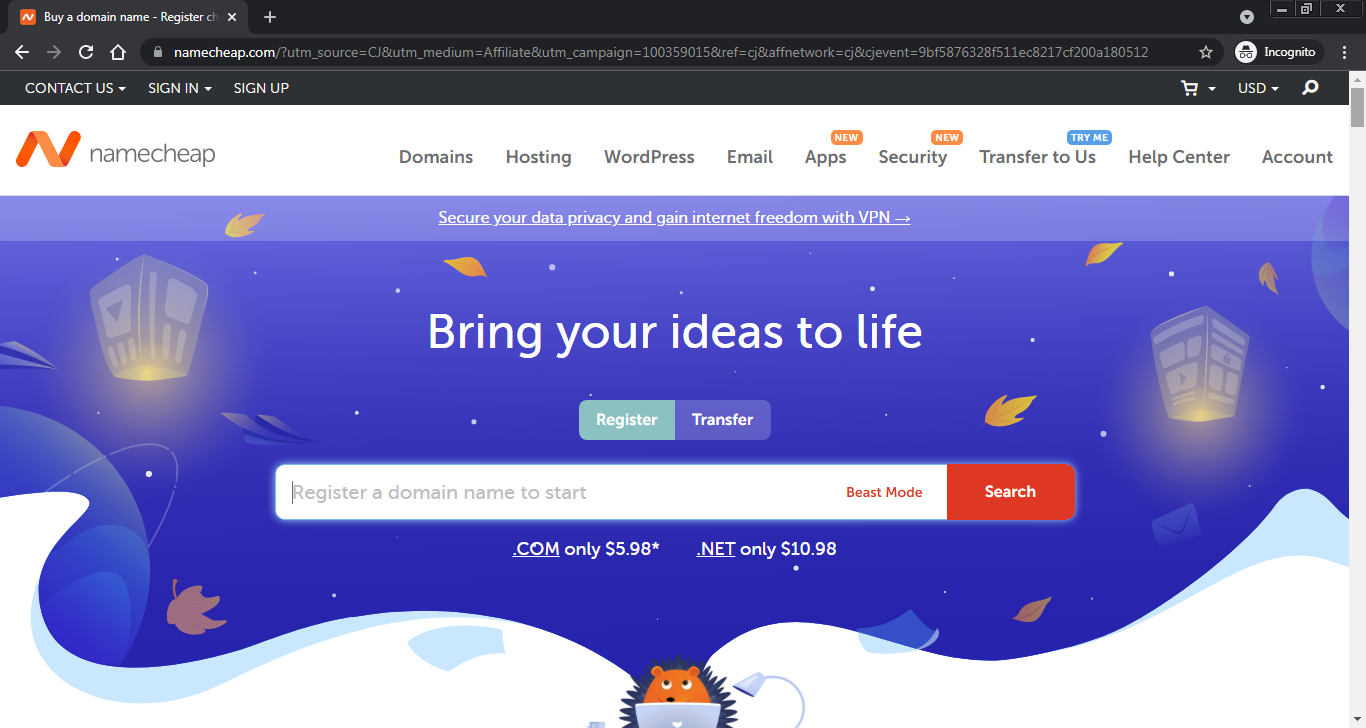
1. Let’s find and grab our domain. Go the main page of NameCheap website by clicking on this URL: NameCheap Main Page URL
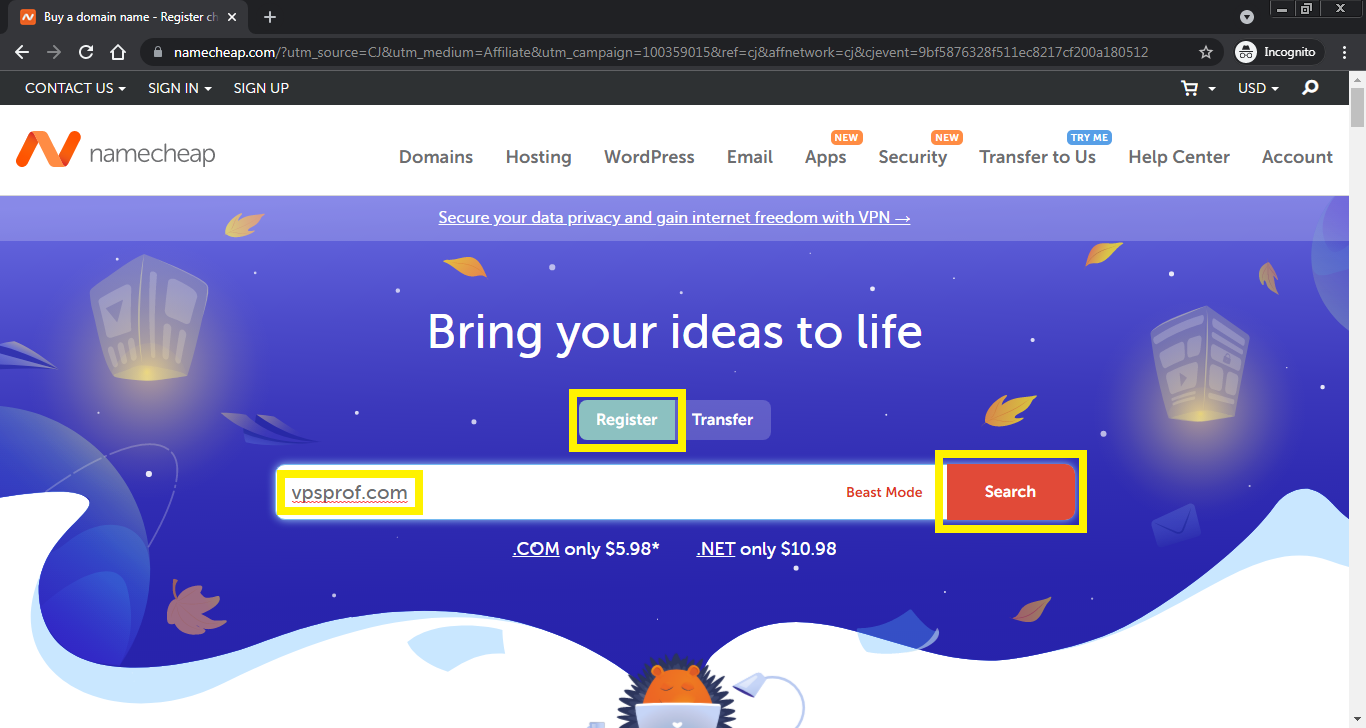
2. As you see above, the main page will show up. Type the domain you would like to register in the search field. Then, click on Search button as seen in the screenshot below. If you want to transfer your existing domain, click on Transfer button. Then, search for the domain.
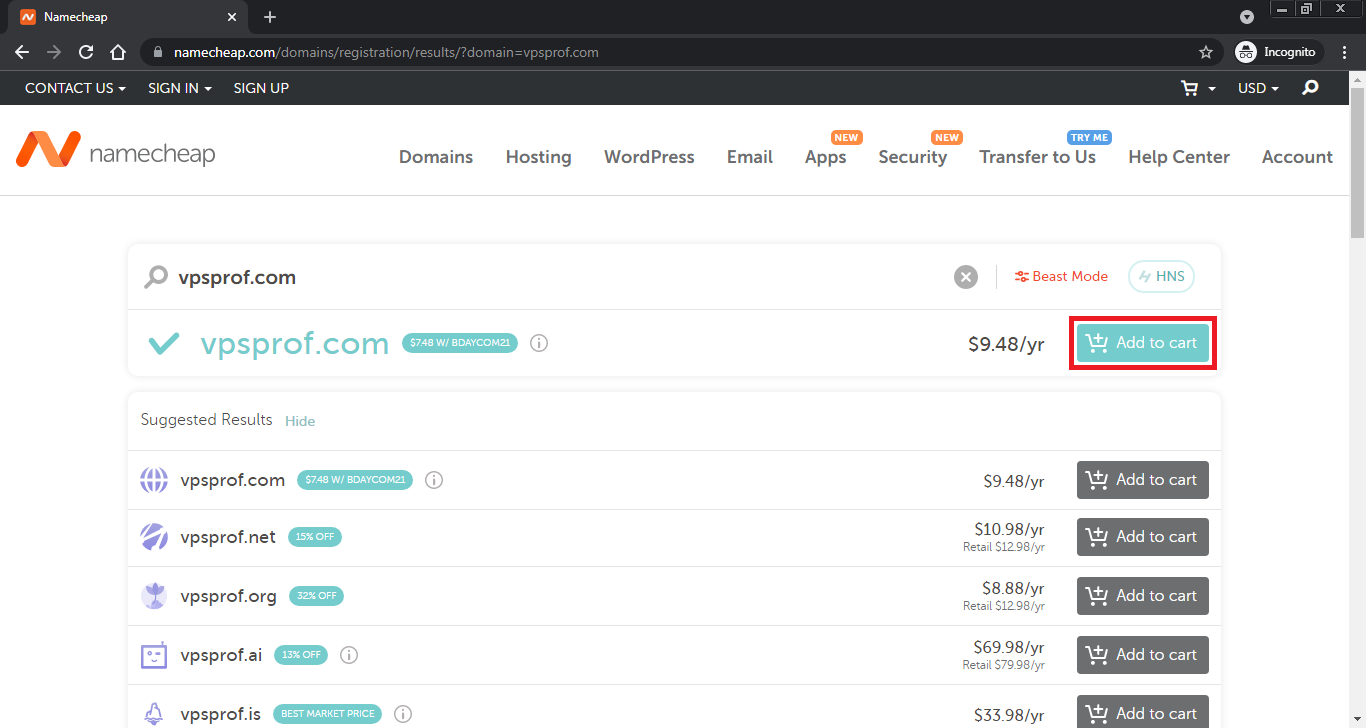
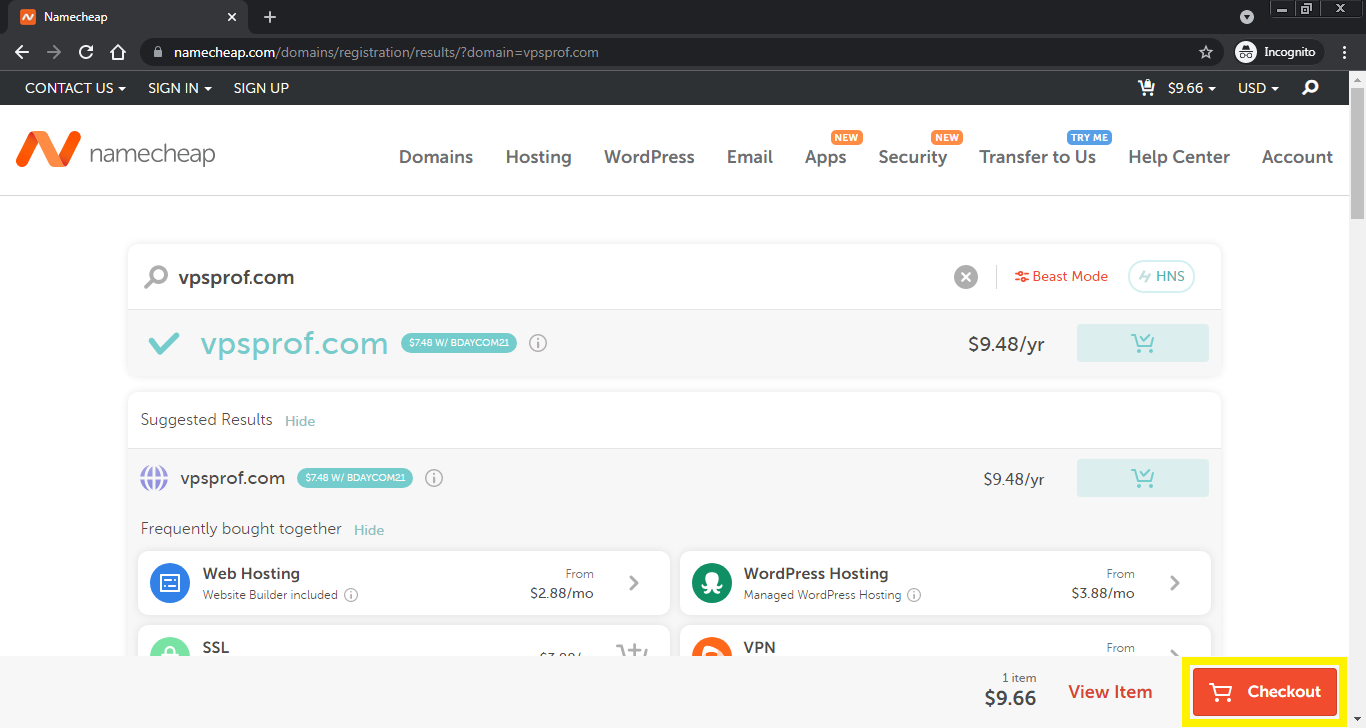
3. Add your domain to the cart by clicking on Add to cart button as seen below:
4. Click on Checkout button on the right bottom coroner as you see below:
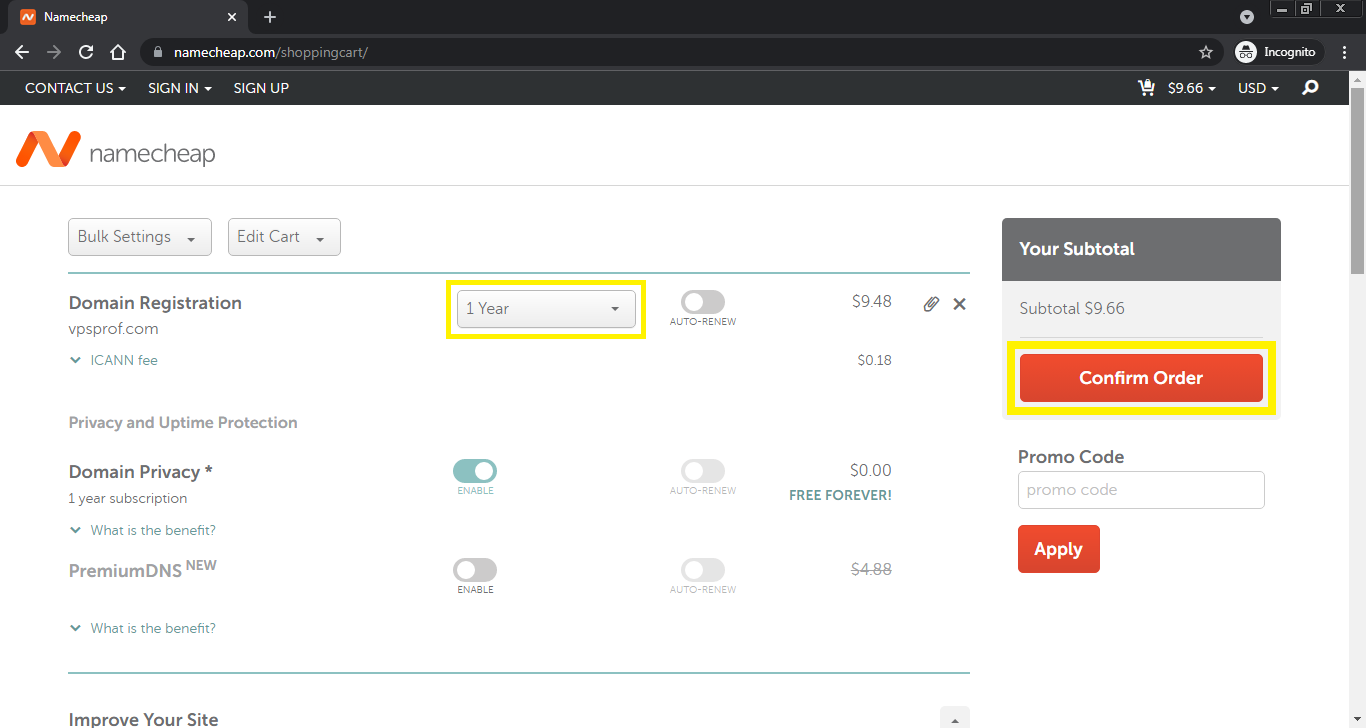
5. You will reach the Checkout page where you can confirm your order. If you have stable web project, you can register your domain for more than a year. It’s better to extend the registration for more than a year as you will get a discount (6% OFF). The privacy is FREE forever, which is wonderful. When you finish, click on Confirm Order button.
Login or Create an Account
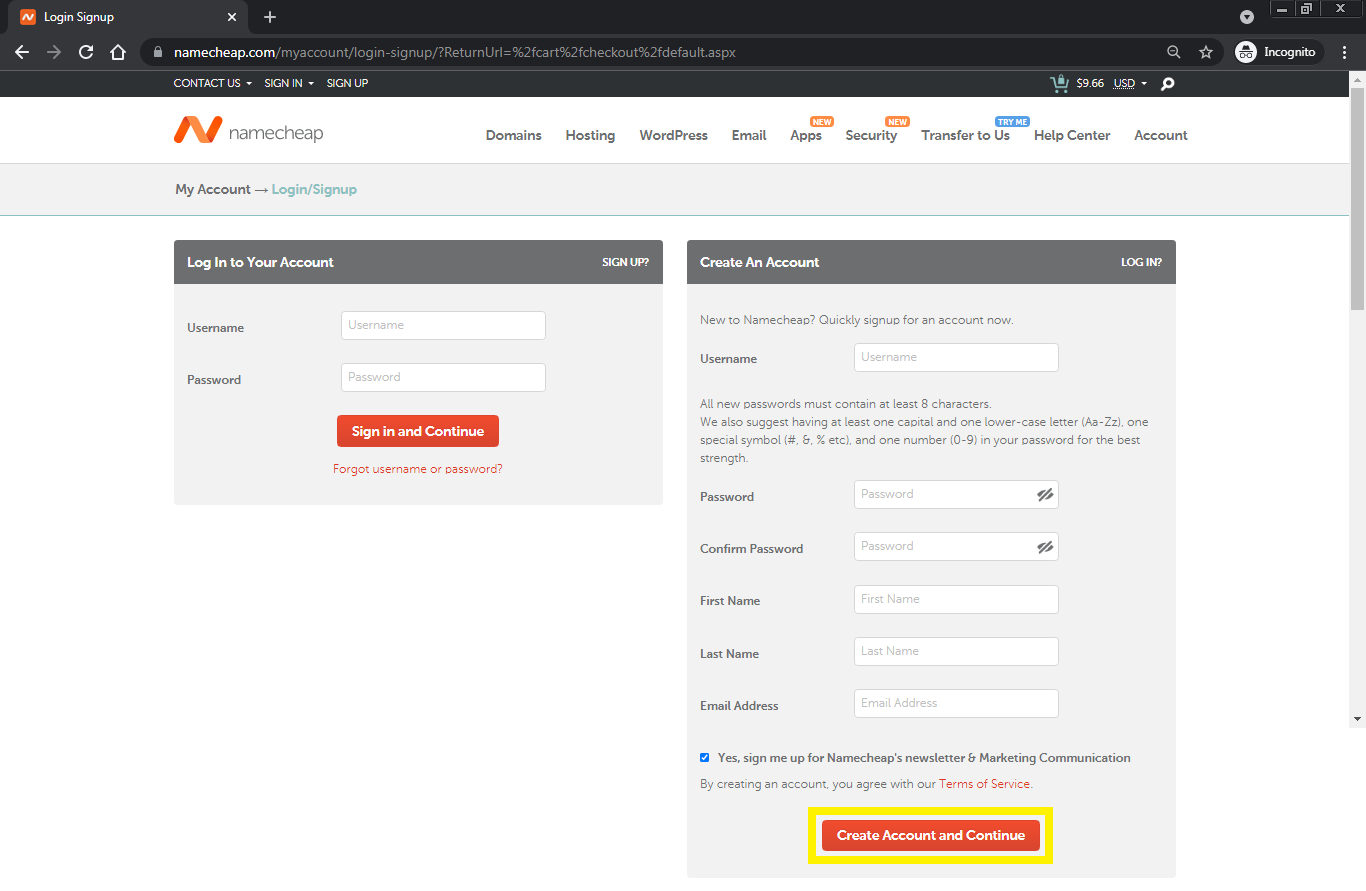
6. Once you click on Confirm Order button, you will be directed to Login/Create An Account page as below. If you don’t have an account, create one. Next, fill the required fields. After that, click on: Create Account and Continue button surrounded by yellow rectangular below. If you’ve an account already, just login to your account by clicking on: Sign in and Continue
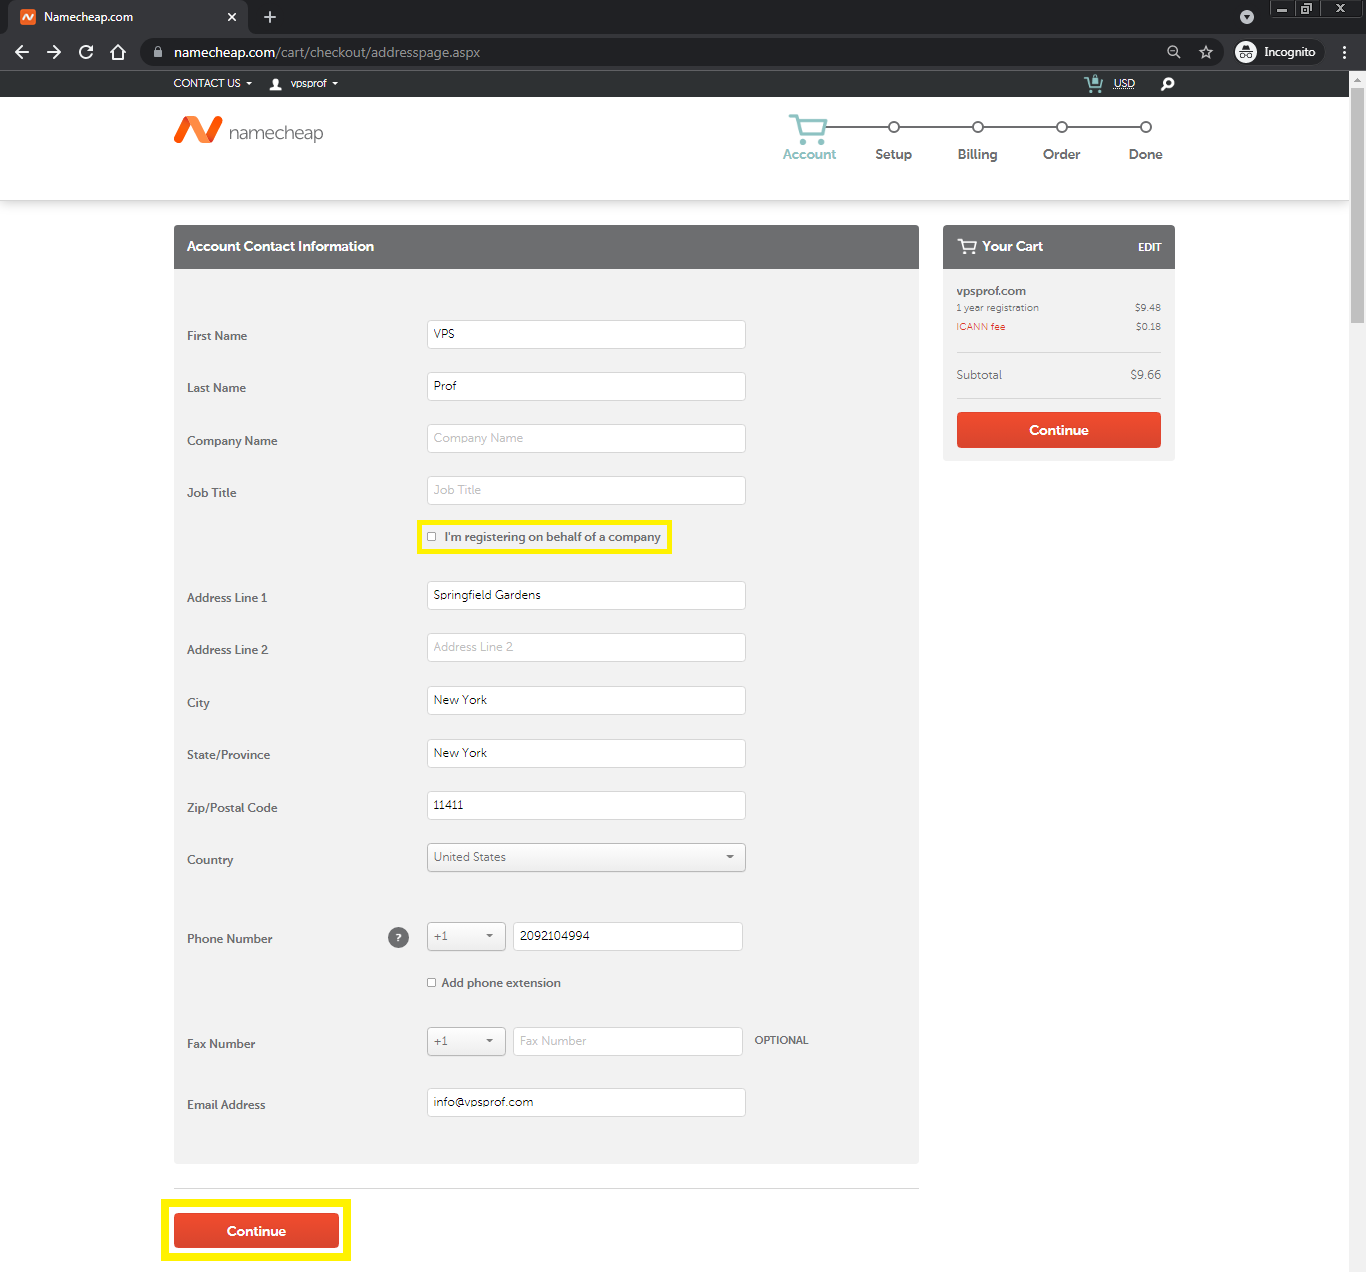
7. On the following page, you will need to complete your account info (mandatory fields) like your Address Line 1, City, State/Province, Zip/Postal Code and your Phone Number. If you this account is personal, you can uncheck the option: I’m registering on behalf of a company as below:
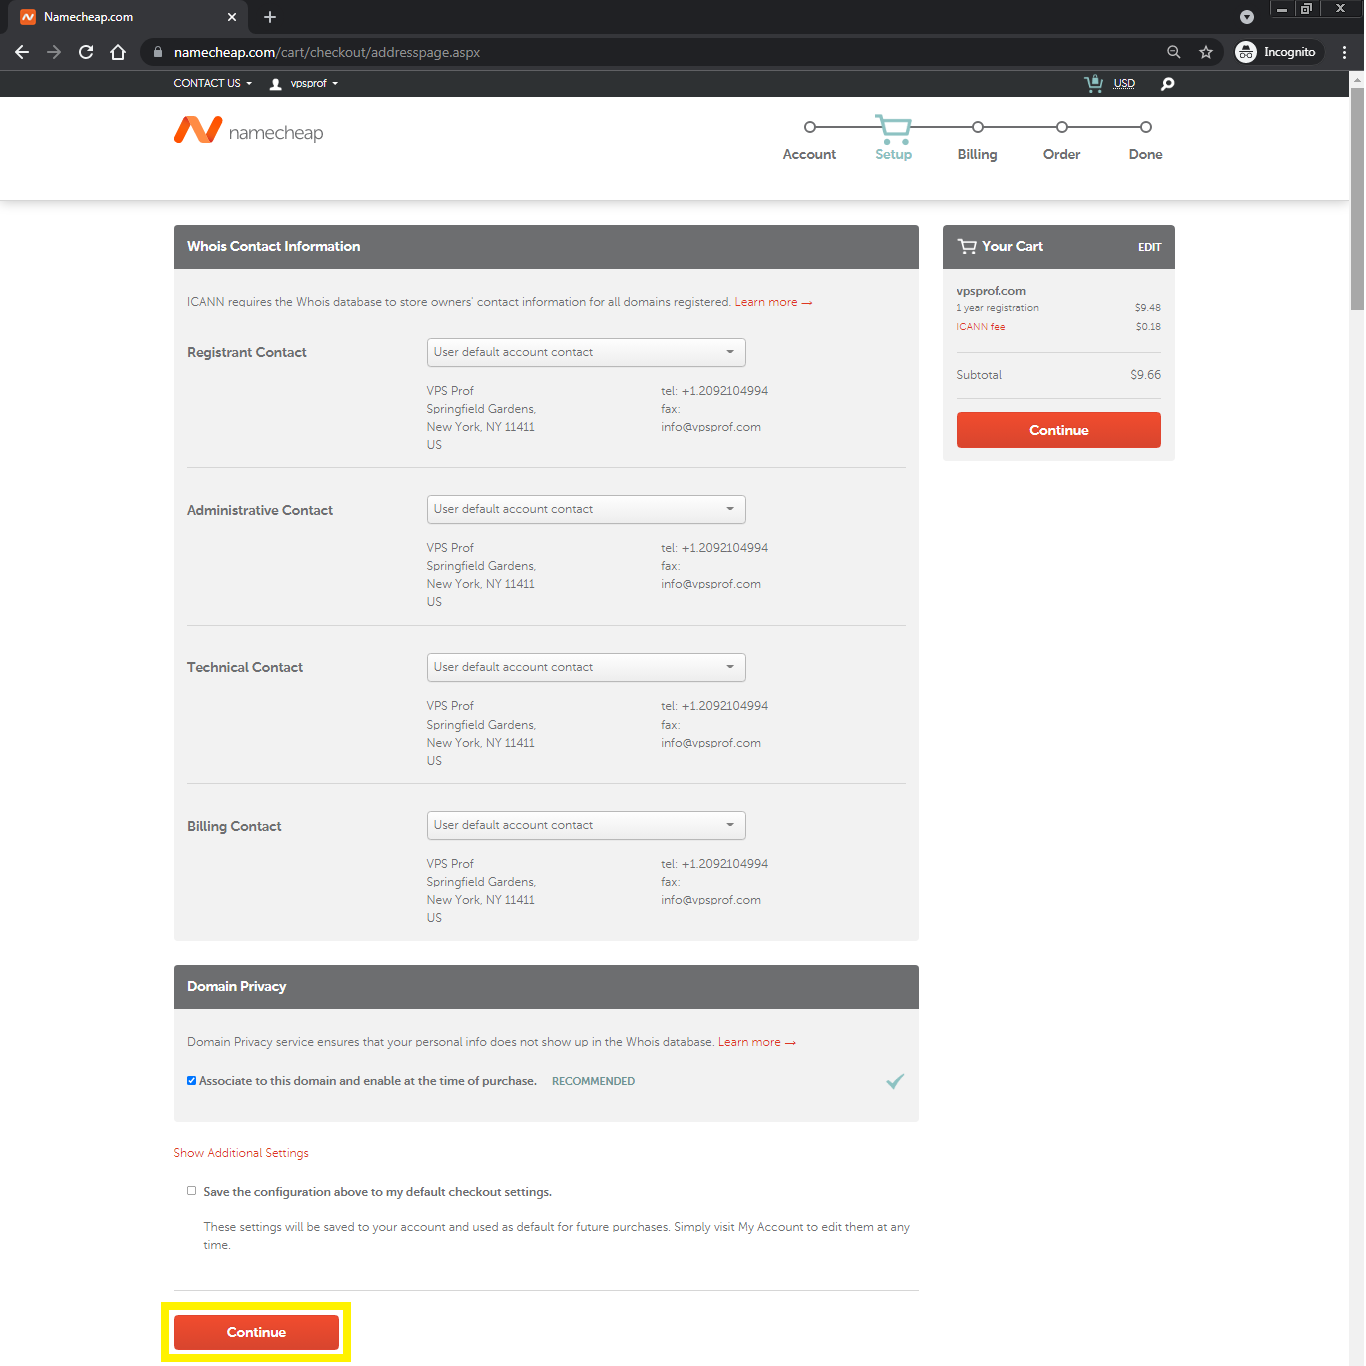
8. On the next page, you need to verify the Whois Contact Information, if you’re managing the domain yourself, keep the contact info as default, if not, you can add the contact info of others.
Payment
9. The billing page will show up where there are three payment methods below. You can choose the best for you then click on: Continue button. In case you choose Secure Card Payment, you need to enter your card info then click on: Continue button. In our case, we selected PayPal method. Then, clicked on: Continue button.
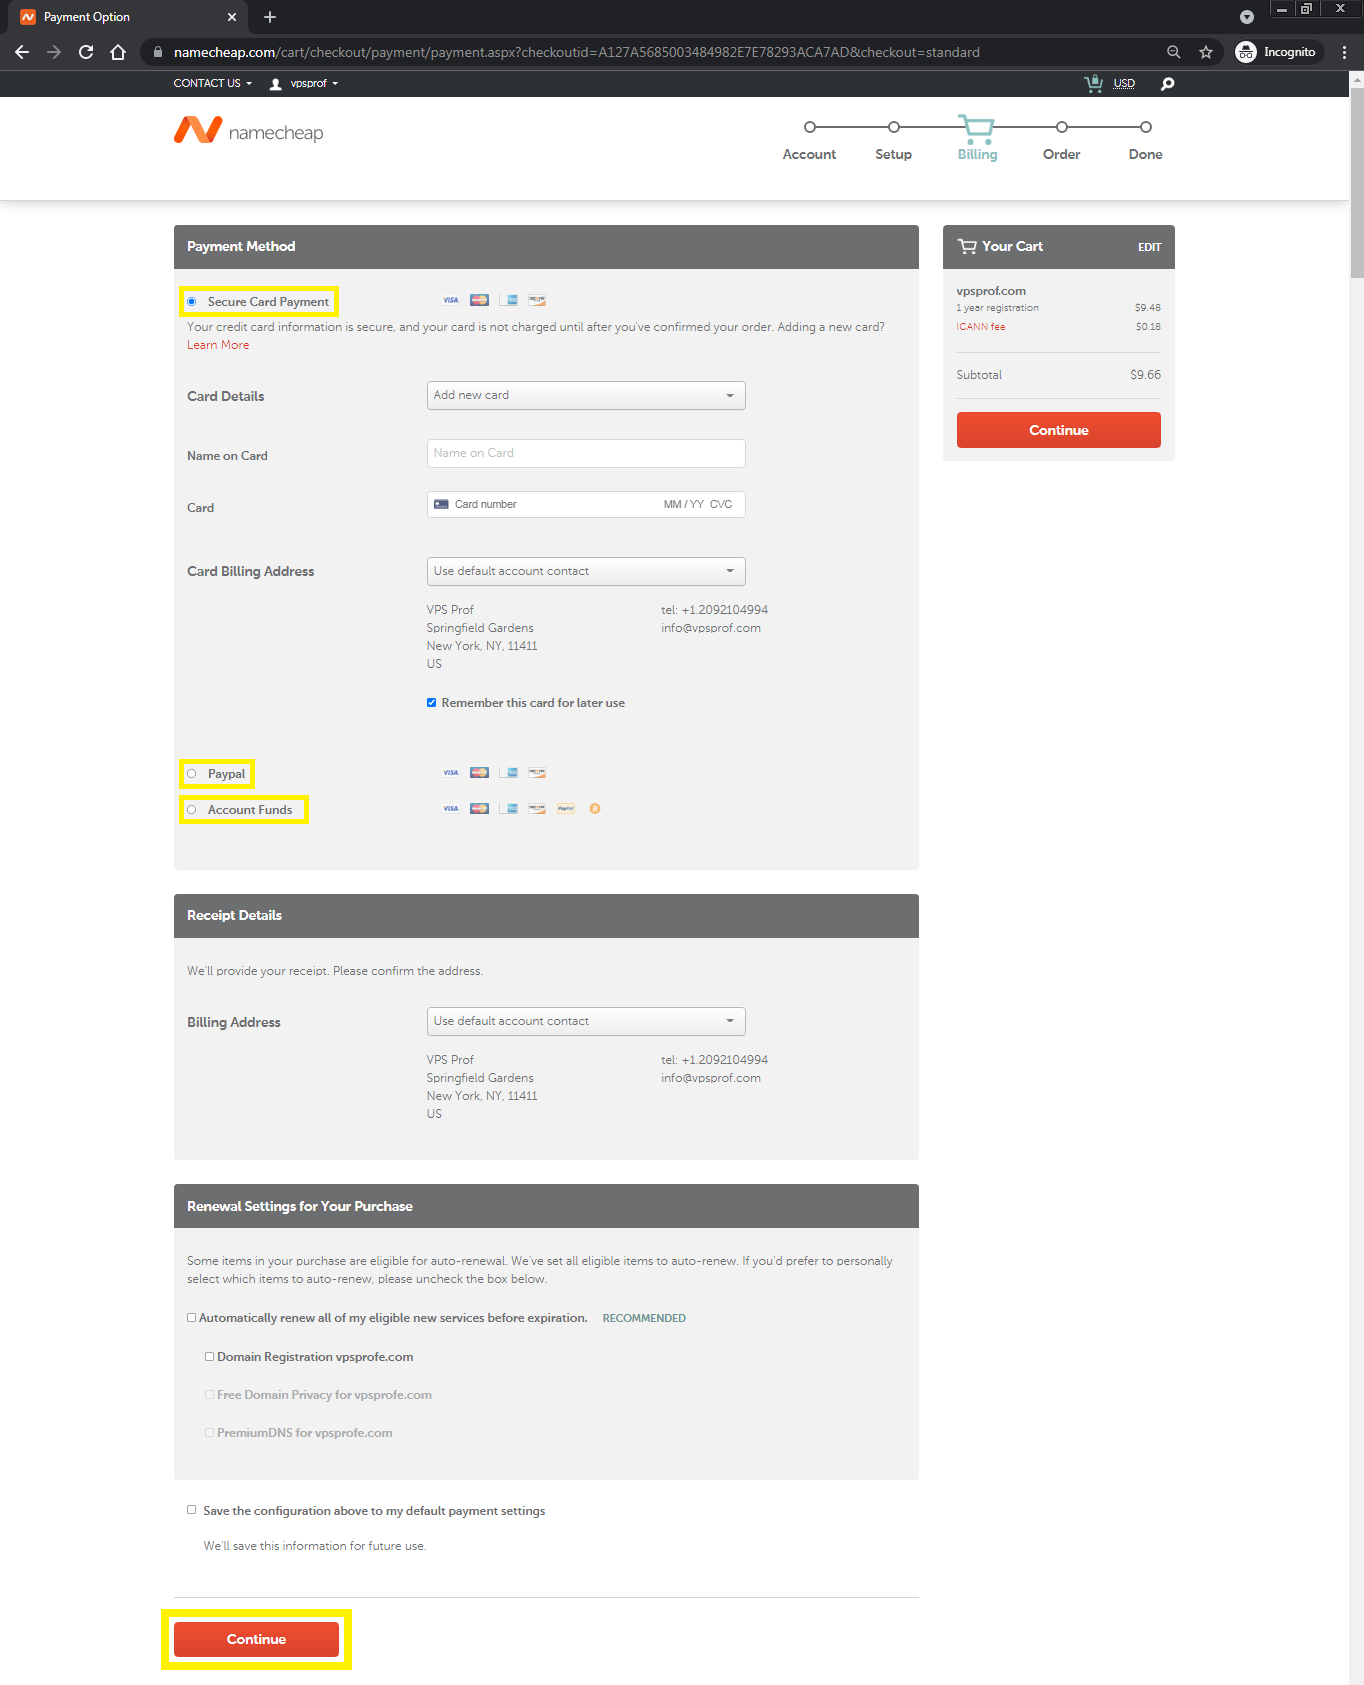
You will be directed to PayPal payment page, click on: Check out with PayPal button to go to PayPal website to pay.

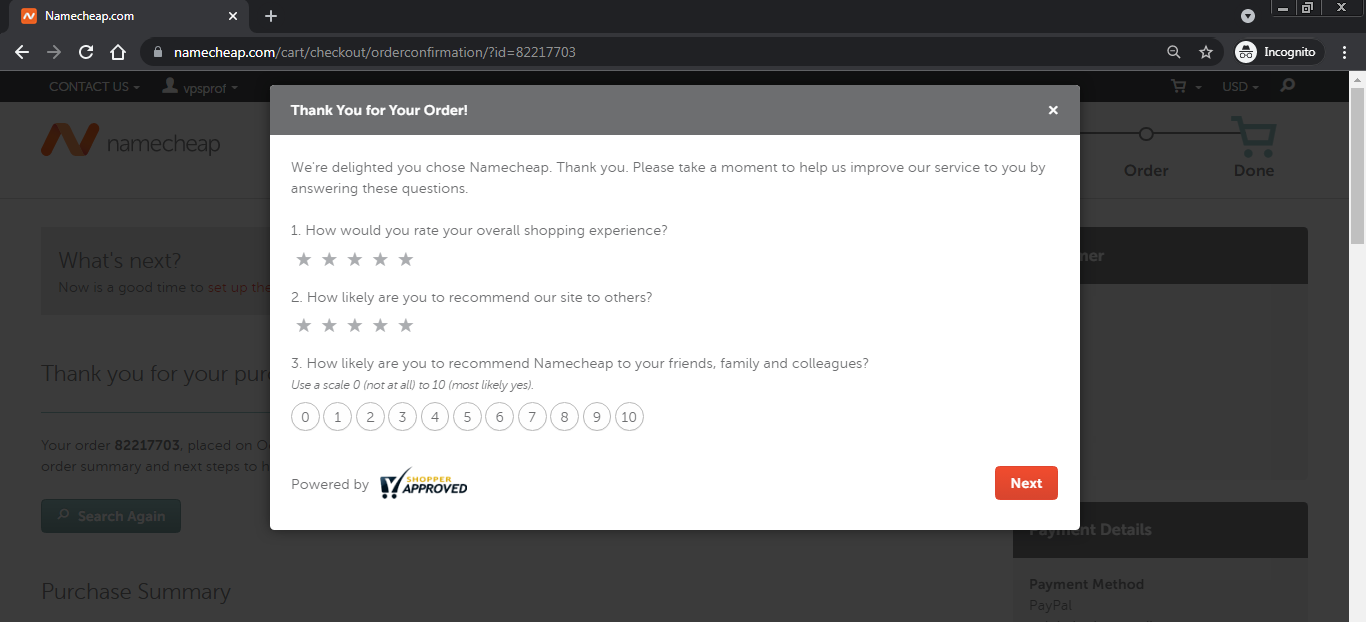
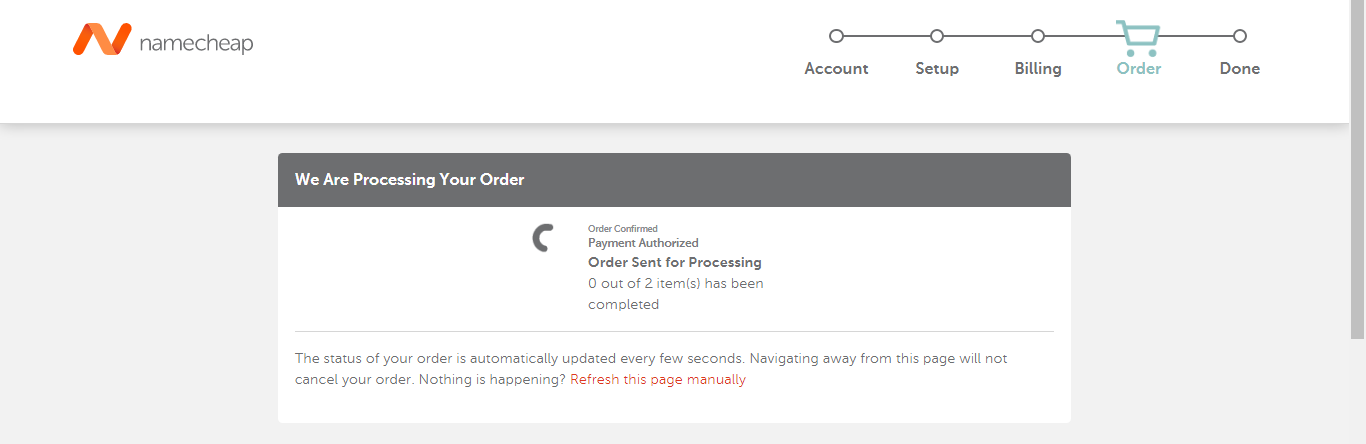
10. Once you pay on PayPal, your order will be processed after redirecting you from PayPal to DomainCheap website as below:
And once your order is complete, you will see a summary of your Purchase as below. Also, you will receive an email too in few minutes. Our next step is to configure the DNS settings of this domain.