
You need to configure your domain’s DNS settings on the registrar’s side as well as the server’s side to connect the domain with the email server. In addition, your email server should have a master domain.
Before going through DNS settings, you should have a domain, you can check our detailed article on how to register a new domain here: Domain Registration.
Before we start, every email server has two components:
- The web panels. To access the folders of the email addresses (like inbox, sent, draft, etc.) as well as the settings of the domains/addresses (like add, remove, etc.). The record which is responsible of these web panels is the A record.
- The domains of the email addresses. The record which is responsible of the domains management is the MX record. Therefore, an MX record for every email domain in your registrar DNS records is needed.
a. Setup DNS Records
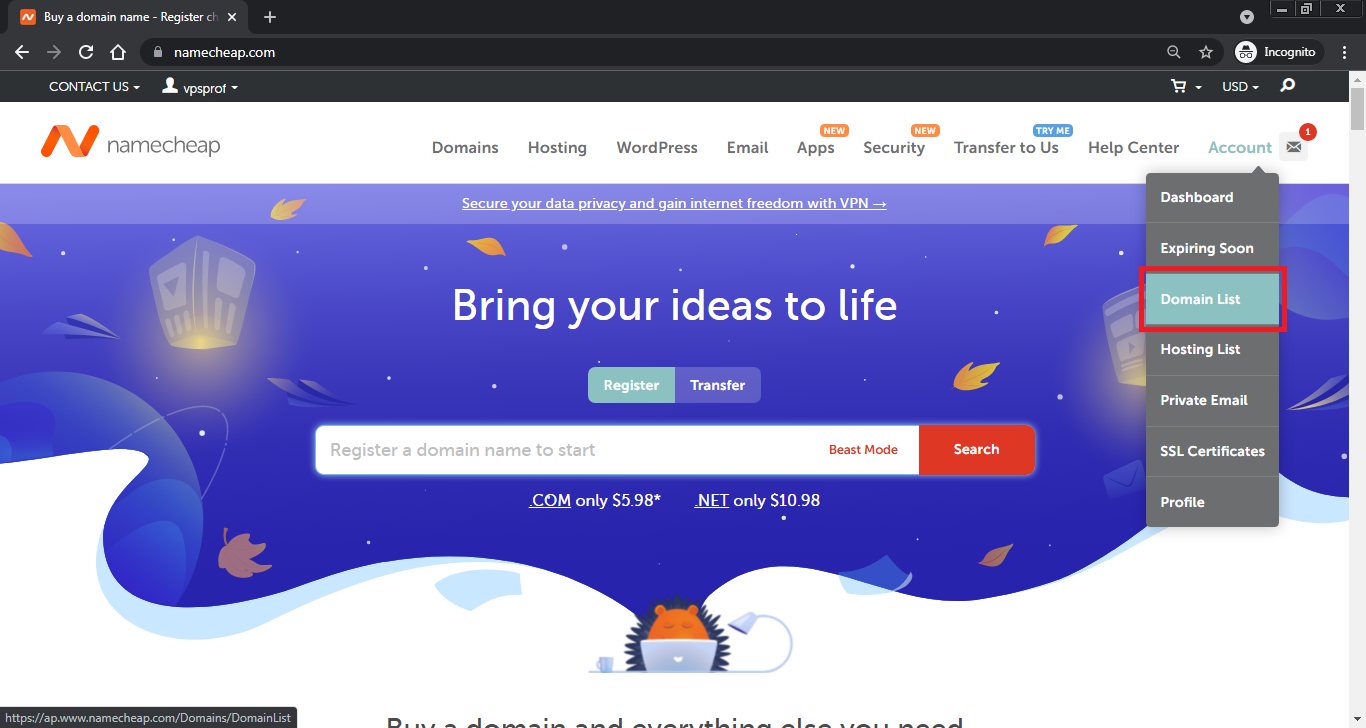
1. Let’s say that we want to configure the domain: https://vpsprof.com to have an email server connected to it as a master domain. Hence, you need to replace vpsprof.com with your own domain in every step in our guide. Then, go to the DNS records on your website registrar panel. We already explained how to get a domain from NameCheap. So, to go to settings then click on Domain List as you see below while you’re on the homepage.
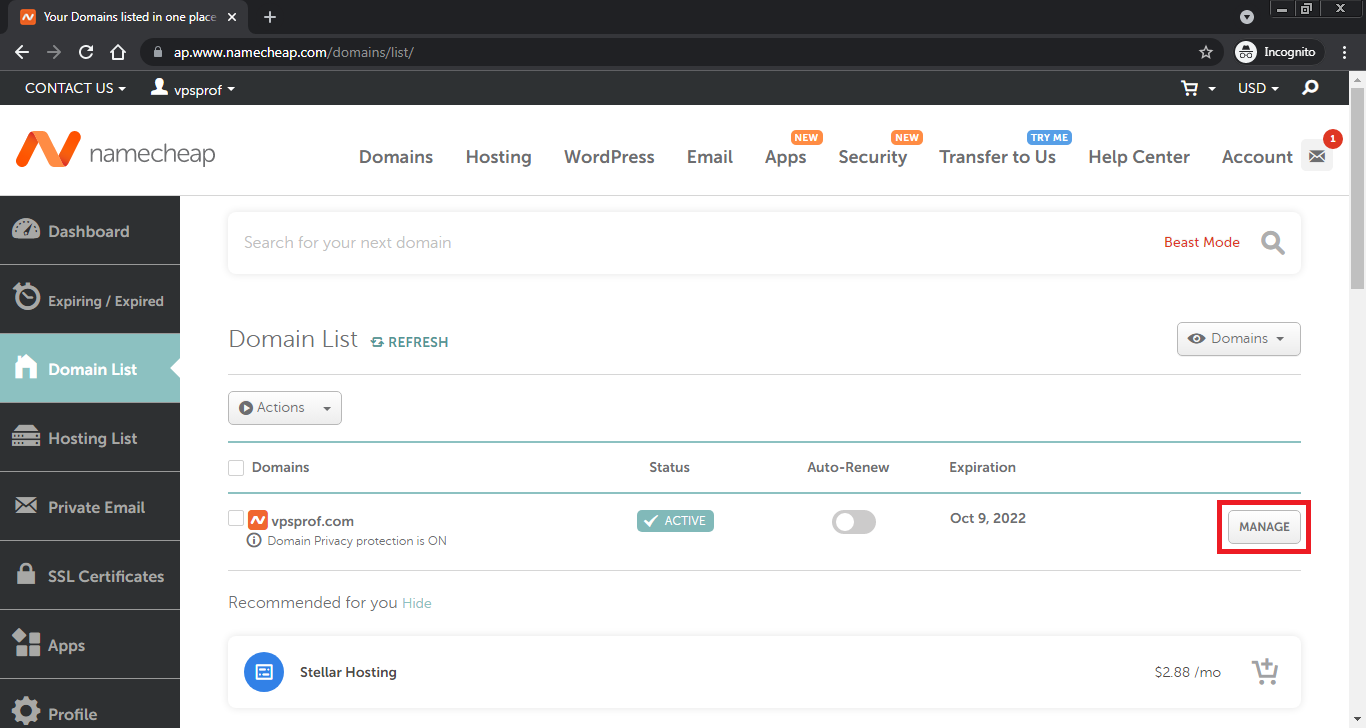
2. After that, click on Manage button as seen below:
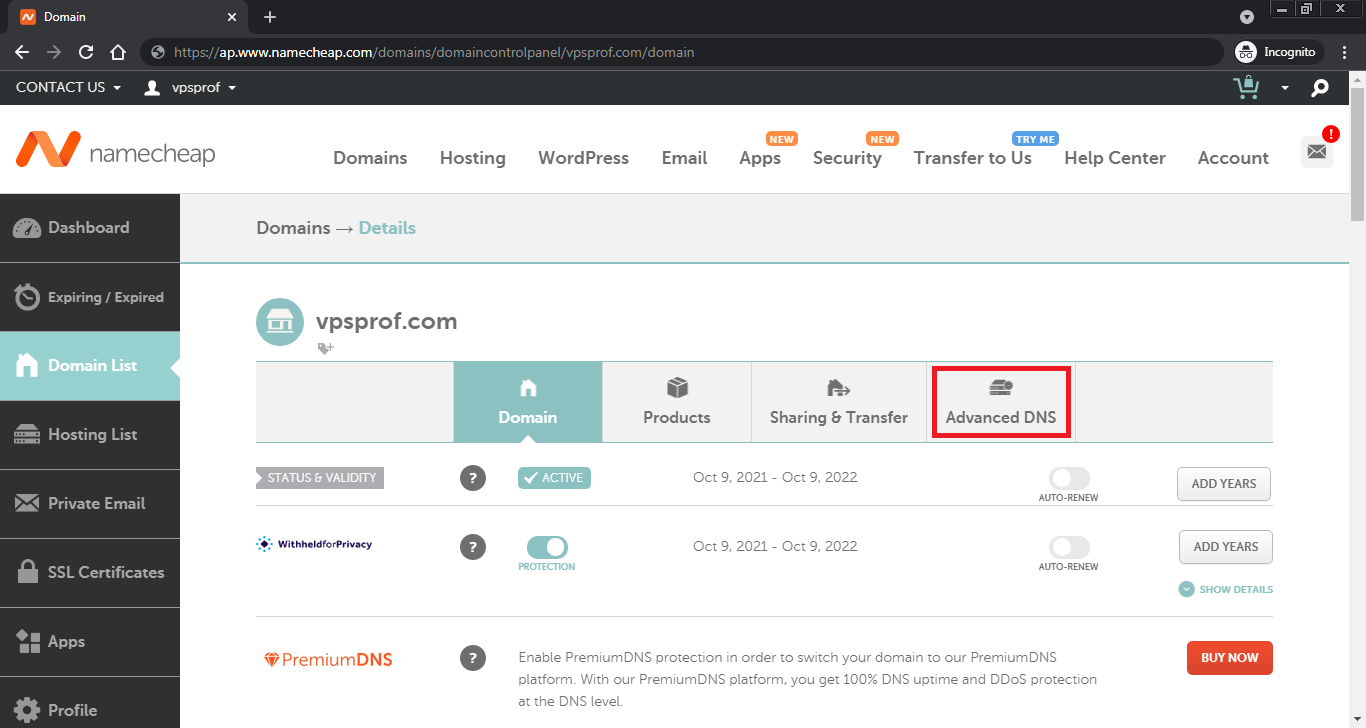
3. Then, click on Advanced DNS as below:
Add A Record
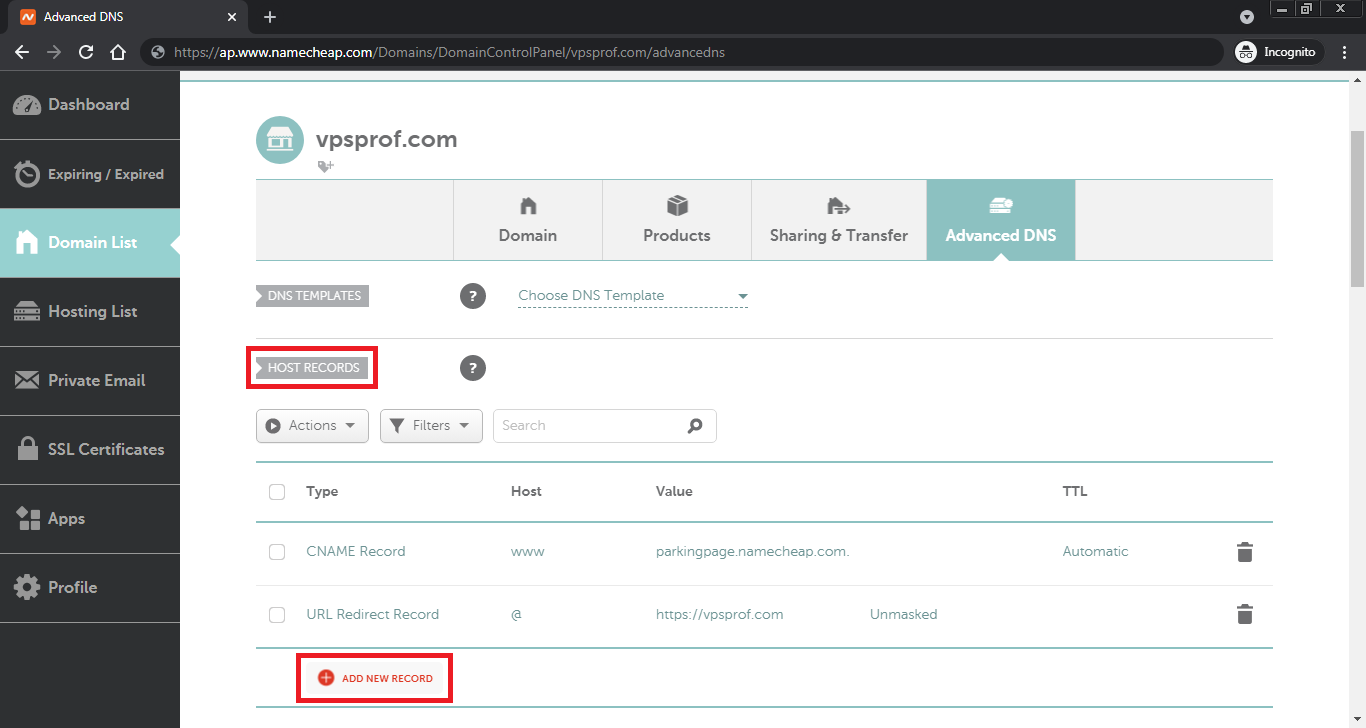
4. Let’s create the A record for your domain. Under HOST RECORDS, click on ADD NEW RECORD as seen below:
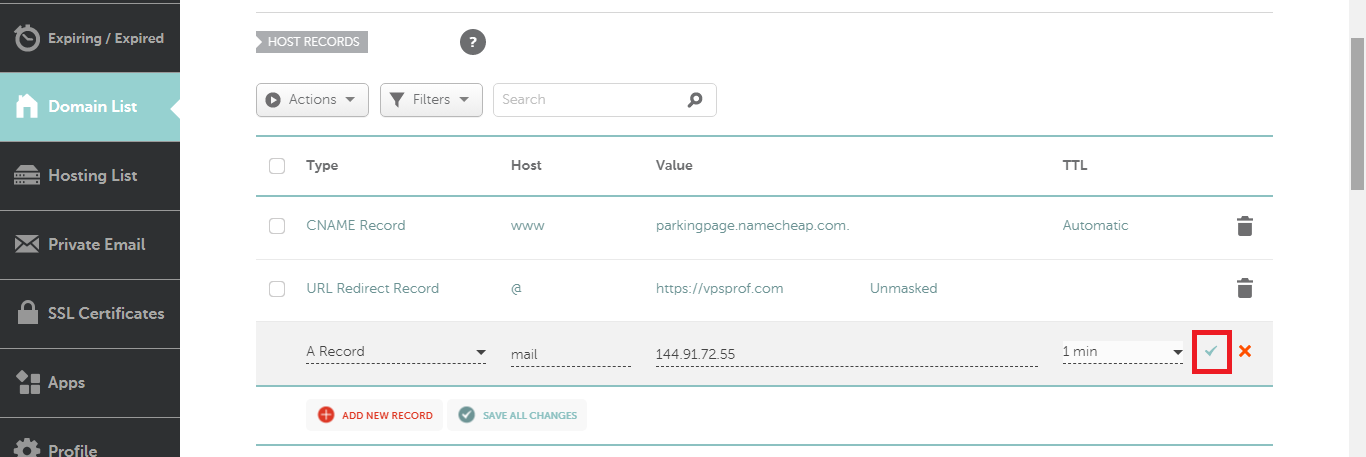
Set the value of A Record variables on the DNS settings page (NameCheap in our case) to the values in the table below then click on the right sign button to save them as seen below:
| DNS Record Type | Host | Content, Value or the Answer | TTL (Time To Live) |
|---|---|---|---|
| A Record | 144.91.72.55 | 1 min (or the minimum allowed) |
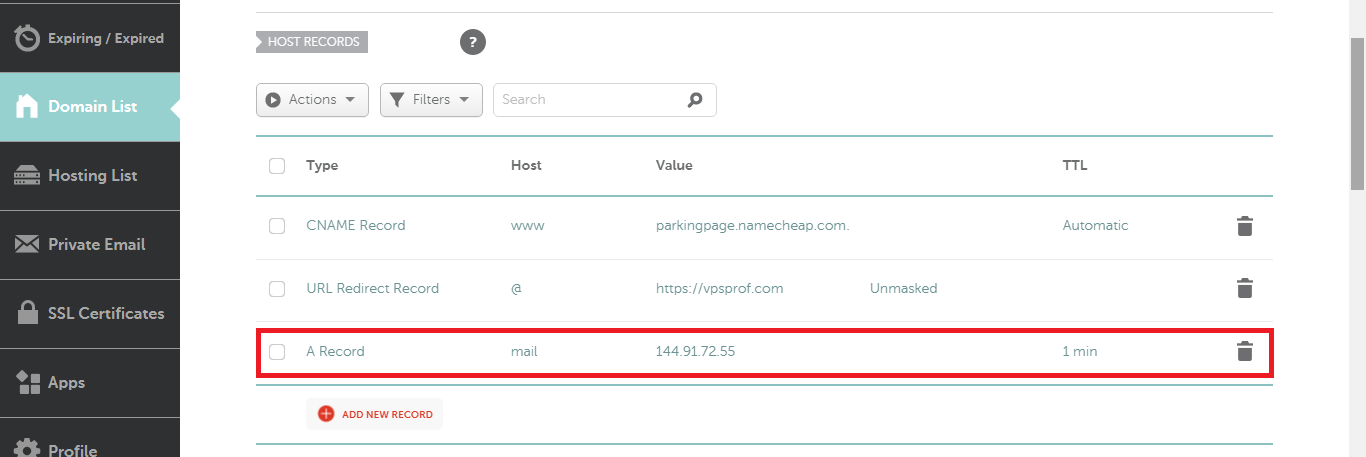
Great, as you see below, the A record has been saved successfully. Notice that the Content, Value or the Answer should be the IP address of your server.
Add MX Record
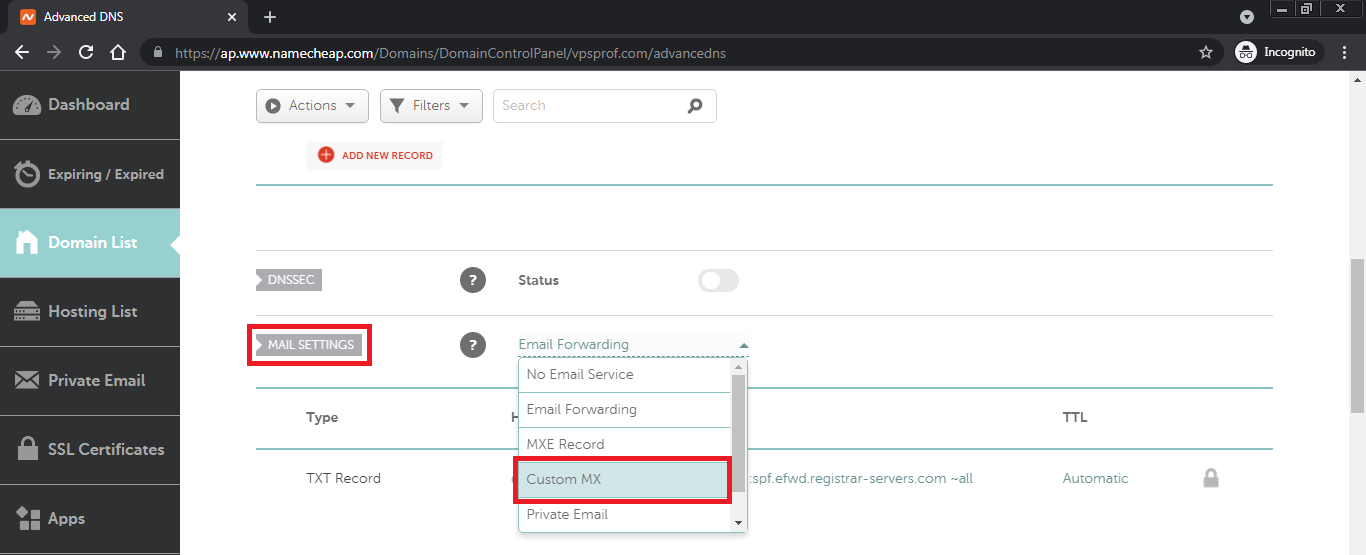
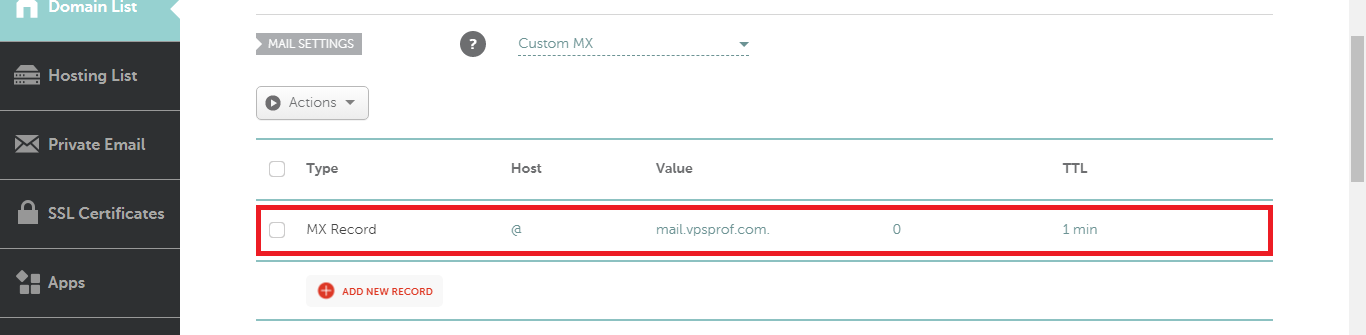
5. Create your first MX record (MX stands for Mail Exchange). As you see in the below screenshot, find the MAIL SETTINGS section then choose Custom MX.
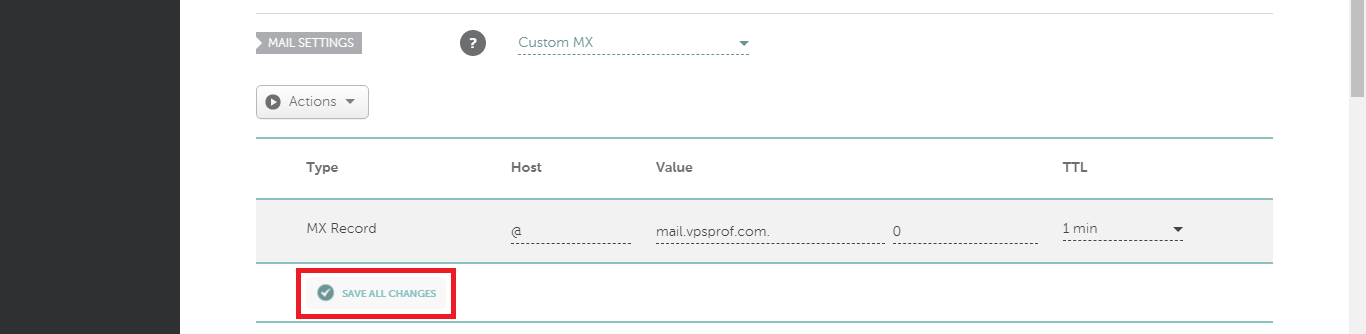
Set the value of A Record variables on the DNS settings page (NameCheap in our case) to the values in the table below then click on SAVE ALL CHANGES button to save the changes as seen below:
| DNS Record Type | Host | Content, Value or the Answer | Priority | TTL (Time To Live) |
|---|---|---|---|---|
| MX Record | @ | mail.vpsprof.com. | 0 | 1 min (or the minimum allowed) |
When it comes to MX records, the Content, Value or the Answer should have a (dot) at the end as you see in the table below. The @ sign refers to the absolute domain (vpsprof.com) without any subdomains in front of the base domain like (subdomain.vpsprof.com), so @ refers to vpsprof.com. Note that some domain registrars refer to TTL as Priority. In case, if you see both fields together, ignore the Priority field. The TTL can take any value from 0 to 65,356. Small numbers have higher priority than big numbers. It’s recommended that you set the value to 0 (or to the minimum number allowed by the domain registrar), so the priority for receiving emails will be higher. For example, if the domain registrar doesn’t allow the TTL to be less than 300, set it to 300, if the minimum value allowed is 10, set it to 10.
Here’s it how the MX record looks like on NameCheap registrar after saving:
Change Delay for DNS Settings
You need to wait for 48 hours after the change in order to get your DNS records propagated across the internet worldwide. Sometimes, if you test your email server in less than 48 hours, the inbound emails will not be delivered to you. Therefore, we highly recommend to start testing your email server 48 hours after configuring the DNS records.
b. Configure DNS Settings on Server’s Side
1. Now, let’s move to the server’s side and do the required changes there. Login to your server (VPS) via SSH then update and upgrade the current packages on your server by running the commands:
root@vmi537513:~# apt updateroot@vmi537513:~# apt upgrade2. Set Fully Qualified Domain Name (FQDN) for the server, by running the following command. Once you execute this command, the server will not respond with any confirmation message.
root@vmi537513:~# hostnamectl set-hostname mail.vpsprof.com
To verify that the change took effect, run the following command:
root@vmi537513:~# hostname -f
After you change the hostname and when you close the current SSH session and open new one, the console prompt will change to: root@mail:~# instead of: root@vmi537513:~#
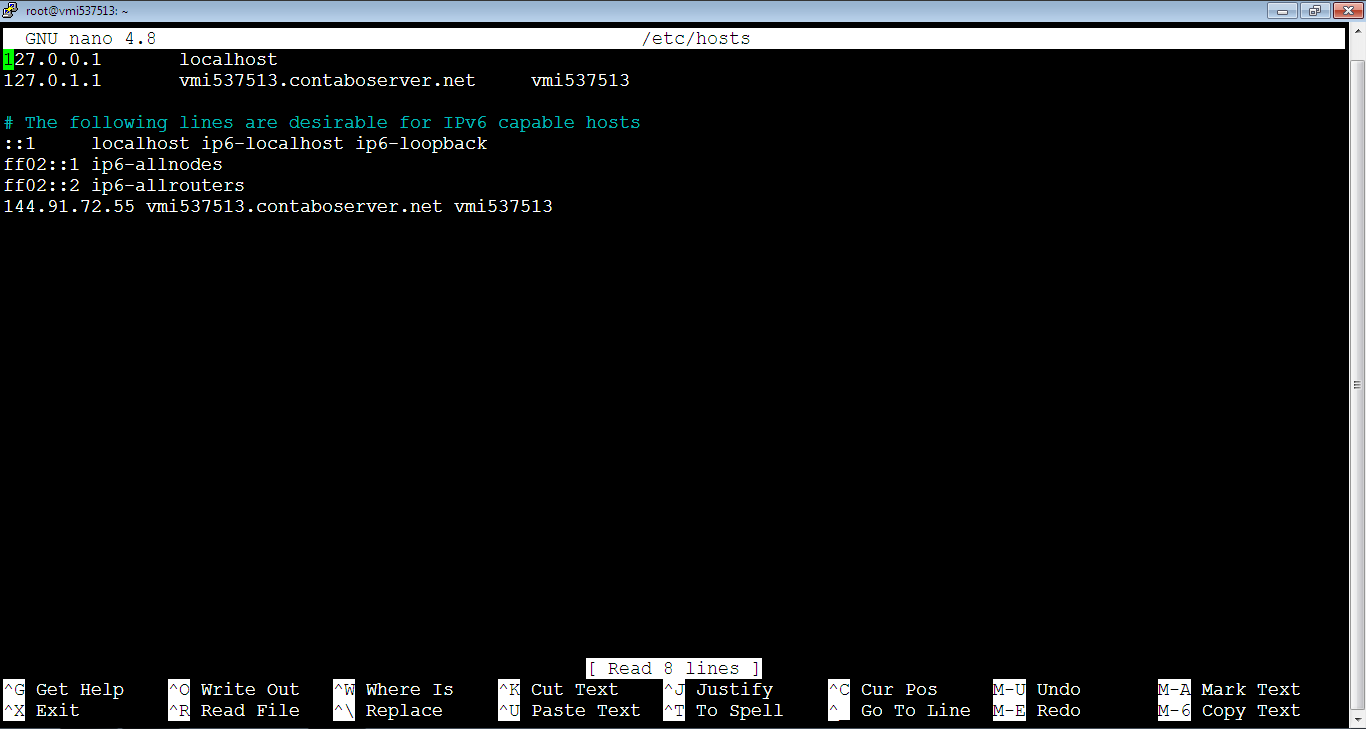
3. Edit the hosts file using, open it using the following command then hit Enter key.
root@vmi537513:~# nano /etc/hosts The original file looks like below:
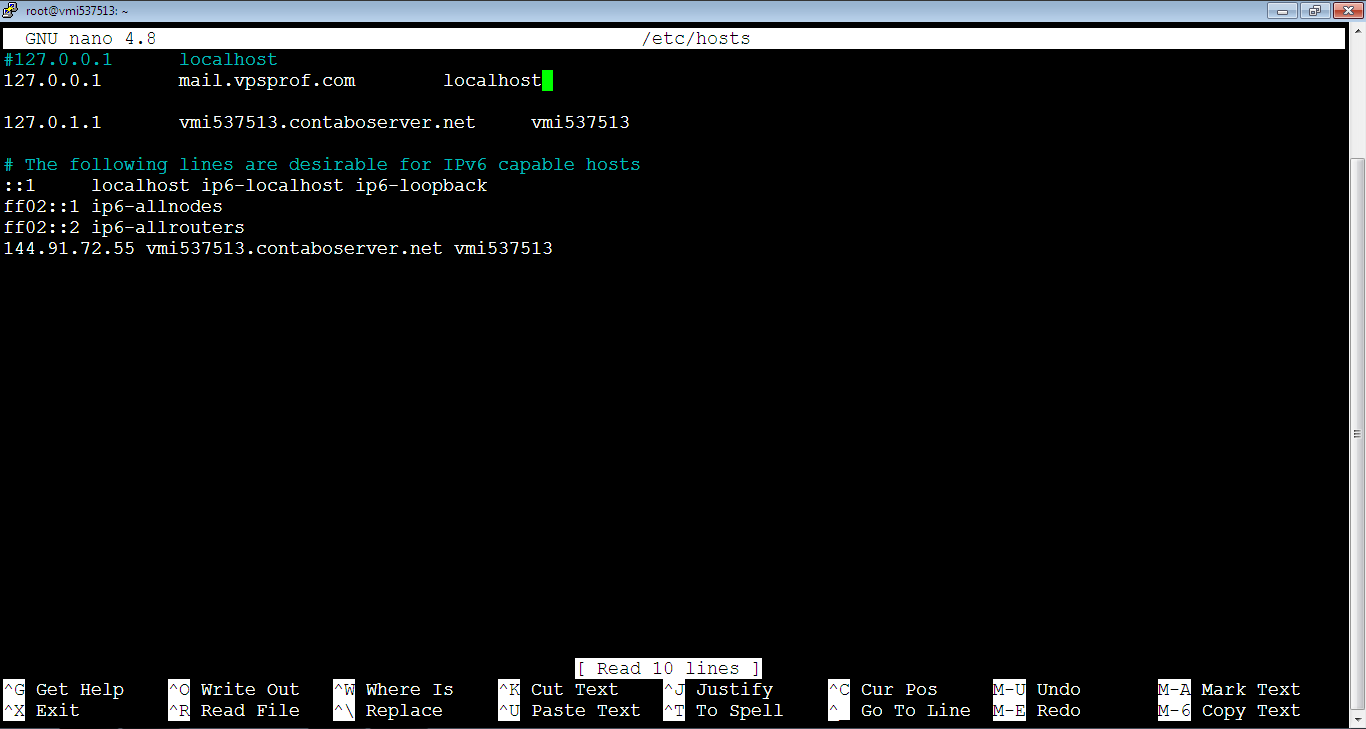
Now, comment the first line. Comment means to add hash symbol in front of the line as below. Once we comment a line, it will be inactive in the file.
#127.0.0.1 localhostThen, add the below line to connect your domain with the loopback IP which is 127.0.0.1
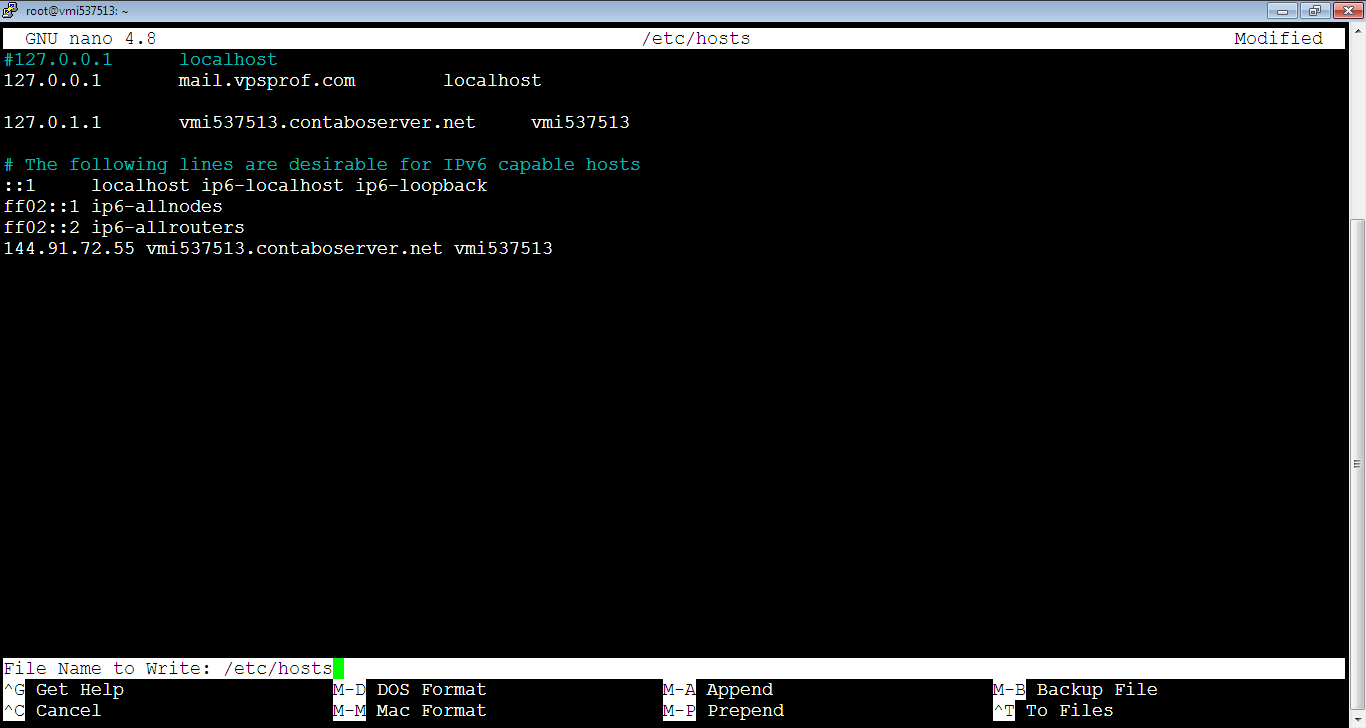
127.0.0.1 mail.vpsprof.com localhostThe file should look like this after the change:
Once you’re done, you need to save the changes, press: Ctrl+x, you will get a prompt as seen at the end of the file says: Save modified buffer? you just need only to type: Y, (or y). If you don’t want to save, type: N, (or n).
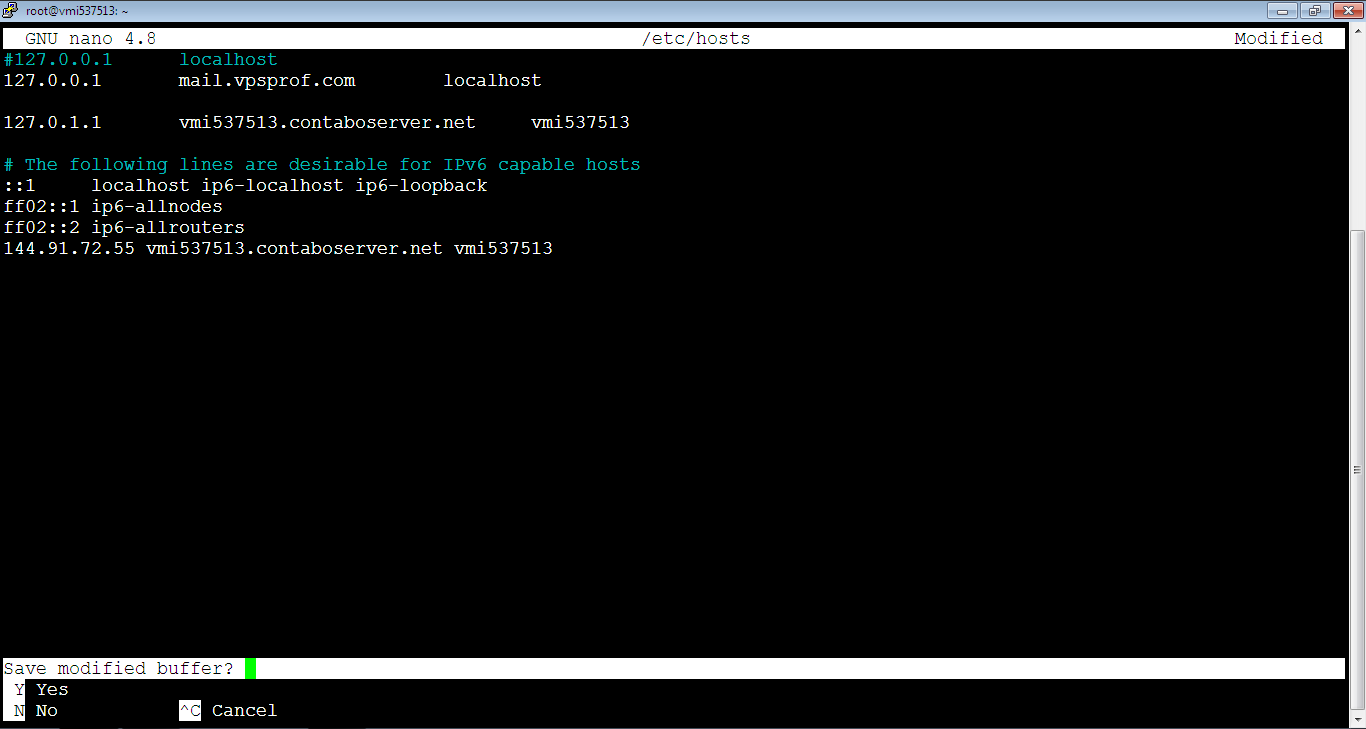
After typing: Y (or y), you will get another prompt asking: File Name to Write: /etc/hosts, to confirm the file in which you would like to save the changes, in our case, we need to save the changes within the same file /etc/hosts we opened, so don’t change anything, just hit Enter key to update the file with the new changes. In case you want to cancel, press: Ctrl+C.
Important Note
If you don’t edit /etc/hosts file correctly before installing the email server, the iredadmin page (mail.vpsprof.com/iredadmin) will show 502 bad gateway. Therefore, it’s better to re-install iRedMail again after editing the /etc/hosts file correctly because fixing the problem can be very complicated.